 Pin It
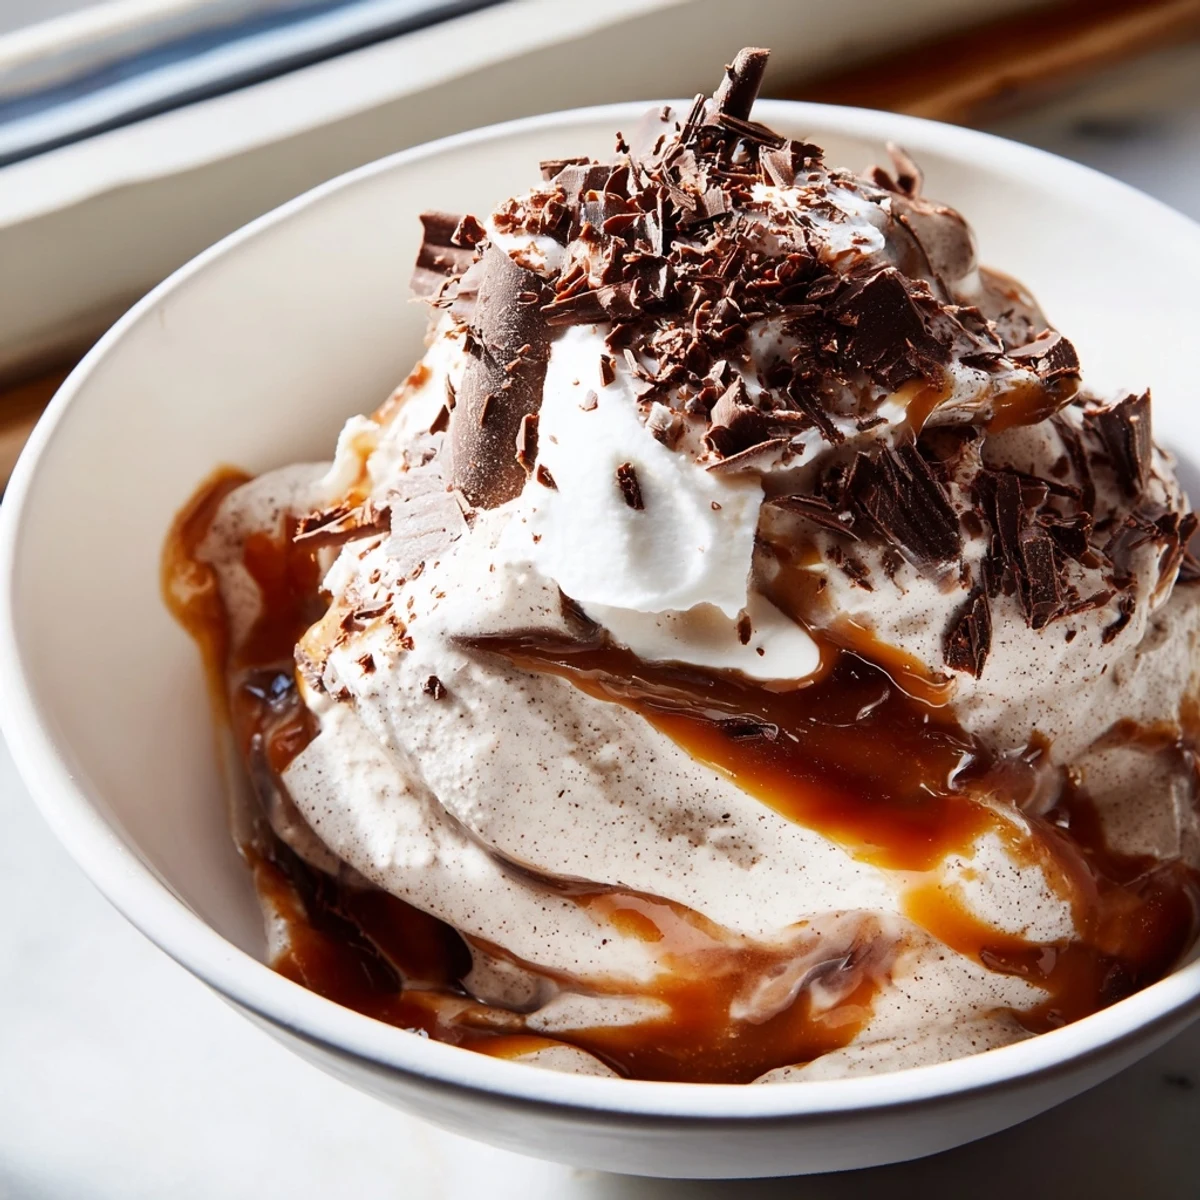
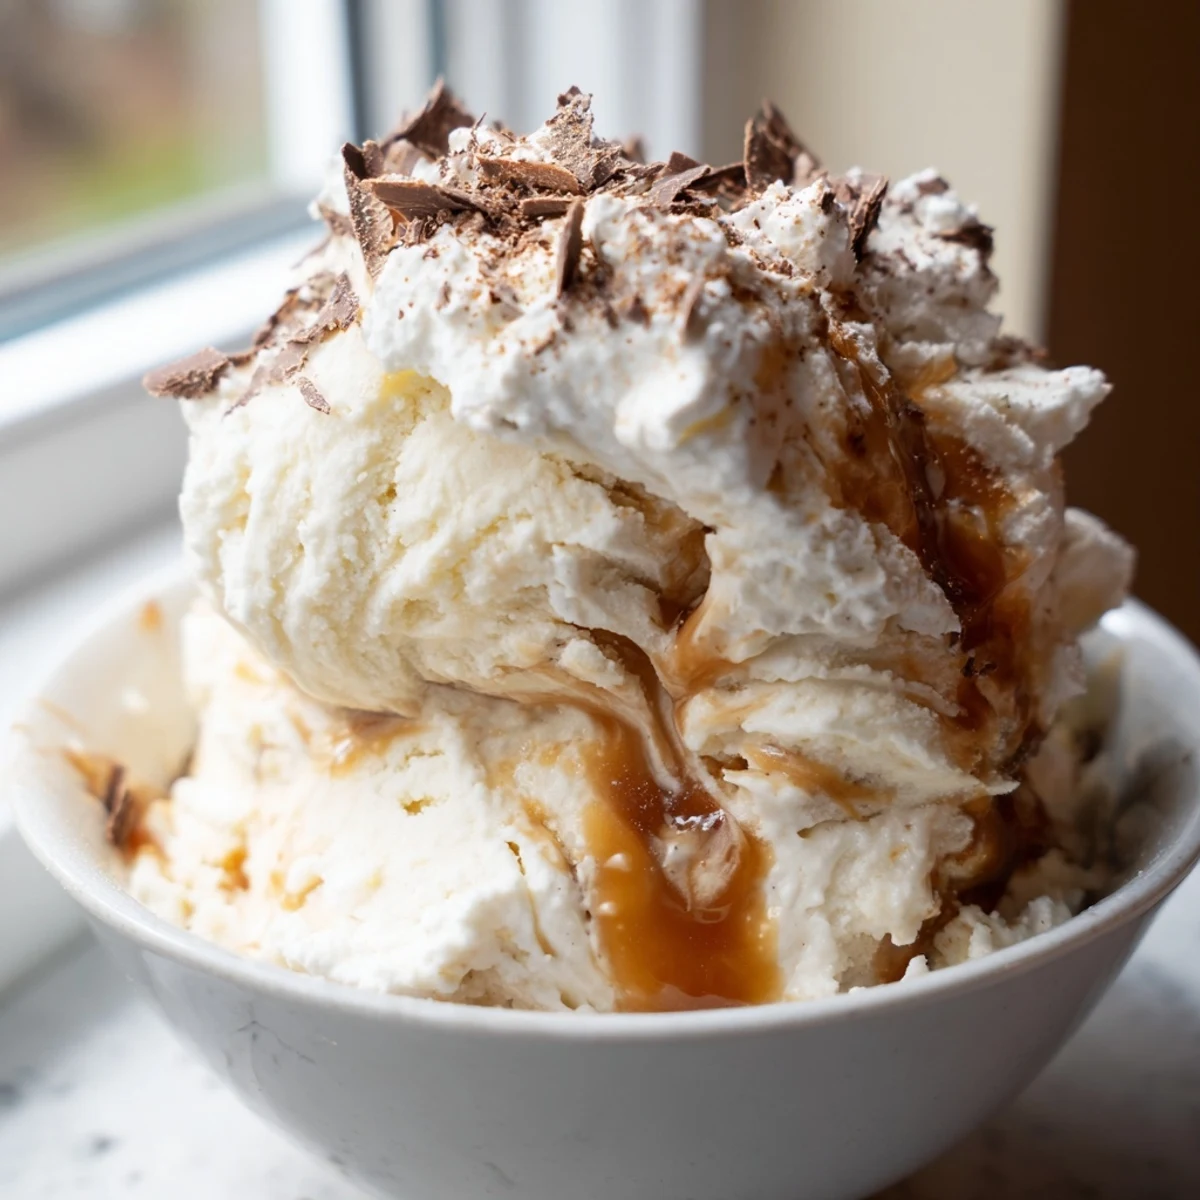
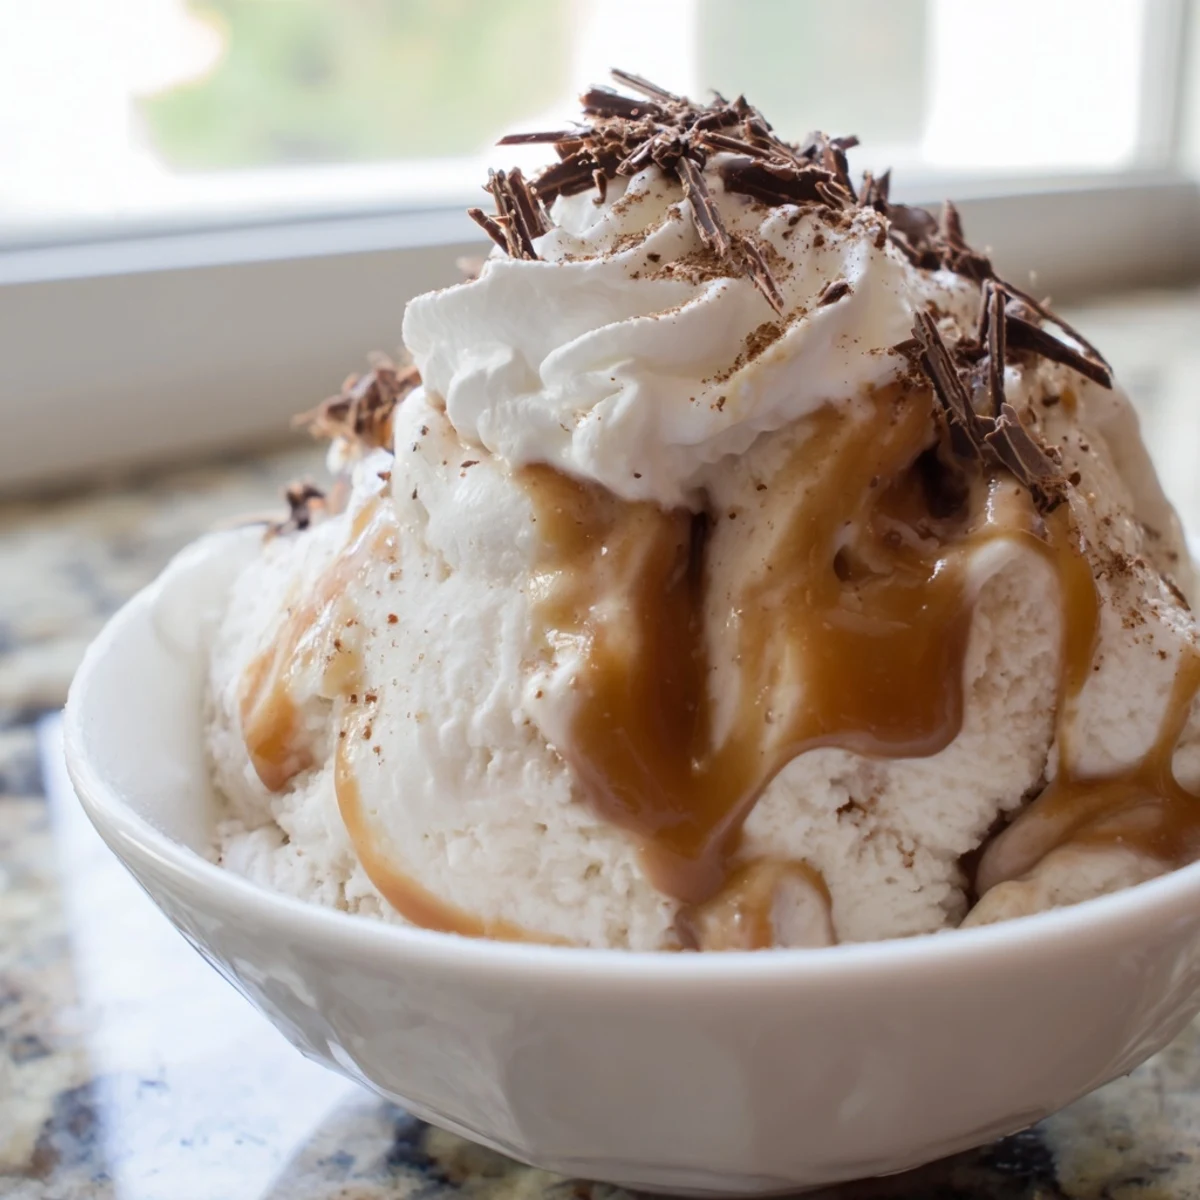
 Create a rich, golden caramel sauce by melting sugar and water before whisking in butter and cream. Combine this silky mixture with cold milk, heavy cream, and vanilla, then freeze until solid. The result is a luscious, velvety frost ideal for cold weather enjoyment. Optional toppings like whipped cream or chocolate shavings add a delightful finishing touch to this simple yet elegant dessert.
There's something about the first snow that makes me crave something sweet and creamy, and this caramel frost has become my answer to those quiet winter afternoons. I discovered it by accident one February, when I had a craving for caramel but wanted something cold, and it turned into the easiest frozen indulgence I've ever made at home. No ice cream maker required, just a freezer and a little patience. Now whenever those big flakes start falling, this is what I reach for.
I'll never forget serving this to my neighbors on the day the power went out for hours; we scooped it into bowls by candlelight and it tasted like pure comfort. They couldn't believe it was homemade, and honestly, neither could I—it was that smooth and rich. That moment taught me that sometimes the simplest things make the biggest impression.
Ingredients
- Granulated sugar (1 cup): This is your caramel foundation; it'll transform from white crystals into liquid gold in minutes, so watch it carefully and don't walk away.
- Water (1/4 cup): Just enough to get the sugar melting evenly before the heat takes over.
- Unsalted butter, cubed (3 tbsp): Cutting it into cubes helps it melt faster and blend smoothly into the hot caramel.
- Heavy cream (1/2 cup for caramel, 1 1/2 cups for base): Cold cream is key; I learned this the hard way when hot cream curdled once.
- Sea salt (1/2 tsp optional): A tiny pinch lifts the sweetness and makes people stop mid-spoon wondering what you did.
- Whole milk (2 cups, cold): Cold ingredients matter here because you're not cooking; coldness is part of the texture.
- Vanilla extract (2 tsp): This whispers in the background, letting the caramel shine.
Instructions
- Start your caramel:
- Pour sugar and water into a medium saucepan over medium heat. Stir gently just until the sugar dissolves, then step back and let it bubble without stirring—this is the hardest part because your instinct will be to stir, but resist it. Watch it turn from clear to pale gold to deep amber, about 5 to 7 minutes total, and pull it off heat the moment it smells toasty and dark.
- Finish the caramel safely:
- Remove the pan from heat and carefully whisk in the cubed butter until it melts completely, then very slowly pour in the heavy cream while whisking constantly—it will bubble and hiss dramatically, which is exactly what should happen. Stir in the sea salt if you're using it, then let the whole thing cool to room temperature on the counter (this takes about 15 to 20 minutes and is the perfect moment to get a cup of tea).
- Build your base:
- In a large mixing bowl, combine the cold milk, cold heavy cream, sugar, and vanilla extract, then whisk everything together until the sugar dissolves completely. You're not aerating this; just gentle, thorough whisking until it's smooth and uniform.
- Marry the flavors:
- Pour the cooled caramel sauce into the cream mixture and whisk until they're fully blended together, creating this beautiful swirl of caramel throughout.
- Freeze it right:
- Pour everything into a freezer-safe container, cover it, and slide it into the freezer. If you have time, stir it every hour for the first 4 hours—this breaks up ice crystals and gives you a fluffier texture, though honest truth is that even if you forget and just leave it alone, it still turns out creamy and wonderful.
- Finish and serve:
- After 4 hours minimum, scoop it into chilled glasses or bowls and crown each one with whipped cream, a handful of chocolate shavings, and a whisper of cinnamon if the mood strikes.
 Pin It
 The real magic happens when someone takes that first spoonful and their eyes light up, realizing it's not store-bought. That moment of discovery, that little bit of pride that comes from making something people think must be complicated but really isn't—that's why I keep making this.
Why Caramel Never Gets Old
Caramel has this strange power: it tastes like both the simplest thing in the world and the most sophisticated flavor at the same time. When you make it yourself, you understand why—it's just sugar and heat, transformed into something entirely different. There's a philosophy in that, if you think about it, but mostly it just means you have an excuse to make it whenever you want.
Customizing Your Frost
The base recipe is forgiving in the best way, which is why I've turned it into six different versions depending on my mood. A dash of espresso powder makes it taste like a caramel macchiato; a teaspoon of bourbon vanilla pushes it toward something darker and moodier. If you're vegan, coconut cream swaps in beautifully for dairy, and the rest of the technique stays exactly the same. I once made a version with salted almond butter swirled through, and it became the dish people requested by name.
Serving and Storage Wisdom
Fresh from the freezer after 4 hours, this has a texture closer to soft-serve; after a full overnight freeze, it becomes denser and more scoopable. There's no wrong answer, just depends on whether you want to eat it with a spoon or dig in with confidence. Store it in an airtight container to keep it from picking up freezer flavors, and it'll stay good for a month, though I've never had any last that long.
- If your caramel seems too thick after cooling, warm it gently over low heat for a minute, then cool it again before mixing.
- Serve in chilled bowls or glasses so the frost stays creamy longer instead of melting into soup.
- Make the caramel a day ahead if you want to spread out the work—it actually tastes slightly deeper the next day.
 Pin It
 This frost is proof that you don't need a lot to make something that feels special—just good ingredients, a little heat, and a freezer willing to wait. Keep it in your back pocket for snowy days, unexpected guests, or just Tuesday afternoons when you deserve something good.
Recipe Questions & Answers
- → How do I achieve the smoothest texture?
-
For the smoothest results, use an ice cream maker to churn the mixture. If freezing without a machine, stir the mixture every hour to break up ice crystals.
- → Can I make this vegan?
-
Yes, simply substitute the whole milk, heavy cream, and butter with full-fat coconut cream and a plant-based butter alternative.
- → How should I store leftovers?
-
Keep the frost in an airtight, freezer-safe container. It will maintain its best quality for about one week, though it can be stored longer.
- → Why did my caramel seize up?
-
Caramel seizes usually if water splashes into the sugar while boiling or if cold ingredients are added too quickly. Ensure your cream is room temperature before whisking it in.
- → What toppings work best?
-
Whipped cream and shaved chocolate are classic choices. A pinch of sea salt or ground cinnamon also complements the sweet caramel flavors beautifully.
