 Pin It
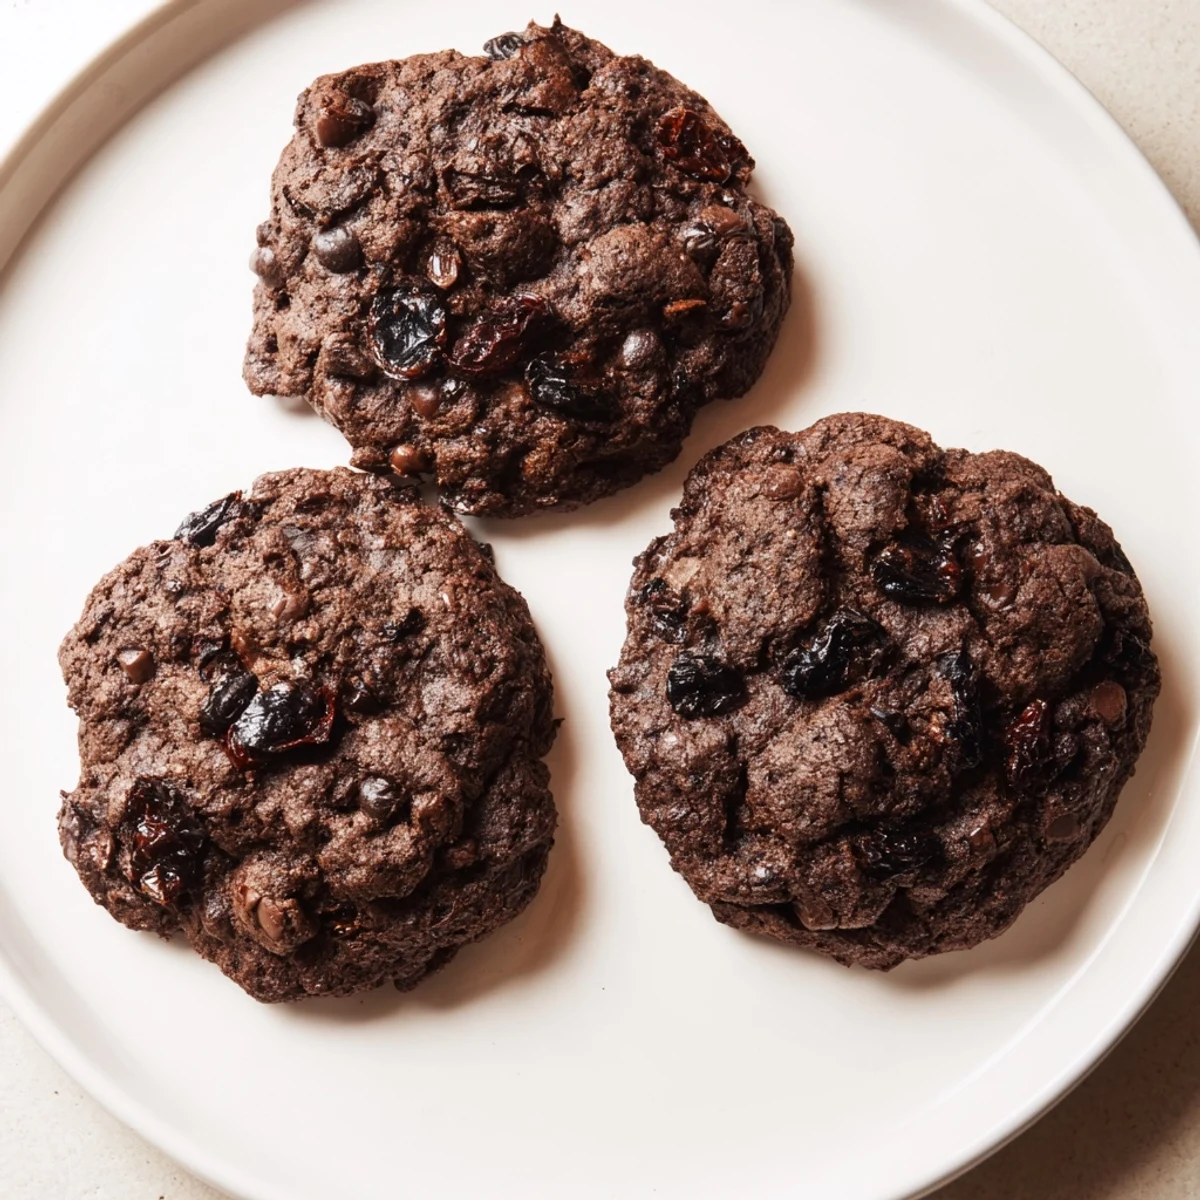
 These rich, chewy dark chocolate cherry treats combine gluten-free flour blend with unsweetened cocoa for deep chocolate flavor. Tart dried cherries and dark chocolate chunks create perfect balance in every bite. The dough comes together quickly with softened butter and both brown and granulated sugars. Simply mix dry ingredients, cream butter with sugars, add eggs and vanilla, then combine everything before folding in the mix-ins. Bake until edges are set but centers remain soft for that ideal chewy texture.
The recipe yields 18 cookies and takes just 27 minutes from start to finish. You can easily adapt these treats to be dairy-free by swapping butter for coconut oil, or add chopped walnuts for extra crunch. Perfect alongside cold milk or cherry compote.
The afternoon I first played around with gluten-free baking, my kitchen counter was covered in failed experiments that somehow led to these cookies. What was supposed to be a test run for a friend's birthday party ended up becoming the most requested treat I make. The way the tart cherries cut through the dark chocolate creates this sophisticated balance that nobody expects from something that looks so rustic.
My neighbor Sarah, who can eat gluten, actually asked for the recipe after trying one at our summer block party. The kids were too busy chasing fireflies to notice, but the adults kept gravitating back to the cookie plate. That's when I knew these weren't just good for gluten-free—they were just plain good.
Ingredients
- Gluten-free flour blend: I've learned that different brands behave differently, so stick with one that contains xanthan gum for structure
- Unsweetened cocoa powder: Dutch-processed gives a deeper, mellower chocolate flavor that pairs beautifully with cherries
- Baking soda: Essential for the slight spread that creates those perfect crispy edges
- Unsalted butter: Softened properly—it should yield to gentle finger pressure but not melt into your skin
- Light brown sugar: The molasses content keeps these cookies chewier than white sugar alone ever could
- Dark chocolate chunks: I prefer chopping a bar over chips because the irregular shards create pockets of melted chocolate throughout
- Dried cherries: Roughly chop them so the tartness distributes evenly—otherwise you get surprise sour bites
Instructions
- Get your oven ready:
- Preheat to 350°F and line your baking sheets with parchment paper now, so you're not scrambling when the dough's ready
- Whisk the dry team:
- Combine the gluten-free flour, cocoa powder, baking soda, and salt in a medium bowl, breaking up any cocoa clumps with your whisk
- Cream the butter and sugars:
- Beat the softened butter with both sugars until the mixture looks pale and fluffy, about 2 minutes—this step is worth the effort
- Add the eggs and vanilla:
- Beat in the eggs one at a time, letting each fully incorporate before adding the next, then stir in the vanilla
- Bring it together:
- Gradually mix in the dry ingredients, stopping as soon as the flour streaks disappear—overmixing makes tough cookies
- Fold in the good stuff:
- Gently fold in the dark chocolate chunks and chopped cherries until evenly distributed throughout the dough
- Scoop and space:
- Drop heaping tablespoons of dough onto the prepared sheets, giving them room to spread about 2 inches apart
- Bake to perfection:
- Bake for 11 to 13 minutes until the edges look set but the centers still seem slightly underdone
- The hardest part:
- Let them cool on the baking sheet for 5 minutes before moving them to a wire rack—they need this time to set properly
 Pin It
 Last Christmas, I made triple batches to gift in tins, and my sister-in-law called me within an hour to say half were already gone. These cookies have become my go-to whenever I need to bring something that'll please everyone, regardless of dietary restrictions.
Making These Dairy-Free
Coconut oil works beautifully as a butter substitute here, though the cookies will spread slightly more. I've found that chilling the dough for 30 minutes before baking helps compensate for this difference.
Storage Secrets
These actually improve after a day—the flavors meld together and the texture becomes even more chewy. Store them in an airtight container with a piece of bread to maintain moisture.
Serving Suggestions
Sometimes I'll serve these warm with a small glass of cold almond milk or tuck one into a bowl of vanilla ice cream for an easy dessert. The contrast of temperatures makes both the cookie and the ice cream taste better.
- Crumble one over yogurt parfait for breakfast
- Sandwich two with cherry jam for an indulgent dessert
- Press a whole cherry into the center before baking for a pretty presentation
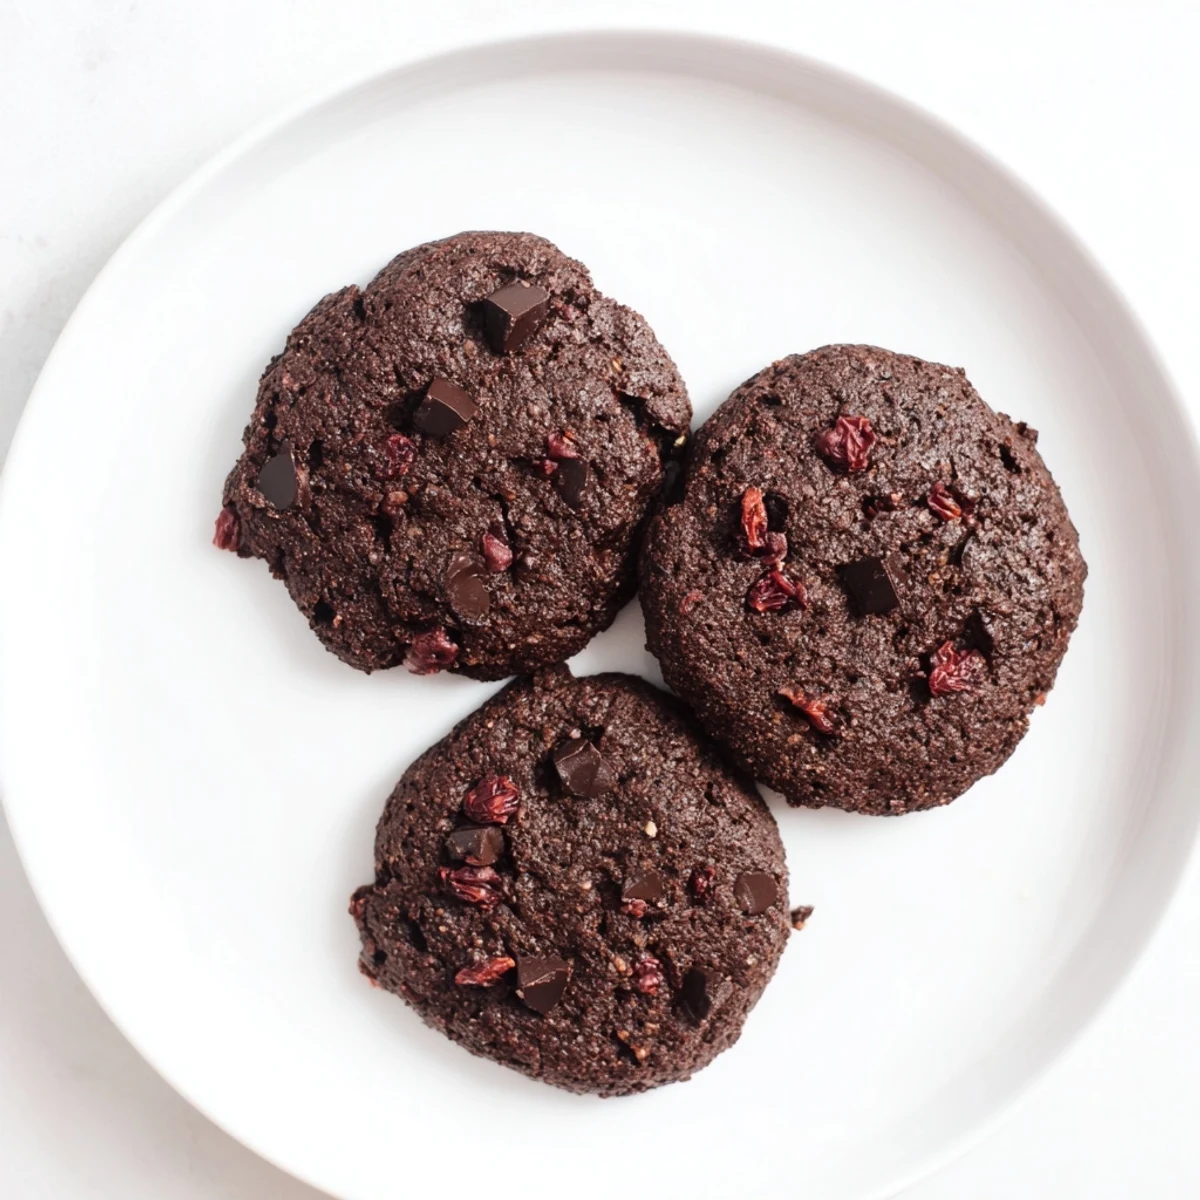 Pin It
 There's something deeply satisfying about baking a treat that everyone can enjoy together, no questions asked. These cookies have taught me that the best recipes aren't about restrictions—they're about possibilities.
Recipe Questions & Answers
- → Can I make these dairy-free?
-
Yes, substitute equal amount coconut oil for the softened butter. The texture remains excellent while making them completely dairy-free.
- → What's the best gluten-free flour blend?
-
Use a 1-to-1 gluten-free all-purpose flour blend containing xanthan gum for best results. This ensures proper binding and texture.
- → Why are my cookies too hard?
-
Overbaking causes hardness. Remove from oven when edges are set but centers still appear soft—they'll firm up during cooling.
- → Can I freeze the dough?
-
Yes, scoop dough balls onto parchment, freeze until solid, then store in freezer bags. Bake from frozen adding 1-2 minutes.
- → What other fruits work well?
-
Dried cranberries, chopped dried strawberries, or tart dried apricots pair beautifully with dark chocolate in this base.
- → How should I store these?
-
Keep in airtight container at room temperature up to 5 days. For longer storage, freeze baked cookies up to 3 months.
