 Pin It
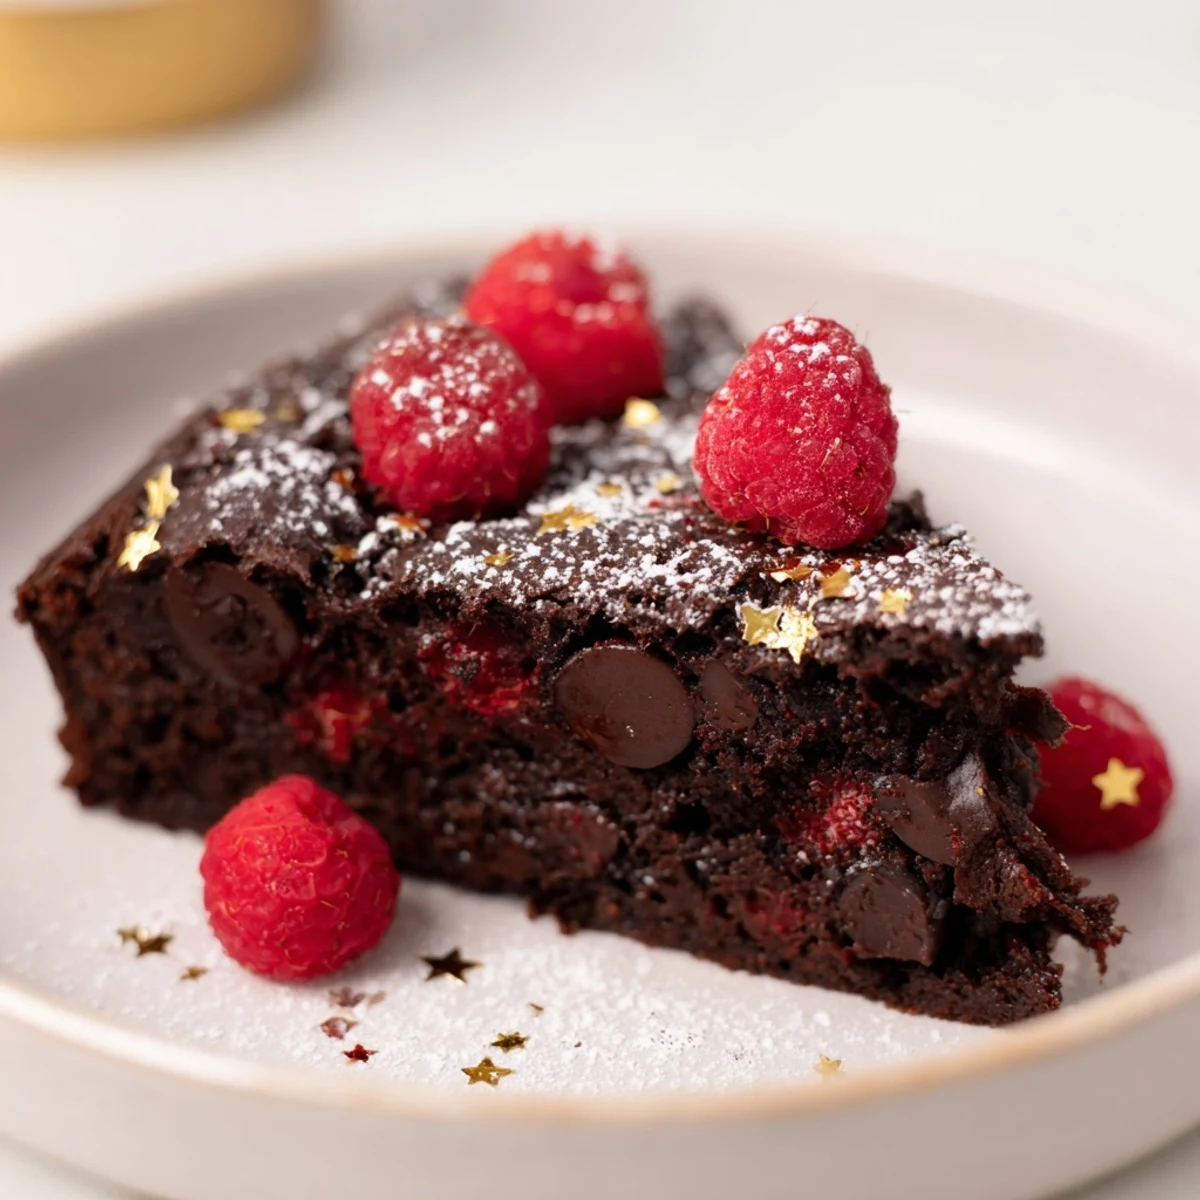
 This indulgent gluten-free chocolate cake features a deep cocoa flavor and a tender crumb, making it a delicious treat for any celebration. Using a blend of gluten-free flour and unsweetened cocoa powder, the batter is balanced with buttermilk and vegetable oil for moistness. Lightly dusted with powdered sugar and decorated with berries or edible gold sprinkles, it caters perfectly to guests with gluten sensitivities. Preparation and baking are simple and quick, resulting in a luscious dessert that can be paired with whipped cream or vanilla ice cream for extra richness.
I'll never forget the New Year's Eve when my sister called in a panic—she'd invited people over and just realized her usual chocolate cake recipe had gluten in the crust. I remembered a friend mentioning how great gluten-free baking had become, so I decided to create something that wouldn't just work for dietary needs, but would actually be better than the original. That night, pulling a rich, fudgy cocoa cake from the oven while midnight countdowns echoed from the living room felt like the perfect way to start a new year. It became my signature celebration cake, and now people actually request the gluten-free version, no matter their dietary restrictions.
There's something magical about baking a celebration cake. I remember standing in my kitchen at 11 PM on New Year's Eve, the cake cooling on the rack while champagne chilled in the fridge. When I topped it with edible gold sprinkles and fresh berries, it looked restaurant-worthy. My guests' faces when they took that first bite—pure joy. One person even asked if I'd ordered it from a bakery. That's when I knew this recipe was something special.
Ingredients
- Gluten-free all-purpose flour blend (1 cup / 120g): This is the foundation, and quality matters—I learned to look for blends with xanthan gum already added, which helps replicate the structure gluten would provide
- Unsweetened cocoa powder (¾ cup / 75g): Don't skip the unsweetened variety; it gives you that deep, complex chocolate flavor without any sweetness masking the real cocoa taste
- Baking powder (1½ tsp) and baking soda (½ tsp): These two together create the lift and tender crumb—the baking soda especially reacts with the cocoa to deepen the color and flavor
- Salt (¼ tsp): Just enough to make the chocolate sing without tasting salty
- Eggs (4 large, room temperature): Room temperature eggs beat in more air, giving you a lighter, more tender cake—I learned this the hard way after baking with cold eggs
- Granulated sugar (1 cup / 200g) and light brown sugar (½ cup / 100g): The combination of both sugars creates moisture and a subtle richness that keeps this cake tender even the next day
- Vegetable oil (½ cup / 120ml): Oil keeps cakes moist longer than butter—it's my secret to cake that stays tender through the celebration
- Pure vanilla extract (1 tsp): Just a touch to round out the flavors without overpowering the chocolate
- Buttermilk (¾ cup / 180ml), room temperature: The acidity reacts with the baking soda for better rise, and it keeps everything wonderfully moist
- Gluten-free dark chocolate chips (½ cup / 90g, optional): These add pockets of extra richness and ensure every slice feels indulgent
- Powdered sugar (2 tbsp for dusting) and garnishes: A simple dusting makes it look elegant—fresh berries add color and freshness that chocolate alone can't provide
Instructions
- Prepare your stage:
- Preheat your oven to 350°F (175°C). Grease a 9-inch round cake pan thoroughly—I use my fingers with a bit of oil to make sure every corner is covered. Line the bottom with parchment paper so your cake releases beautifully. This little step prevents heartbreak.
- Combine the dry team:
- In a medium bowl, whisk together the gluten-free flour, cocoa powder, baking powder, baking soda, and salt. Make sure there are no lumps of cocoa powder hiding in there—a whisk gets out all the clumps that make for uneven texture. This mix should look like fine, dark chocolate sand.
- Beat the eggs to fluffy clouds:
- In a large bowl with your electric mixer, beat the eggs with both sugars on medium speed for about 2 minutes. You'll see the mixture go from liquid and golden to thick and pale—that's when you know you've incorporated enough air. This is where the tenderness begins.
- Add the oils and vanilla:
- Pour in the vegetable oil and vanilla extract, beating just until everything is combined. You're not looking for more volume here, just to distribute these ingredients evenly through your egg mixture.
- Alternate like a dance:
- Here's where gluten-free baking needs a light touch: alternate adding the dry mixture and buttermilk to your wet ingredients, starting and ending with dry. Add about a third of the dry mix, mix until just combined, then add half the buttermilk, mix gently, then the next third of dry mix, the remaining buttermilk, and finally the last of the dry mix. Each time, mix only until you don't see streaks of flour—overmixing develops a tougher crumb, and we want tender here.
- Into the pan:
- Pour the batter into your prepared pan. If you're using chocolate chips, sprinkle them evenly over the top now—they'll sink slightly as they bake, distributing those little pockets of richness throughout.
- Bake with patience:
- Slide it into the oven for 32 to 36 minutes. You'll smell the chocolate deepening, and the kitchen will smell like celebration. Start checking around 32 minutes with a toothpick in the center—you want it to come out with moist crumbs, not wet batter, but also not completely clean. Gluten-free cakes often stay slightly moister than wheat-based cakes, and that's the goal.
- Cool with intention:
- Let it rest in the pan for 10 minutes—this helps it set just enough to release cleanly. Then turn it out onto a wire rack to cool completely. This part requires patience, but rushing the cooling can cause the cake to break.
- Dress it up:
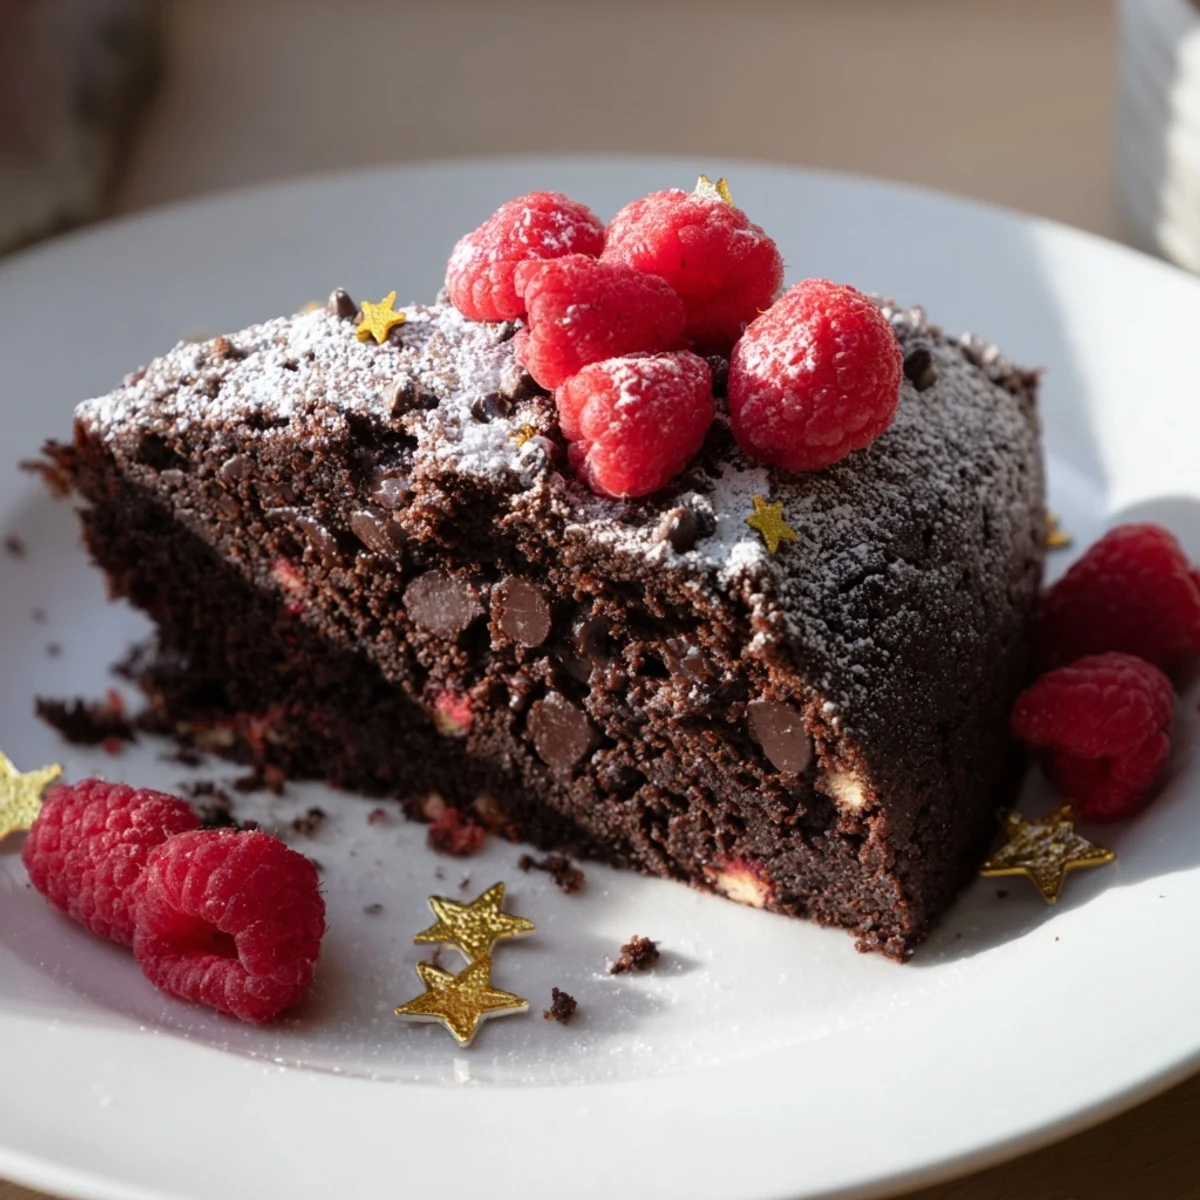
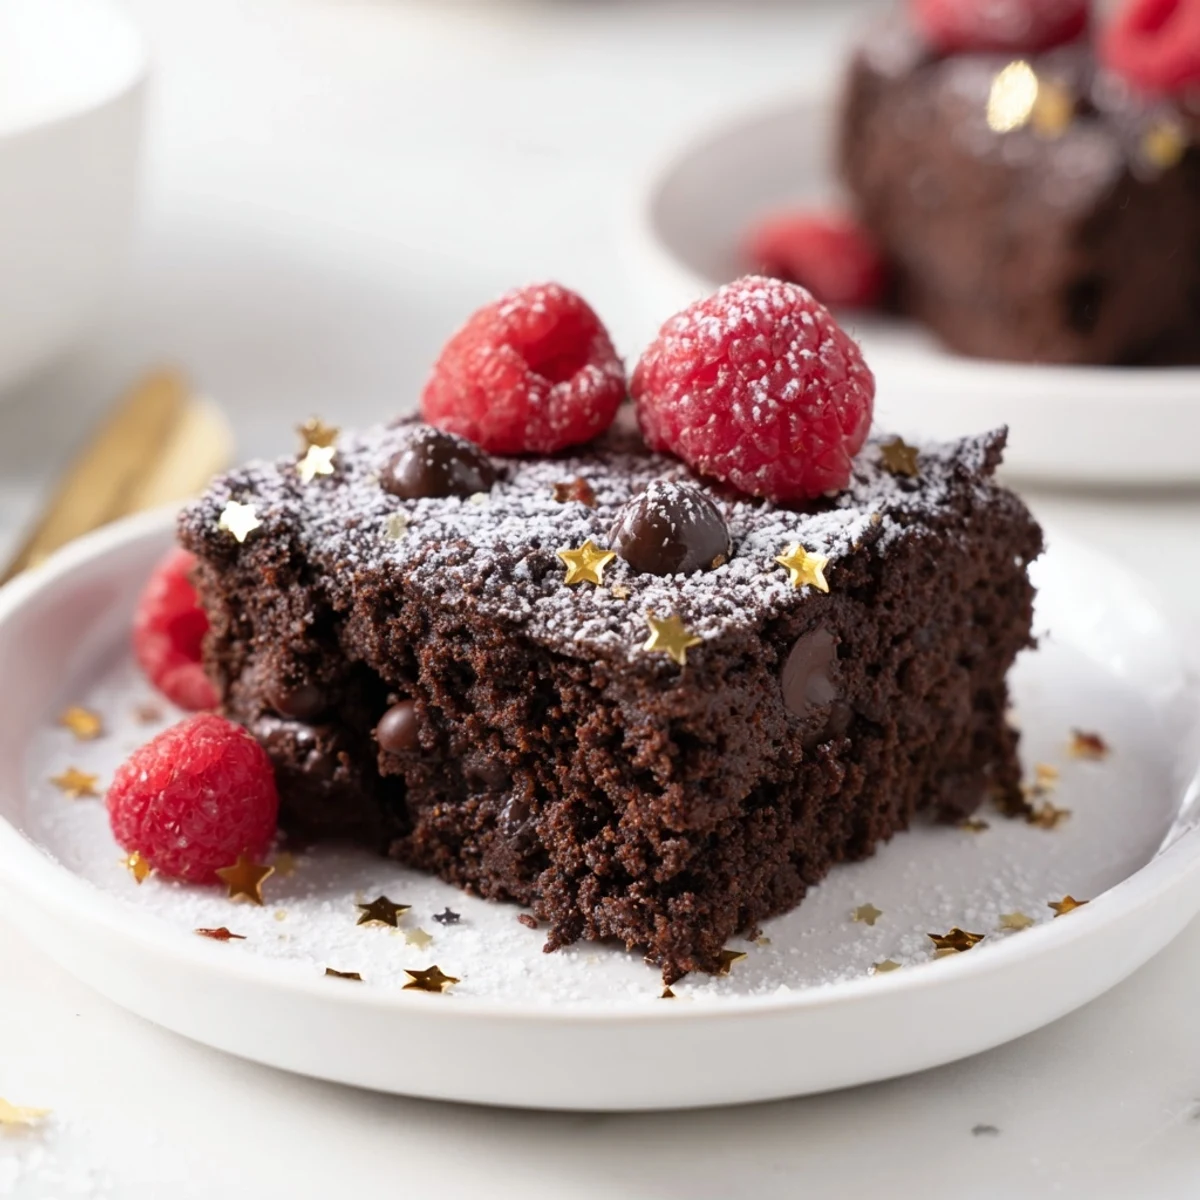
- Once completely cool, dust lightly with powdered sugar and arrange fresh berries or edible gold sprinkles on top. This is where it transforms from homemade to show-stopping.
 Pin It
 I think back to that New Year's Eve moment when a guest who'd been avoiding desserts for years due to gluten sensitivity took a bite and just closed their eyes in happiness. That's when a recipe becomes more than instructions on a page—it becomes about inclusion, celebration, and making sure no one feels left out at the table. This cake does that.
Why Gluten-Free Baking Works Here
I used to think gluten-free baking meant compromise, but this recipe changed my mind. The combination of cocoa powder and the right flour blend creates structure and moisture that rivals any traditional cake. Cocoa actually adds its own richness that makes people forget they're eating anything 'free-from'—they're just eating something delicious. The higher proportion of wet ingredients compared to regular cakes keeps everything tender and moist, which honestly might be why people prefer it.
Serving and Storage Wisdom
This cake shines when served slightly warm with vanilla ice cream melting into the warm crumbs, or at room temperature with whipped cream on the side. I've learned that the flavor actually deepens overnight as the cocoa continues to develop—making it perfect for baking the day before your celebration. The structure holds beautifully, and it actually slices more cleanly after a few hours of cooling than when freshly baked.
Customizing for Your Celebration
The beauty of this recipe is how easily it adapts to your needs. I've made it with dairy-free buttermilk for friends who needed it, and it came out equally moist and tender. The garnishes are completely customizable—whatever makes your table feel festive. One year I used raspberry and gold leaf for elegance, another year I went with crushed candy canes and powdered sugar for a New Year theme. The cake itself stays perfect; the decoration tells your story.
- For extra richness and visual appeal, serve each slice with a small dollop of whipped cream or premium vanilla ice cream
- Make it dairy-free by swapping the buttermilk with almond milk plus 1 tablespoon of lemon juice, and the cake will turn out just as wonderful
- Always check that your chocolate chips and leavening agents are certified gluten-free, since this is essential for keeping your cake truly gluten-free
 Pin It
 This New Year Celebration Cocoa Burst has become my answer to bringing people together around a dessert that everyone can enjoy. Every time I make it, I remember that good baking is really about making sure the people you love feel welcome at your table.
Recipe Questions & Answers
- → What makes this chocolate cake gluten-free?
-
The cake uses a gluten-free all-purpose flour blend, ensuring no wheat or gluten-containing ingredients are included.
- → Can I substitute the buttermilk?
-
Yes, a dairy-free alternative such as almond milk mixed with lemon juice works well to maintain the cake's moisture.
- → How do I ensure the chocolate chips are gluten-free?
-
Choose certified gluten-free dark chocolate chips and always check product labels to avoid cross-contamination.
- → What is the best way to store leftovers?
-
Store the cake in an airtight container at room temperature for up to 2 days or refrigerate for up to a week.
- → Can I decorate the cake differently?
-
Yes, fresh berries or edible gold star sprinkles are optional garnishes, and you can also dust with powdered sugar for an elegant touch.
