 Pin It
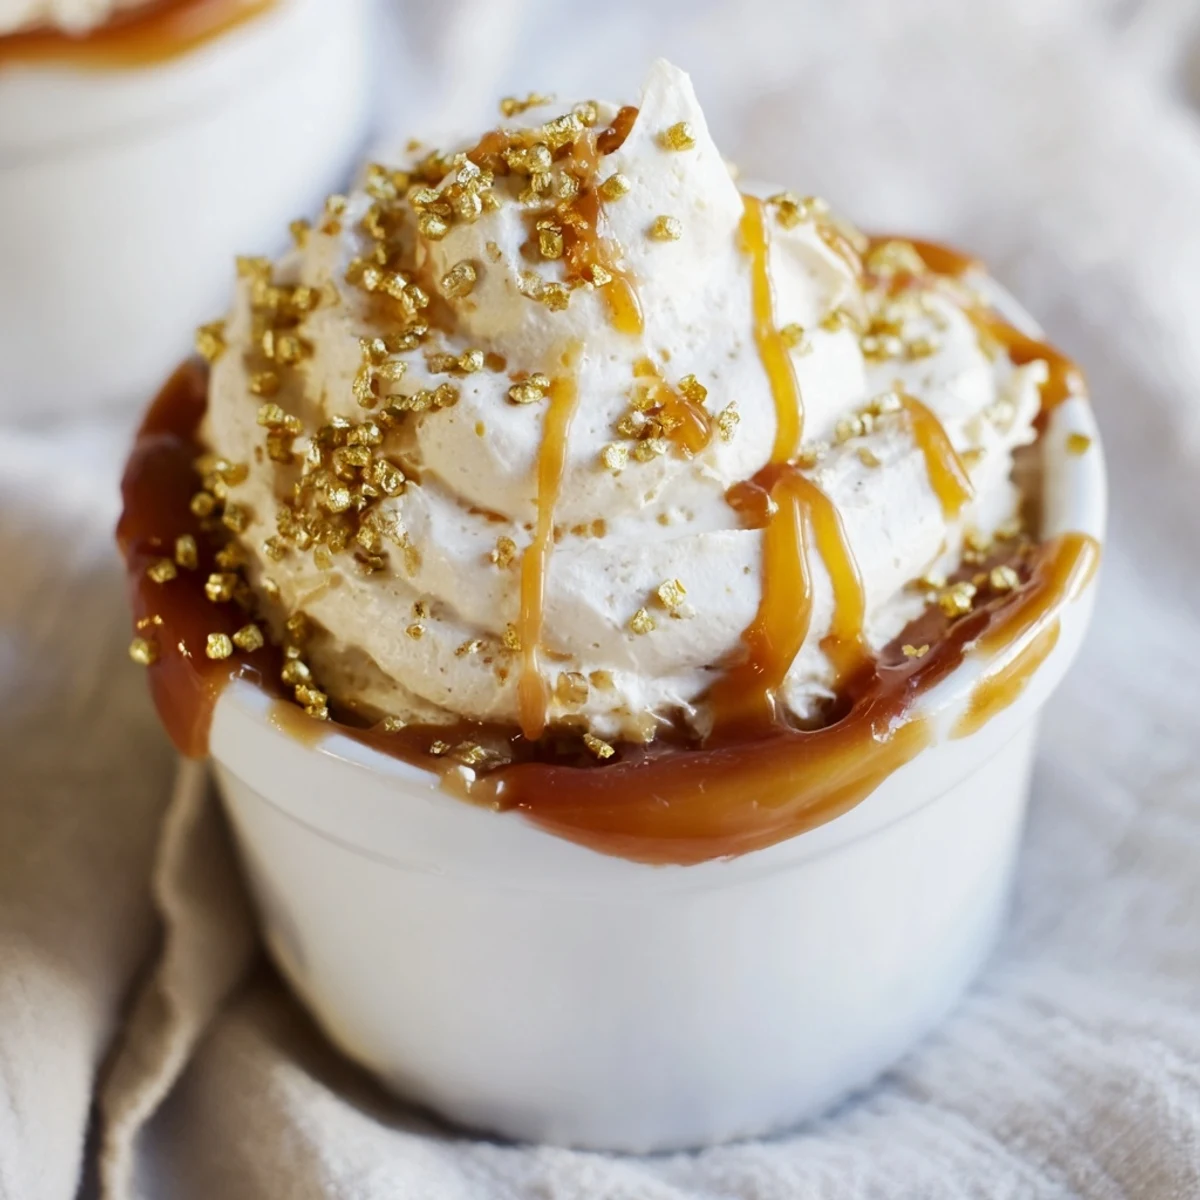
 This festive caramel treat features a rich caramel base infused with a hint of sea salt and paired with a light, whipped frosted cream spiced lightly with cinnamon and vanilla. The dessert is elegantly garnished with caramel sauce and shimmering sugar crystals, offering a creamy yet delicate finish. Easy to prepare and gluten-free, it’s perfect for holiday celebrations that call for a smooth, buttery indulgence with a festive touch.
The first time I made caramel without a thermometer, I stood there mesmerized by the color shift—watching sugar transform from pale yellow to burnished amber felt like witnessing something magical. That dessert turned out beautifully, but more importantly, it taught me that caramel doesn't need complicated gadgets, just patience and attention. This Holiday Glow recipe came from wanting to bottle that feeling—that shimmering moment—into something I could serve at the table with pride.
I brought this to a December potluck where someone asked if I'd bought it from a bakery—and honestly, that moment made my whole year. Watching people's faces when they got past the frosted cream to find that silky caramel underneath never gets old, no matter how many times I make it.
Ingredients
- Granulated sugar (1 cup): The foundation of everything here—start with a clean, dry pan and you'll watch it transform into liquid gold without any crystal grittiness.
- Water (1/4 cup): This dissolves the sugar evenly so you avoid hot spots and burnt edges, giving you that perfectly balanced amber color.
- Unsalted butter (1/4 cup, cubed): Cut it into small pieces so it melts smoothly into the caramel without seizing or creating lumps.
- Heavy cream (1/2 cup plus 1 cup for frosting): Make sure it's cold when you start whipping—this is non-negotiable for those stiff, glossy peaks that crown each serving.
- Fine sea salt (1/4 tsp): This tiny pinch acts like a flavor highlighter, making the caramel taste more like itself without any saltiness.
- Powdered sugar (2 tbsp): It dissolves instantly into the whipped cream, unlike granulated, so no gritty texture sabotages your dessert.
- Vanilla extract (1/2 tsp): A quiet backbone that lets the cinnamon sing without competing for attention.
- Ground cinnamon (1/2 tsp): The secret that makes people say it tastes like the holidays even if you serve it in July.
- Sugar crystals (1 tbsp): The final sparkle—use the real stuff because it catches light like tiny edible decorations.
Instructions
- Start your caramel:
- Combine sugar and water in a medium saucepan over medium heat, stirring gently until the sugar dissolves completely and the mixture looks clear. Once it's dissolved, lay your spoon down—no more stirring from here on out.
- Watch the color change:
- Let the mixture simmer undisturbed for 5 to 7 minutes until it transforms into a deep amber shade, the color of a burnished autumn leaf. You'll smell it before you see the final color, and that toasted aroma tells you you're right on the edge of perfect.
- Add butter carefully:
- Remove from heat and whisk in the cubed butter, letting it melt into the caramel slowly and completely. The mixture will smell incredible at this point—resist the urge to taste it straight from the pan.
- Pour in the cream:
- Slowly pour the heavy cream while whisking constantly, moving your whisk in steady circles to create a smooth, glossy sauce. If you rush this step, the caramel can seize up; taking your time here guarantees silky results every single time.
- Season and cool:
- Stir in the fine sea salt and let the caramel sit at room temperature until it's cool to the touch, about 15 minutes. Resist the urge to stick it in the fridge—patience now means the right texture later.
- Whip the frosted cream:
- Pour your chilled heavy cream into a bowl that's been sitting in the fridge, then add powdered sugar, vanilla, and cinnamon. Using an electric mixer or hand whisk, beat until soft peaks form, then continue until stiff, glossy peaks hold their shape.
- Build each serving:
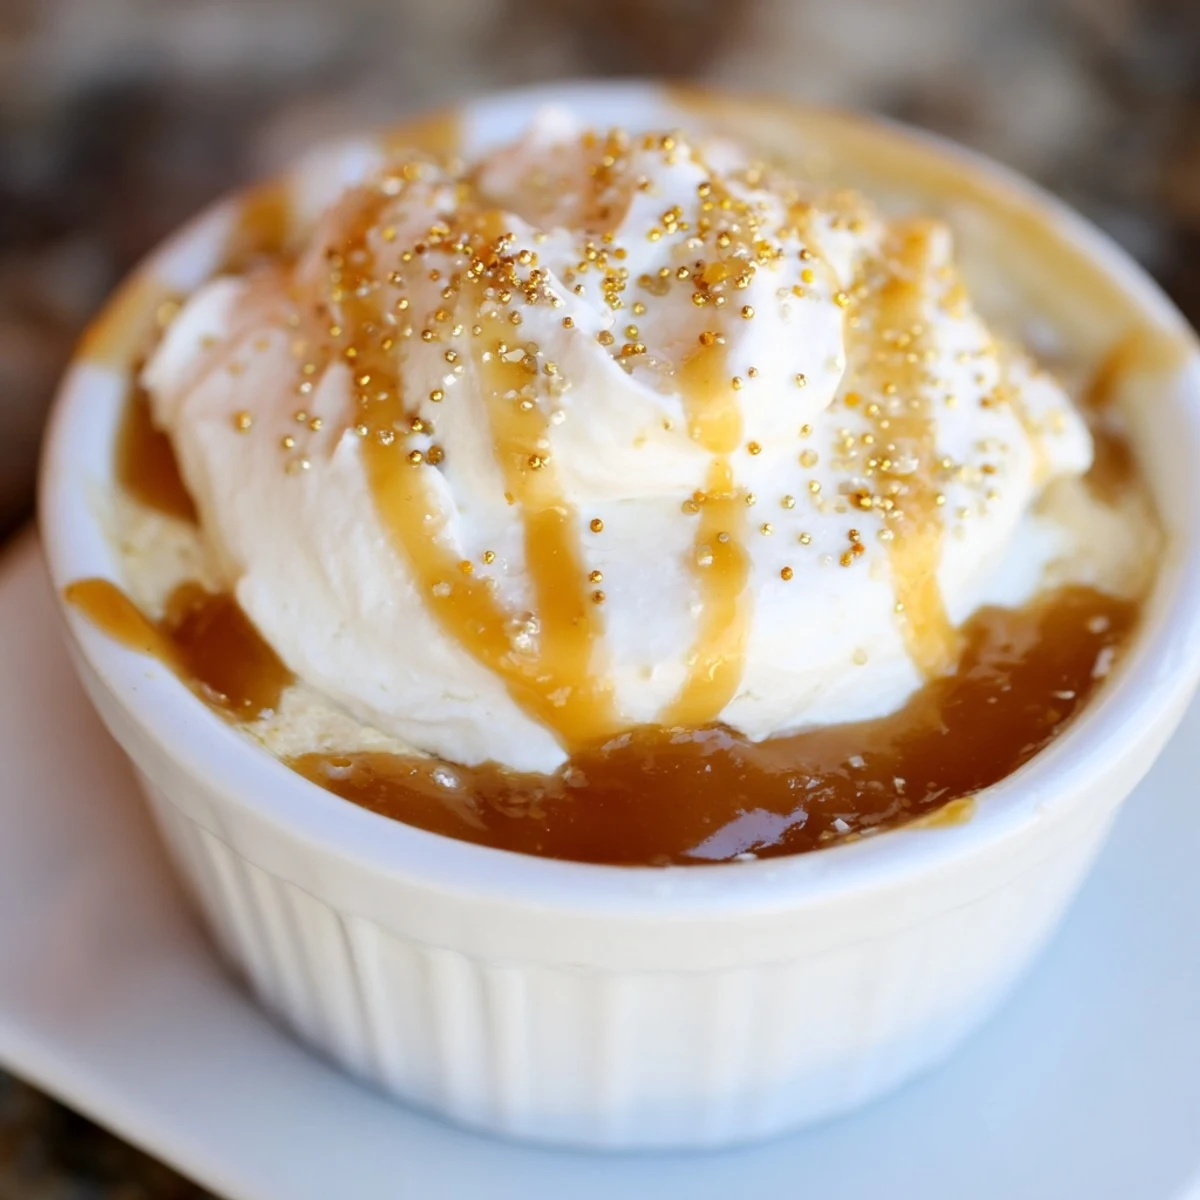
- Divide the cooled caramel among serving glasses or ramekins, filling them about halfway. Top each with a generous mound of frosted cream, letting it crown above the rim like a small cloud.
- Add the sparkle:
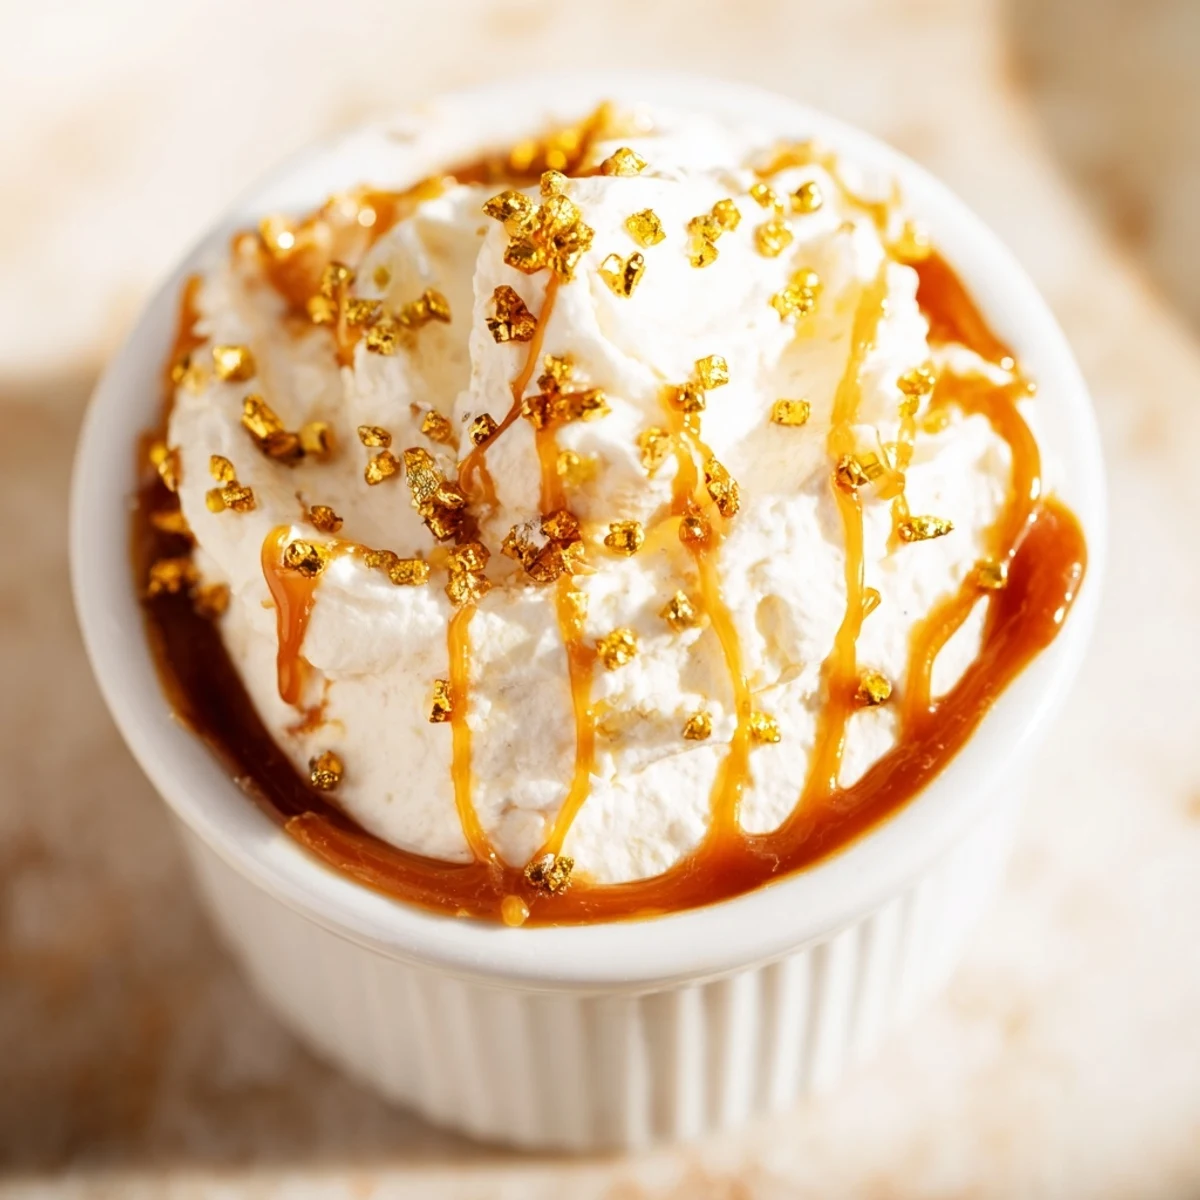
- Drizzle a thin thread of extra caramel across the frosted cream and scatter a few sugar crystals on top, letting them catch any light in the room. The visual is half the dessert.
- Chill before serving:
- Refrigerate for at least 1 hour so the layers set and the flavors deepen into something even more memorable. This also keeps the frosted cream from melting if you're serving at a gathering.
 Pin It
 There's something special about serving a dessert that looks like you spent hours perfecting it when really you were done in half an hour. The way someone's spoon breaks through that frosted cream into the caramel beneath—that moment right there is why I keep making this dish.
The Magic of Amber Caramel
Caramel is one of those cooking techniques that feels like alchemy—the sugar looks like disaster for a moment before it transforms into liquid silk. The key is patience and a steady hand when you whisk in the cream; that careful moment is where perfection lives. Once you nail this once, you'll understand why people swear by homemade caramel over anything from a jar.
Holiday Variations That Work
This dessert is forgiving enough to play with—a pinch of nutmeg or ginger in the frosted cream layer adds warmth without overwhelming the caramel's delicate flavor. Some years I've added a tiny flick of cardamom, and it transforms the whole dish into something that tastes like a spiced holiday memory. The beauty is that each variation still feels like the same beloved recipe, just wearing different seasonal clothes.
Making It Work for Your Table
This dessert shines at potlucks, dinner parties, or quiet family nights because it's elegant enough for guests but simple enough to feel comfortable. You can make the caramel up to two days ahead and keep it in a jar in the fridge, then whip the cream and assemble just before serving. Serve it alongside gluten-free shortbread cookies if you want to add texture, or skip them if you'd rather let the caramel and cream be the whole story.
- Make the caramel base up to 48 hours ahead to save time on serving day.
- For a dairy-free version, use coconut cream instead of heavy cream and vegan butter in the caramel layer.
- This dessert sits happily in the fridge for up to 4 hours, making it perfect for entertaining.
 Pin It
 This Holiday Glow dessert has a way of becoming the thing people ask you to make every year. Serve it with genuine warmth and watch it become more than just a recipe—it becomes a tradition.
Recipe Questions & Answers
- → Can I make this dessert dairy-free?
-
Yes, substitute coconut cream for heavy cream and use vegan butter to create a dairy-free version without compromising the creamy texture.
- → How do I know when the caramel base is ready?
-
The caramel is ready when the sugar-water mixture turns a deep amber color, usually after 5–7 minutes of simmering without stirring.
- → What is the purpose of the frosted cream layer?
-
The frosted cream adds a light, airy contrast to the rich caramel base, blending subtle vanilla and cinnamon flavors for a balanced finish.
- → Can I prepare this dessert in advance?
-
Yes, chilling the assembled dessert for at least an hour helps set the layers and enhances the flavor combination for serving later.
- → Are the garnishes necessary?
-
Garnishes like extra caramel sauce and sugar crystals add festive sparkle and texture but can be omitted if preferred.
