 Pin It
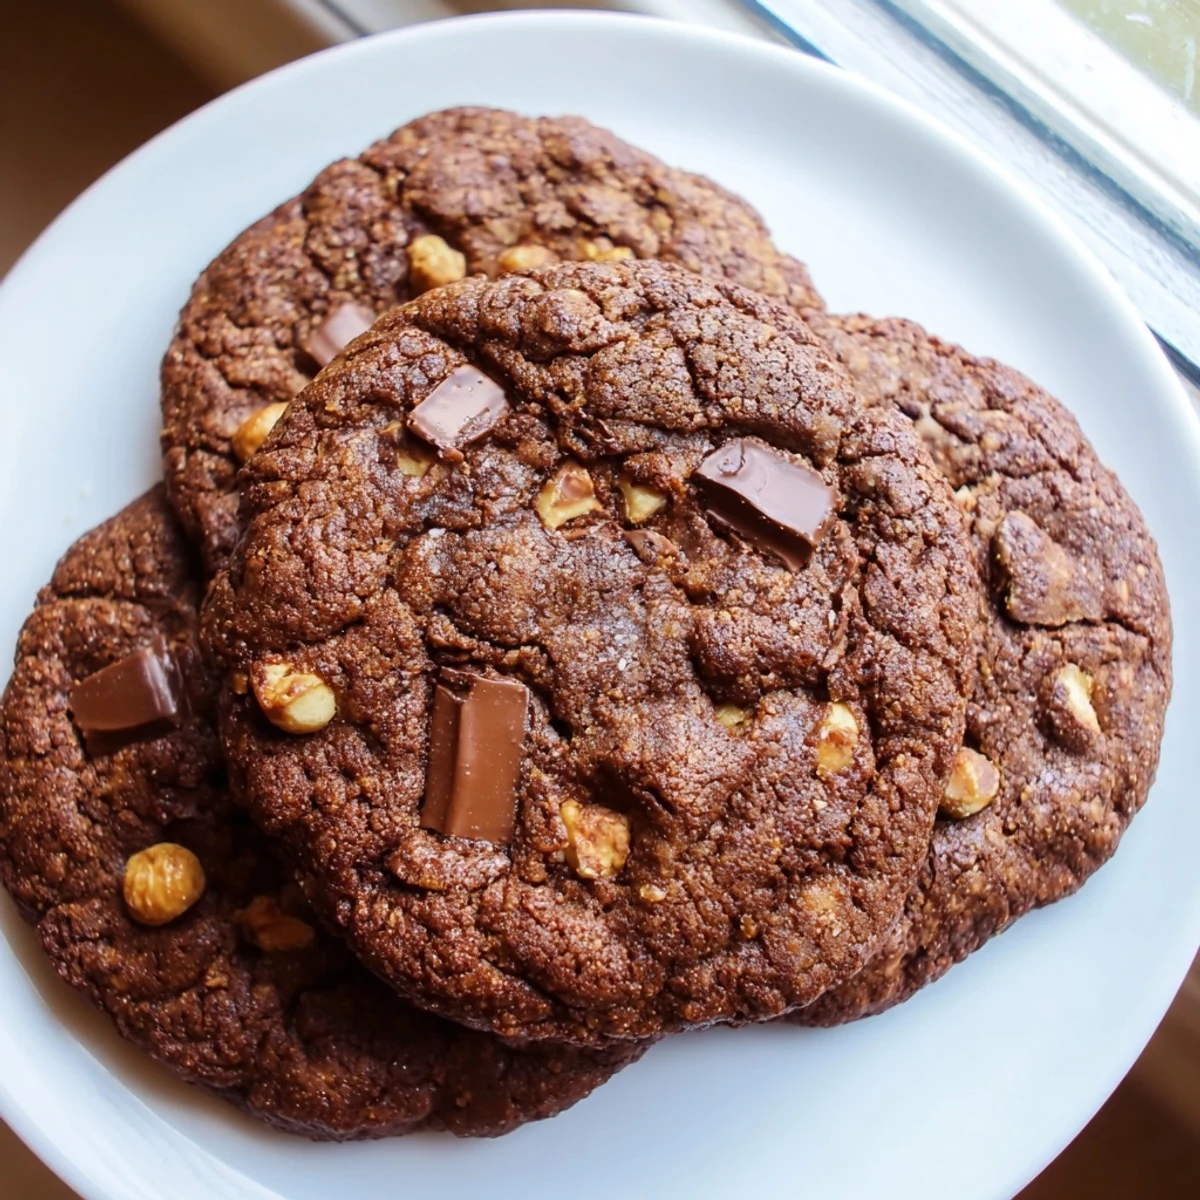
 These indulgent cookies combine the bold intensity of espresso with rich cocoa and semisweet chocolate chips. Toasted hazelnuts add a delightful crunch, while the gluten-free flour blend ensures everyone can enjoy this treat. The dough comes together quickly with just 20 minutes of prep time, and the cookies bake to perfectly chewy perfection in about 12 minutes.
For the best texture, remove them from the oven when edges are set but centers still look slightly soft—they'll firm up beautifully as they cool. These cookies stay fresh for days when stored in an airtight container, making them ideal for batch baking or sharing with friends.
The smell of espresso hitting cocoa powder stopped me mid conversation one Sunday afternoon, and I knew right then those two flavors belonged together in a cookie. My kitchen was already warm from the oven and rain was tapping the window in that lazy way that makes you want to bake something serious. These cookies came out of that mood, chewy and dark with pockets of melted chocolate and the occasional crunch of toasted hazelnut. They have been my rainy day answer ever since.
I brought a batch to a friends potluck last fall and watched a woman who swears she hates gluten free desserts eat four of them before asking for the recipe. That moment of someone tasting something without prejudice and genuinely loving it is why I keep baking.
Ingredients
- Gluten free all purpose flour blend (1 and a half cups): Use a blend that already contains xanthan gum because it saves you an extra ingredient and gives the cookies that classic chew you do not want to lose.
- Unsweetened cocoa powder (half a cup): This builds the deep chocolate base that pairs with the espresso, so do not skip it or substitute with hot cocoa mix.
- Baking soda (1 teaspoon): Helps the cookies spread just enough without turning them into flat crisps.
- Salt (half a teaspoon): A small amount that balances the sweetness and makes every flavor sharper.
- Instant espresso powder (2 tablespoons): The secret weapon here, it dissolves right into the dough and makes everything taste more like itself.
- Semisweet chocolate chips (1 cup): Chunks melt better if you chop them from a bar, but chips work beautifully when you are short on time.
- Light brown sugar (three quarters cup, packed): Brown sugar brings moisture and that caramel undertone that makes a cookie memorable.
- Granulated sugar (quarter cup): Just enough to keep the edges crisp without making the whole cookie crunchy.
- Unsalted butter (half a cup, softened): Let it sit out until it yields to a gentle press because cold butter will leave you with uneven dough.
- Large eggs (2, room temperature): Room temp eggs blend smoother and help the dough come together faster.
- Pure vanilla extract (1 teaspoon): Rounds out the bitterness of the espresso and cocoa with a quiet warmth.
- Toasted hazelnuts (three quarters cup, coarsely chopped): Toast them yourself if you can because the fresh toast smell fills your kitchen and the flavor is incomparable.
Instructions
- Preheat and prepare:
- Set your oven to 350 degrees F and line two baking sheets with parchment paper so nothing sticks and cleanup is effortless.
- Whisk the dry ingredients:
- In a medium bowl, whisk together the flour, cocoa powder, baking soda, and salt until you see no clumps and the color is even throughout.
- Beat butter and sugars:
- In a large bowl, beat the softened butter, brown sugar, and granulated sugar with an electric mixer until the mixture looks pale and fluffy, about two minutes of mixing.
- Add eggs and flavor:
- Add the eggs one at a time, beating well after each, then stir in the vanilla extract and espresso powder until the dough smells like a coffee shop in the best way.
- Combine wet and dry:
- Gradually add the dry ingredients to the wet mixture, mixing just until everything is incorporated and you no longer see streaks of flour.
- Fold in the good stuff:
- Gently fold in the chocolate chips and chopped hazelnuts with a spatula, distributing them evenly so every cookie gets a fair share.
- Scoop and space:
- Scoop tablespoon sized portions of dough onto your prepared sheets, leaving about two inches between each one so they have room to spread.
- Bake to perfection:
- Bake for 10 to 12 minutes until the edges look set but the centers still look slightly soft and underdone because they will firm up as they cool.
- Cool properly:
- Let the cookies rest on the baking sheet for five minutes before moving them to a wire rack, which helps them set without breaking apart.
 Pin It
 One evening my neighbor knocked on my door to return a borrowed pan and ended up sitting at my counter eating three of these straight off the rack, telling me about her grandmother who used to put coffee in everything she baked. Food does that, it opens doors you did not know were there.
A Few Words on Substitutions
Walnuts or almonds work well if hazelnuts are not available, though I would suggest toasting whatever nut you choose because raw nuts in a cookie like this feel like a missed opportunity. For a dairy free version, plant based butter and dairy free chocolate chips perform admirably, but the texture will be slightly more cakey. I tested this with coconut oil once and the cookies spread too thin, so I would stick with a vegan butter stick if you go that route.
What to Expect from the Dough
The dough will be softer and slightly sticker than traditional cookie dough, which is normal for gluten free baking and not a sign that something went wrong. If it bothers you, a quick thirty minute chill in the refrigerator makes it easier to scoop and helps the cookies hold their shape better in the oven. Do not be tempted to add more flour because it will dry out the final cookie and mask that chewy texture you are after.
Serving and Storing Your Cookies
These cookies taste their absolute best on the day they are baked, still faintly warm with the chocolate soft and the espresso aroma at its peak. Store leftovers in an airtight container at room temperature and they will stay chewy for up to four days, though they rarely last that long in my house. You can also freeze the baked cookies for up to three months, or freeze scooped dough balls on a sheet pan and transfer them to a bag for baking on demand.
- A sprinkle of flaky sea salt on top before baking takes these from great to extraordinary.
- Always check that your chocolate and flour blend are certified gluten free if you are baking for someone with celiac disease.
- Let the cookies cool completely before stacking or storing so they do not steam and turn soggy.
 Pin It
 Bake these on a quiet afternoon when you have nowhere to be, and share them with someone who thinks gluten free desserts cannot be extraordinary. They will change their mind by the second cookie.
Recipe Questions & Answers
- → Can I make these cookies dairy-free?
-
Yes, simply substitute plant-based butter for the unsalted butter and use dairy-free chocolate chips. Many dark chocolate varieties are naturally dairy-free, but always check the label to be certain.
- → What type of gluten-free flour works best?
-
A high-quality gluten-free all-purpose flour blend containing xanthan gum produces the best texture. Look for blends specifically designed for baking that include a mix of rice flours, starches, and gum binders.
- → Can I reduce the espresso flavor?
-
Absolutely—cut the instant espresso powder to 1 tablespoon for a milder coffee taste, or omit it entirely for classic chocolate hazelnut cookies without the mocha element.
- → How should I store these cookies?
-
Keep them in an airtight container at room temperature for up to 5 days. For longer storage, freeze the baked cookies for up to 3 months or freeze the dough scoops to bake fresh whenever you crave them.
- → Why did my cookies spread too much?
-
This usually happens if the butter was too soft or the dough wasn't chilled. Try refrigerating the scooped dough for 15-20 minutes before baking to help them hold their shape better in the oven.
- → Can I use instant coffee instead of espresso powder?
-
Yes, instant coffee granules work as a substitute, though they'll provide a milder flavor. Use the same amount, or increase slightly if you want a stronger coffee taste to match the original espresso intensity.
