 Pin It
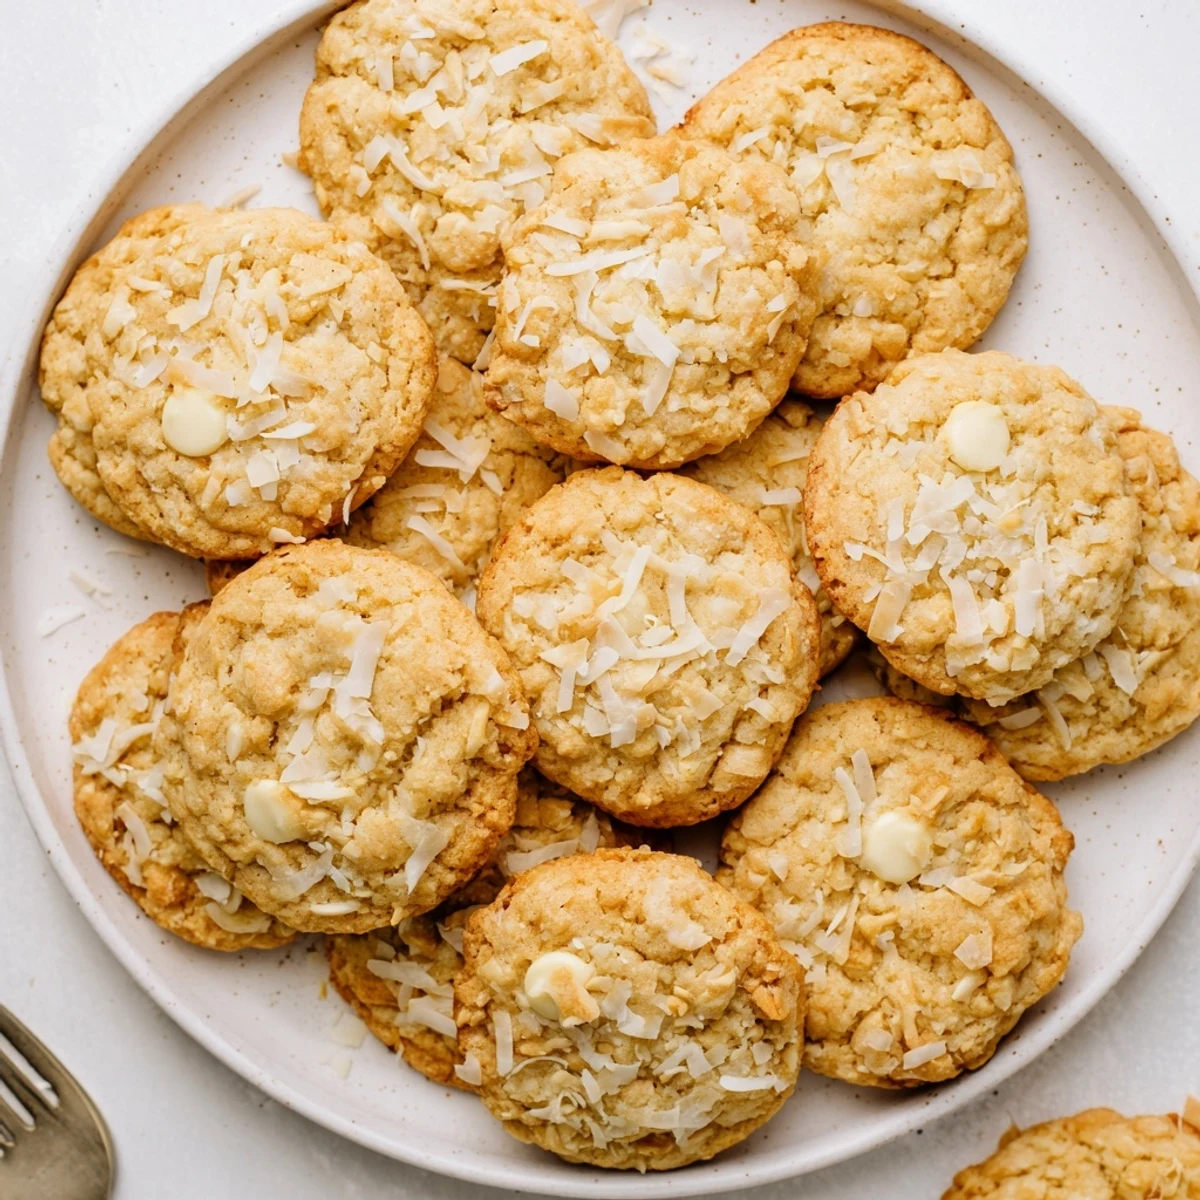
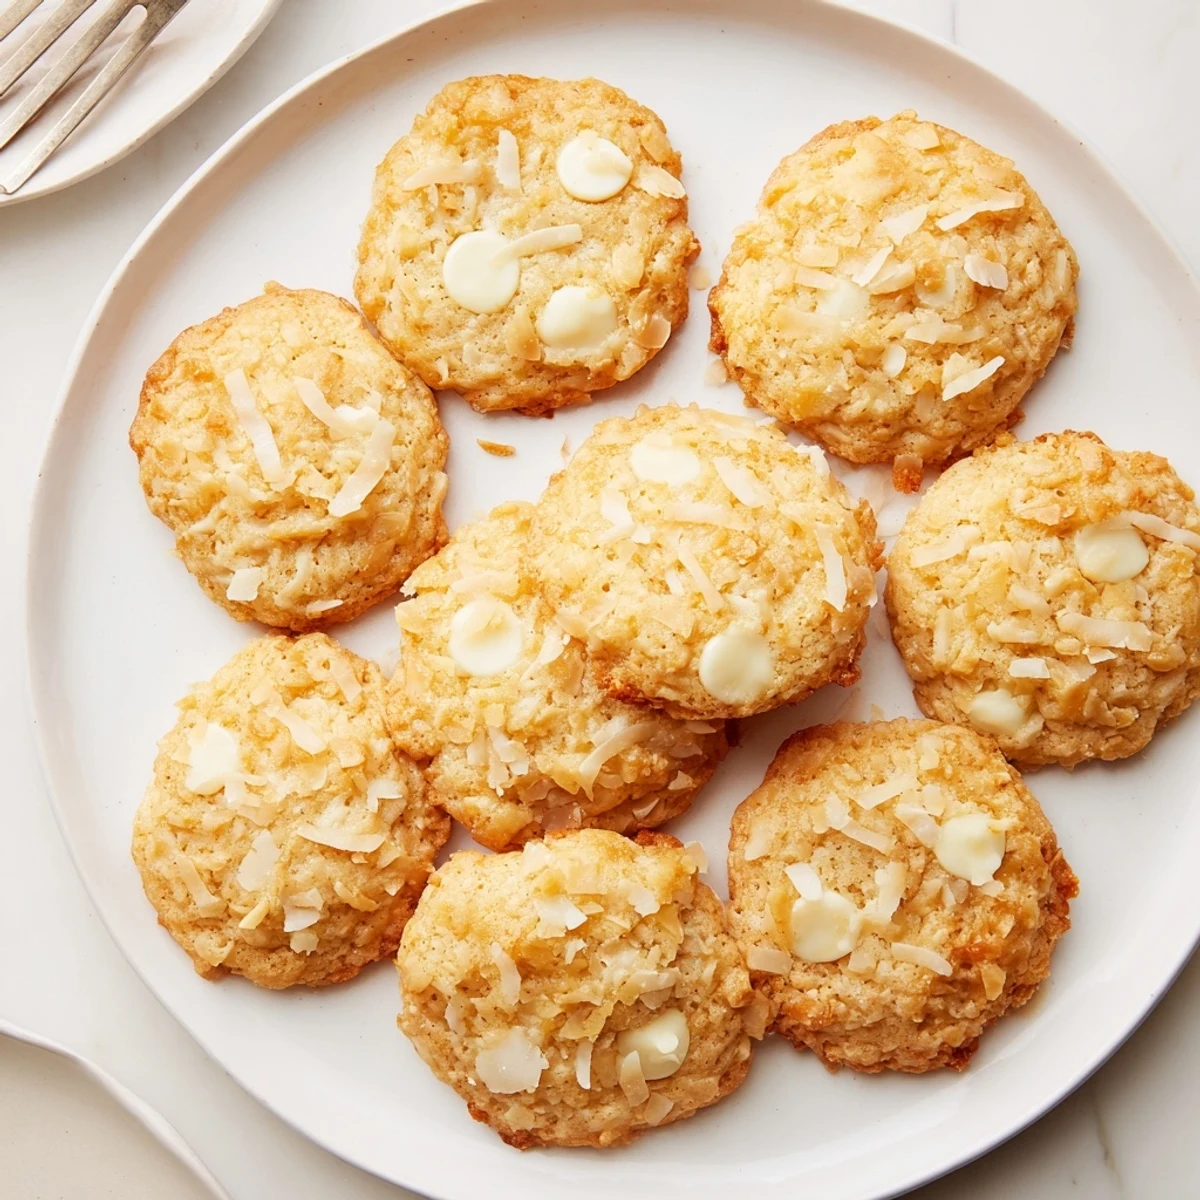
 These crisp, zesty cookies combine bright lemon flavor with delightful coconut crunch in every bite. The gluten-free flour blend creates a tender texture while shredded coconut adds satisfying crispiness. With just 15 minutes of prep and 15 minutes in the oven, you'll have 18 perfectly golden treats.
The fresh lemon juice and zest provide vibrant citrus notes that balance perfectly with subtle sweetness. Optional white chocolate chips can be folded in for extra richness and texture. These cookies store beautifully for up to 5 days, making them ideal for batch preparation.
The screen door slammed shut behind me as I carried a plate of these cookies out to the porch last June, and my neighbor actually stopped mowing his lawn to ask what smelled so good. Something about lemon and coconut together just screams summer, even when you are baking them in a kitchen that is already too warm. These gluten-free lemon coconut crunch cookies came out of a desperate afternoon when I realized I had no regular flour but plenty of coconut and three lemons staring me down.
My sister, who normally dismisses gluten-free anything as cardboard with ambitions, ate four of them standing at my counter before she even realized what she was doing. She looked guilty, I laughed, and then I showed her the empty flour canister that started the whole experiment. We ended up baking a second batch together that same afternoon because the first one vanished so fast.
Ingredients
- Gluten-free all-purpose flour blend (1 1/2 cups or 180 g): Make sure your blend contains xanthan gum or add 1/4 teaspoon separately because that is what holds these cookies together without getting crumbly.
- Baking soda (1/2 teaspoon): Just enough lift to keep them from turning into hockey pucks.
- Salt (1/4 teaspoon): Do not skip this because salt is the secret that makes lemon flavor pop instead of tasting flat.
- Unsalted butter, softened (1/2 cup or 115 g): Pull it out an hour ahead because cold butter will leave you with greasy puddles instead of cookies.
- Granulated sugar (3/4 cup or 150 g): Regular white sugar works best here since brown sugar would mute the bright lemon flavor.
- Large egg (1): Room temperature egg blends more smoothly into the butter mixture.
- Freshly squeezed lemon juice (2 tablespoons): Bottled juice tastes metallic and sad next to fresh squeezed.
- Lemon zest (1 tablespoon, finely grated): This is where most of the lemon punch lives, so zest before you juice and really get into the yellow skin without hitting the bitter white pith.
- Pure vanilla extract (1 teaspoon): A quiet background note that rounds everything out.
- Unsweetened shredded coconut (1 cup or 80 g): Unsweetened is key because sweetened coconut will burn before the cookies are done and make them overly sweet.
- White chocolate chips (1/3 cup or 55 g, optional): These add little pools of creamy sweetness that contrast beautifully with the zesty coconut crunch.
Instructions
- Get the oven ready:
- Preheat your oven to 350 degrees F and line two baking sheets with parchment paper so nothing sticks and cleanup is effortless.
- Whisk the dry team:
- In a medium bowl, whisk together the gluten-free flour, baking soda, and salt until evenly blended, then set it aside.
- Cream butter and sugar:
- Beat the softened butter and sugar with a hand mixer until the mixture looks pale and fluffy, about two minutes of mixing.
- Add the wet magic:
- Drop in the egg, lemon juice, lemon zest, and vanilla extract, then beat until everything is smooth and smells like a citrus grove.
- Bring it all together:
- Gradually add the dry ingredients to the wet mixture on low speed, mixing only until the last streak of flour disappears.
- Fold in the crunch:
- Gently fold in the shredded coconut and white chocolate chips if using, distributing them evenly throughout the soft dough.
- Scoop and shape:
- Scoop tablespoon-sized balls of dough onto your prepared sheets, spacing them about two inches apart, then flatten each one gently with your palm or the back of a spoon.
- Bake until golden:
- Slide the sheets into the oven for 12 to 15 minutes, watching for golden edges while the centers still look slightly soft and pale.
- Cool with patience:
- Let the cookies rest on the baking sheet for five minutes before transferring them to a wire rack, because they will finish setting up and firm while they sit.
 Pin It
 There is something about handing someone a warm cookie that makes any conversation easier, and these little lemon coconut bites have broken the ice at more potlucks and block parties than I can count.
Swaps and Twists I Have Tried
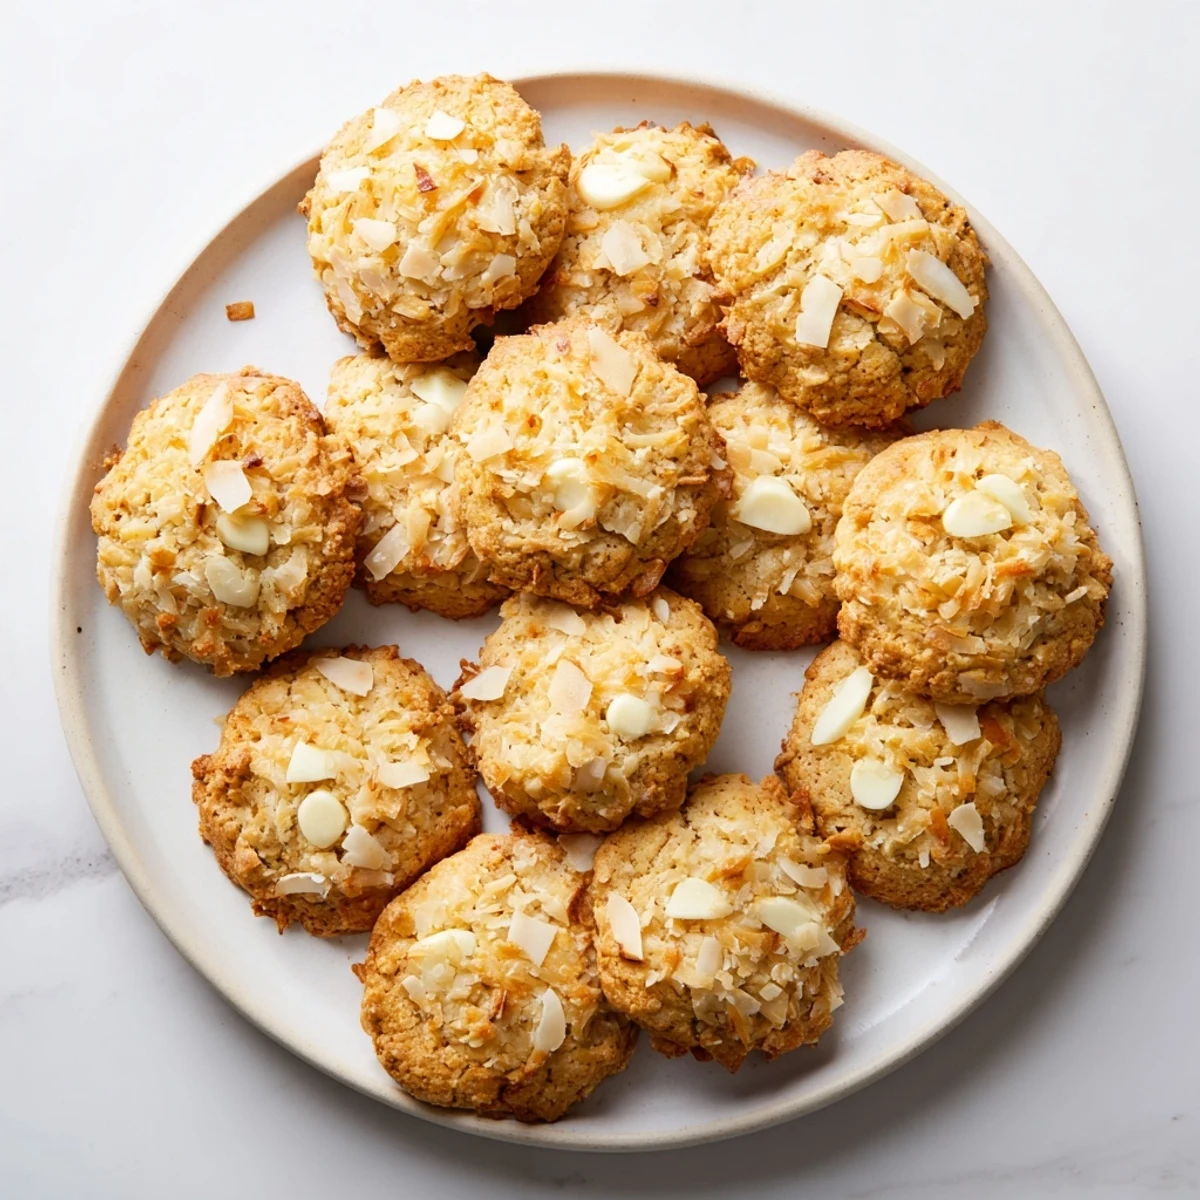
Swap the white chocolate chips for chopped toasted almonds or macadamia nuts if you want extra crunch without the sweetness, and both versions disappear equally fast. I once threw in a handful of dried cranberries on a whim and the tart chewiness was surprisingly wonderful against the lemon.
Storing Your Cookies Properly
Keep these in an airtight container at room temperature and they stay crisp on the edges and chewy in the middle for up to five days, though honestly they rarely last that long in my house. You can also freeze the baked cookies for up to three months and thaw them at room temperature when you need a quick treat.
Getting the Texture Just Right
The trickiest part of gluten-free baking is nailing the texture, and these cookies taught me that patience with cooling time pays off enormously in the final crunch. Every oven runs a little differently, so start checking at the 12 minute mark and pull them as soon as those edges turn golden.
- If your dough feels too sticky to scoop, pop it in the fridge for 15 minutes and it will firm right up.
- A light press with a fork gives a pretty crosshatch pattern if you want them to look bakery-fancy.
- Always double-check your flour blend and white chocolate chips for cross-contamination labels if serving someone with celiac disease.
 Pin It
 These cookies are proof that happy accidents in the kitchen often become the recipes you reach for again and again. Bake a batch, share them generously, and watch faces light up at that first bright, crunchy bite.
Recipe Questions & Answers
- → Can I use regular flour instead of gluten-free blend?
-
Yes, substitute an equal amount of all-purpose wheat flour for the gluten-free blend if you don't need to avoid gluten. The texture will remain similar, though the cookies may spread slightly more during baking.
- → How do I know when the cookies are done baking?
-
Look for golden-brown edges while the centers may still appear slightly soft. The cookies will continue setting as they cool on the baking sheet for 5 minutes. Overbaking leads to dry texture.
- → Can I freeze the dough or baked cookies?
-
Yes, both freeze well. Scoop raw dough balls onto a parchment-lined tray, freeze until solid, then transfer to a freezer bag for up to 3 months. Bake from frozen, adding 1-2 minutes. Baked cookies freeze for up to 2 months.
- → What can I substitute for shredded coconut?
-
Chopped macadamia nuts, toasted almonds, or pecans work beautifully for crunch. For a different texture, try rolled oats or crushed cornflakes. The total volume should remain approximately 1 cup.
- → Why did my cookies spread too much?
-
This typically happens if the butter was too soft or the dough wasn't chilled. Ensure butter is softened but not melting. If your kitchen is warm, refrigerate the scooped dough for 15 minutes before baking.
- → Can I make these dairy-free?
-
Substitute vegan butter sticks or coconut oil for the butter. Omit the white chocolate chips or use dairy-free alternatives. The texture and flavor will remain delicious with these simple swaps.
