 Pin It
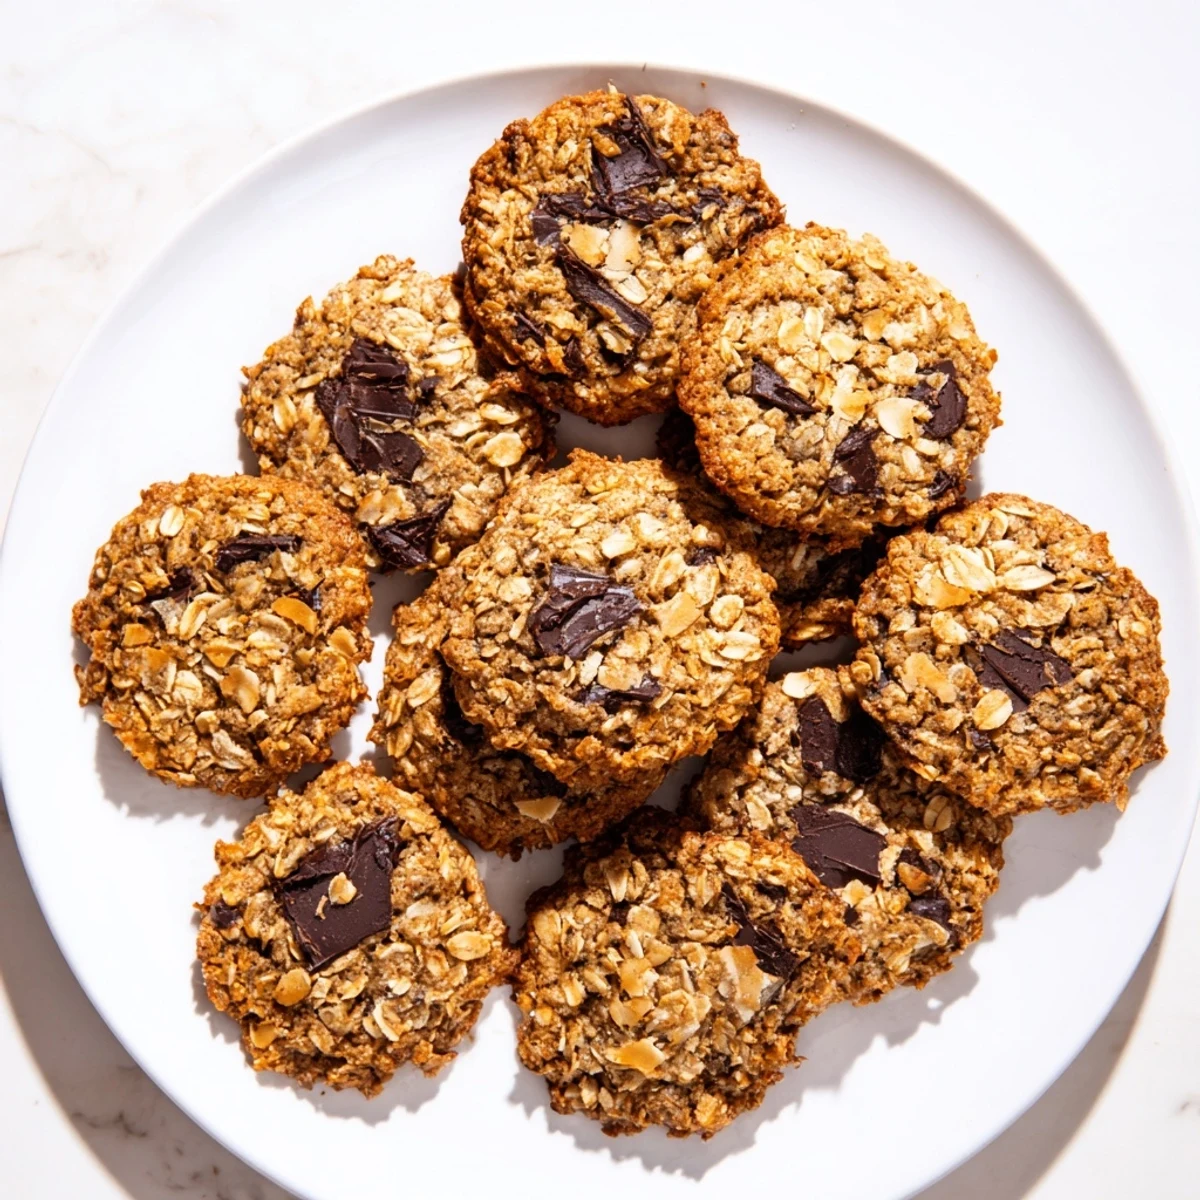
 These crisp, indulgent cookies combine the rich intensity of dark chocolate with tropical coconut flakes in a perfectly crunchy gluten-free format. The rolled oats and almond flour create a satisfying texture while keeping everything naturally wheat-free. Ready in under 30 minutes, these treats are perfect for afternoon snacks or dessert platters.
The dough comes together quickly with melted butter for extra crispness, and you can customize them by toasting the coconut first or swapping butter for coconut oil. Store them in an airtight container and they'll stay perfectly crisp for up to five days.
The rain was hammering against the kitchen window the afternoon I threw these together, desperate for something sweet without reaching for the usual all-purpose flour canister. What started as a hopeful experiment turned into one of those rare moments where the first batch disappears before the second one even leaves the oven. The combination of dark chocolate and coconut creates this deeply satisfying contrast that makes you forget entirely that these are gluten-free. My roommate walked in, ate four in silence, and simply said these belong in permanent rotation.
I brought a tin of these to a potluck last fall and watched a friend who usually skips dessert entirely go back for thirds. She pulled me aside later and asked for the recipe with this earnest look that told me she needed it more than wanted it. That evening I sat at my kitchen table writing the measurements on the back of an old receipt, slightly amused that something so simple could mean that much to someone.
Ingredients
- Gluten-free rolled oats (1 1/4 cups): These form the backbone of the cookie, giving it structure and a hearty chew that regular flour simply cannot replicate. Make sure your oats are certified gluten-free because cross-contamination is real and sneaky.
- Almond flour (1/2 cup): This adds a subtle richness and tenderness that balances the oat texture beautifully. Do not swap for coconut flour here, as it behaves completely differently and will dry out your dough.
- Baking soda (1/2 tsp): Just enough to give these a gentle lift without making them cakey. Fresh baking soda matters more than people realize, so replace yours if it has been sitting open for months.
- Fine sea salt (1/2 tsp): Salt is the quiet hero in every cookie, amplifying the dark chocolate and taming the sweetness. Fine salt dissolves evenly into the dough, which is why I prefer it over coarse here.
- Unsalted butter, melted and slightly cooled (1/2 cup): Melted butter is the secret to that dense, crisp edge we are after. Let it cool just enough so it does not scramble your egg when they meet.
- Brown sugar, packed (1/2 cup): Brown sugar brings moisture and a caramel note that pairs perfectly with coconut. Pack it firmly into your measuring cup for consistent results every time.
- Granulated sugar (1/4 cup): This helps the edges spread and crisp up in the oven. The combination of both sugars is what gives these cookies their balanced texture.
- Large egg (1): One egg binds everything together without making the dough too wet. Let it come to room temperature for the most even mixing.
- Pure vanilla extract (1 tsp): Use the real stuff here because you will taste the difference against the dark chocolate. It rounds out the flavors and adds warmth without calling attention to itself.
- Unsweetened shredded coconut (3/4 cup): Unsweetened is essential because the chocolate and sugars already bring plenty of sweetness. The shreds toast slightly during baking, creating little pockets of chewy coconut throughout.
- Dark chocolate chips or chopped chocolate (3/4 cup, 70% cacao or higher): High-percentage dark chocolate stands up to the coconut and butter without making the cookies overly sweet. Chopped chocolate creates beautiful irregular puddles, but chips work perfectly fine when you want convenience.
Instructions
- Get your oven ready:
- Preheat to 350°F and line two baking sheets with parchment paper. The parchment is non-negotiable here because it prevents spreading and makes cleanup effortless.
- Whisk your dry team:
- In a medium bowl, whisk together the rolled oats, almond flour, baking soda, and salt until evenly distributed. Take a moment to break up any clumps in the almond flour with your fingers.
- Build the wet base:
- In a large bowl, whisk the melted butter with both sugars until smooth and glossy. Add the egg and vanilla, mixing until the mixture looks unified and slightly thickened.
- Bring it all together:
- Gradually stir the dry ingredients into the wet mixture, folding gently until just combined. Stop mixing the moment you no longer see dry streaks, because overworking the dough toughens the cookies.
- Add the good stuff:
- Fold in the shredded coconut and dark chocolate chips with a spatula, distributing them evenly. Try not to eat too much of the dough at this stage, though I understand if you do.
- Scoop and shape:
- Scoop tablespoon-sized portions onto your prepared sheets, leaving about two inches between each one. Gently flatten each mound with your fingers or the back of a spoon for those perfectly crisp edges.
- Bake and watch closely:
- Bake for 10 to 12 minutes, until the edges are golden brown and the centers look just barely set. They will continue firming up as they cool, so resist the urge to overbake.
- Cool with patience:
- Let the cookies rest on the baking sheet for five full minutes before transferring to a wire rack. This waiting period is where the texture finishes developing, so try not to rush it.
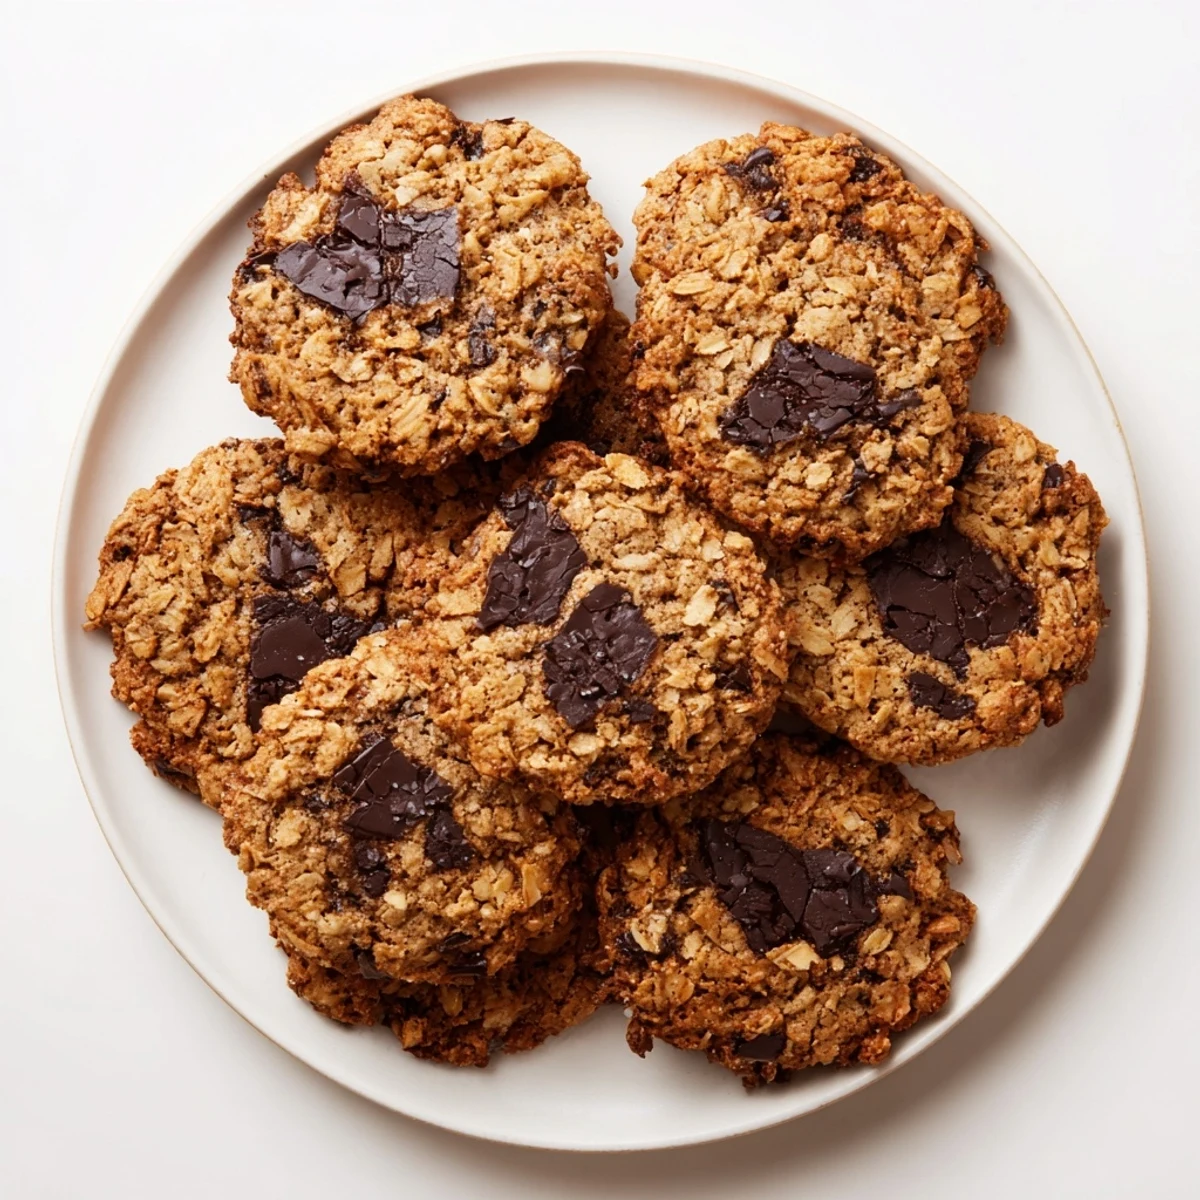 Pin It
 There is something quietly wonderful about pulling a tray of cookies from the oven when the house is still and nobody is watching. The smell of dark chocolate and toasted coconut filling the kitchen feels like a small act of kindness you give yourself on an ordinary afternoon.
Making Them Your Own
A pinch of cinnamon folded into the dry ingredients adds a warmth that makes these taste like something baked in a cabin during winter. I tried adding orange zest once on a whim and the bright citrus against the dark chocolate was a revelation I now crave. Swap the butter for coconut oil if you want a dairy-free version, though the flavor shifts slightly in a direction that some people actually prefer.
Storing and Sharing
These cookies keep beautifully in an airtight container for up to five days, though in my experience they rarely last that long. The texture holds up surprisingly well, staying crisp on the edges while the centers soften just slightly with each passing day. They also travel well, making them an excellent choice for care packages or road trip snacks.
A Few Last Thoughts
Trust your instincts with the bake time because every oven has its own personality and the difference between perfectly crisp and slightly overdone is just one minute. Let your butter cool properly before mixing, and always check that your oats carry a certified gluten-free label if that matters for your household.
- The dough freezes well in scooped portions, so consider making a double batch and saving half for a rainy day.
- If your dough feels too soft to scoop, refrigerate it for twenty minutes and it will firm right up.
- Always let the cookies cool completely before storing or the steam will soften those crisp edges you worked so hard to achieve.
 Pin It
 Bake these when you need a reminder that simple ingredients, treated with care, create something far greater than the sum of their parts. Share them freely, or keep the whole batch hidden in your cookie jar.
Recipe Questions & Answers
- → Are these cookies completely gluten-free?
-
Yes, these cookies use gluten-free rolled oats and almond flour instead of wheat flour. Always check your ingredient labels to ensure your oats are certified gluten-free and processed in a gluten-free facility.
- → Can I make these dairy-free?
-
Absolutely. Simply substitute the unsalted butter with an equal amount of melted coconut oil. The coconut oil complements the shredded coconut beautifully and maintains the crisp texture.
- → Why should I toast the coconut first?
-
Toasting the coconut in a dry skillet before adding it to the dough enhances its natural nutty flavor and adds extra crunch to the finished cookies. It only takes 3-4 minutes and makes a noticeable difference in taste.
- → How do I know when the cookies are done baking?
-
The cookies are ready when the edges are golden brown and the centers look just set. They may appear slightly undercooked in the middle but will firm up as they cool on the baking sheet during the 5-minute resting period.
- → Can I freeze the dough or baked cookies?
-
You can freeze scooped portions of dough on a baking sheet, then transfer to a freezer bag for up to 3 months. Bake from frozen, adding 1-2 minutes to the baking time. Baked cookies also freeze well for up to 2 months.
- → What percentage of dark chocolate works best?
-
Dark chocolate with 70% cacao or higher provides the best balance of sweetness and intensity. Higher cacao percentages (75-85%) work wonderfully if you prefer less sweetness and more complex chocolate flavor.
