 Pin It
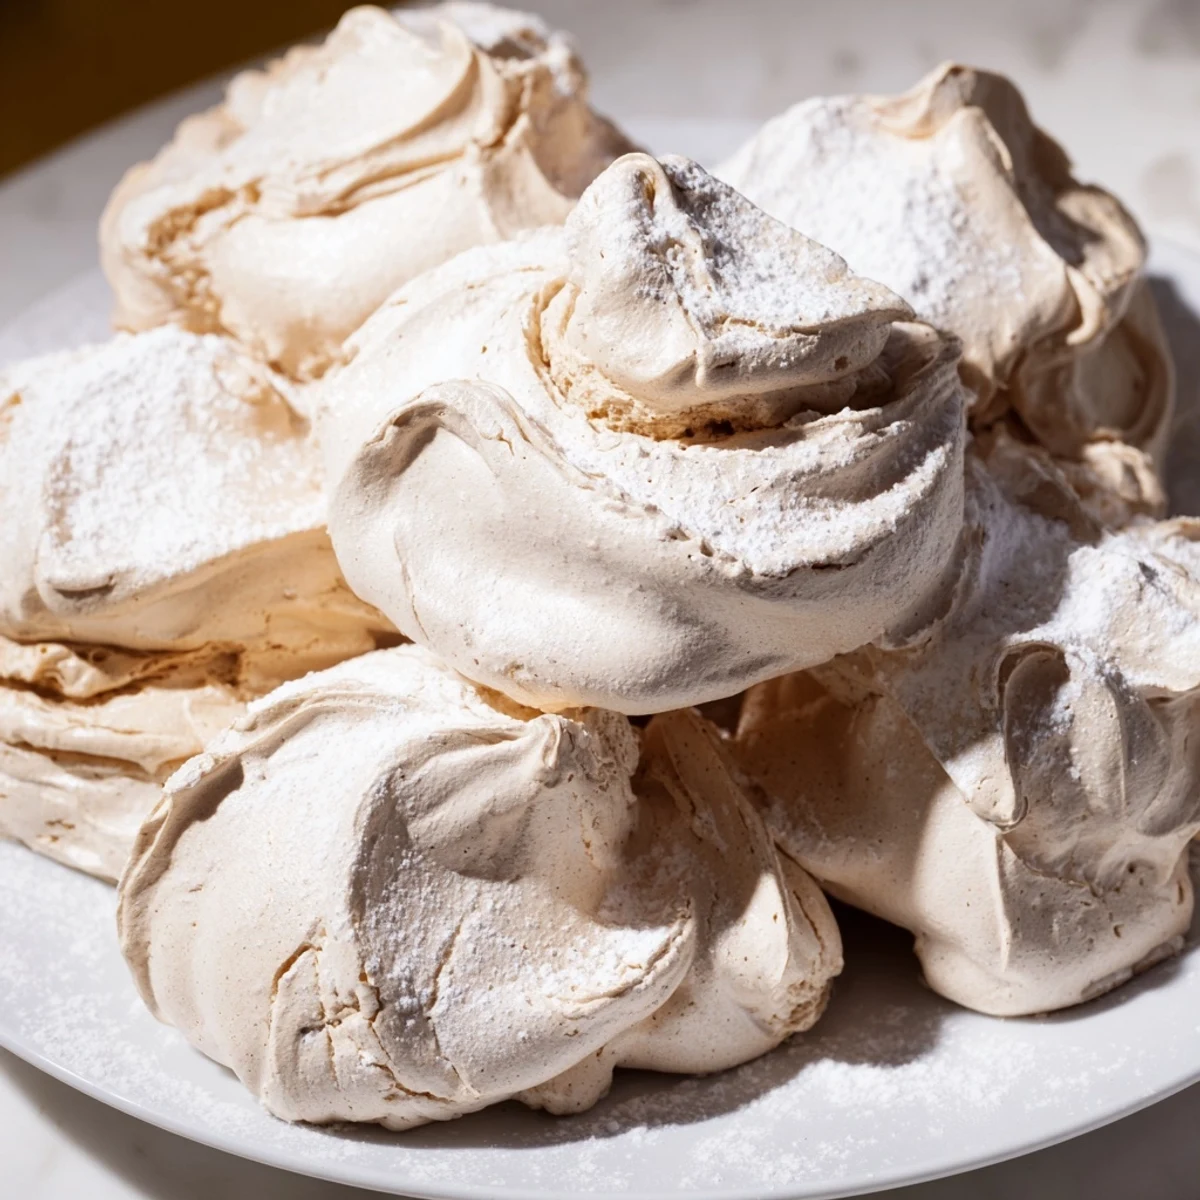
 This cozy dessert highlights softly baked brown sugar meringue shaped like snow mounds and lightly dusted with powdered sugar to evoke a winter scene. Whipped egg whites are folded with brown sugar and cream of tartar to achieve glossy peaks before baking slowly to a crisp exterior and tender inside. Perfectly gluten-free and ready in just over an hour, it makes a charming treat ideal for chilly days. Serving suggestions include a sprinkle of cinnamon or pairing with fresh berries for extra flavor layers.
There's something magical about watching meringue transform in the oven—how egg whites and brown sugar become these delicate, snowy peaks that taste like sweet clouds. I discovered this recipe on a particularly grey afternoon when my daughter pressed her nose against the kitchen window, hoping for actual snow that never came. Instead, I made her these little mounds dusted with powdered sugar, and she swore they were edible snowflakes. The kitchen smelled warm and toasty, nothing like winter, but somehow the dessert itself felt like the cozy season in a bite.
I remember bringing a batch to a winter book club and watching everyone pause mid-sentence when they tried one. My friend Sarah closed her eyes and said they tasted like childhood, which made me laugh because I'd only invented them an hour before she arrived. The powdered sugar coating fooled everyone into thinking they were more complicated than they were, and I loved keeping that secret while they savored each bite.
Ingredients
- Egg whites (4 large, room temperature): Room temperature whites whip up faster and reach those glossy peaks that make your heart sing—cold ones take forever and you'll think something's wrong when it's just a patience game.
- Brown sugar (1 cup, packed): The whole point of calling these brown sugar snow, so don't swap it for white sugar unless you want something entirely different; packed means really pressed down into the measuring cup.
- Cream of tartar (1/4 tsp): This little ingredient stabilizes the whites and helps them hold their shape, making the whole process feel more forgiving and less likely to deflate.
- Salt (1/8 tsp): Just enough to bring out the sweetness and cut through any eggy flavor that might linger.
- Powdered sugar (2 tbsp for topping): The final dusting that makes these look like they fell fresh from the sky—check the label for gluten-free certification if that matters for your kitchen.
Instructions
- Set your stage:
- Preheat the oven to 250°F and line your baking sheet with parchment paper so nothing sticks and you can slide these little clouds right off when they're done. This low, slow heat is the secret—it dries them out gently instead of browning them.
- Begin with clean whites:
- In a spotlessly clean bowl (any hint of yolk or grease ruins everything), beat the egg whites and salt on medium speed until they're foamy and look almost bubbly. This takes maybe a minute or two, and you'll know it's right when the mixture goes from clear liquid to cloudy and airy.
- Build the peaks:
- Add the cream of tartar, crank the mixer to high, and start sprinkling in brown sugar one tablespoon at a time. After each addition, let the mixer run a few seconds so the sugar dissolves completely—you're looking for stiff, glossy peaks that stand straight up when you lift the beaters out.
- Shape into snow mounds:
- Using two spoons (dipped in water so the meringue doesn't stick), drop heaping tablespoons onto the parchment, spacing them a couple inches apart. Use the back of a spoon to gently shape each mound into something that looks like a little snowdrift, irregular and natural.
- Let time do the work:
- Slide them into the oven for a full hour—they should be crisp and dry on the outside but still hold a faint beige color. When time's up, turn off the oven, crack the door open about two inches, and let them cool inside for another 20 minutes so they don't crack from sudden temperature changes.
- Finish with snow:
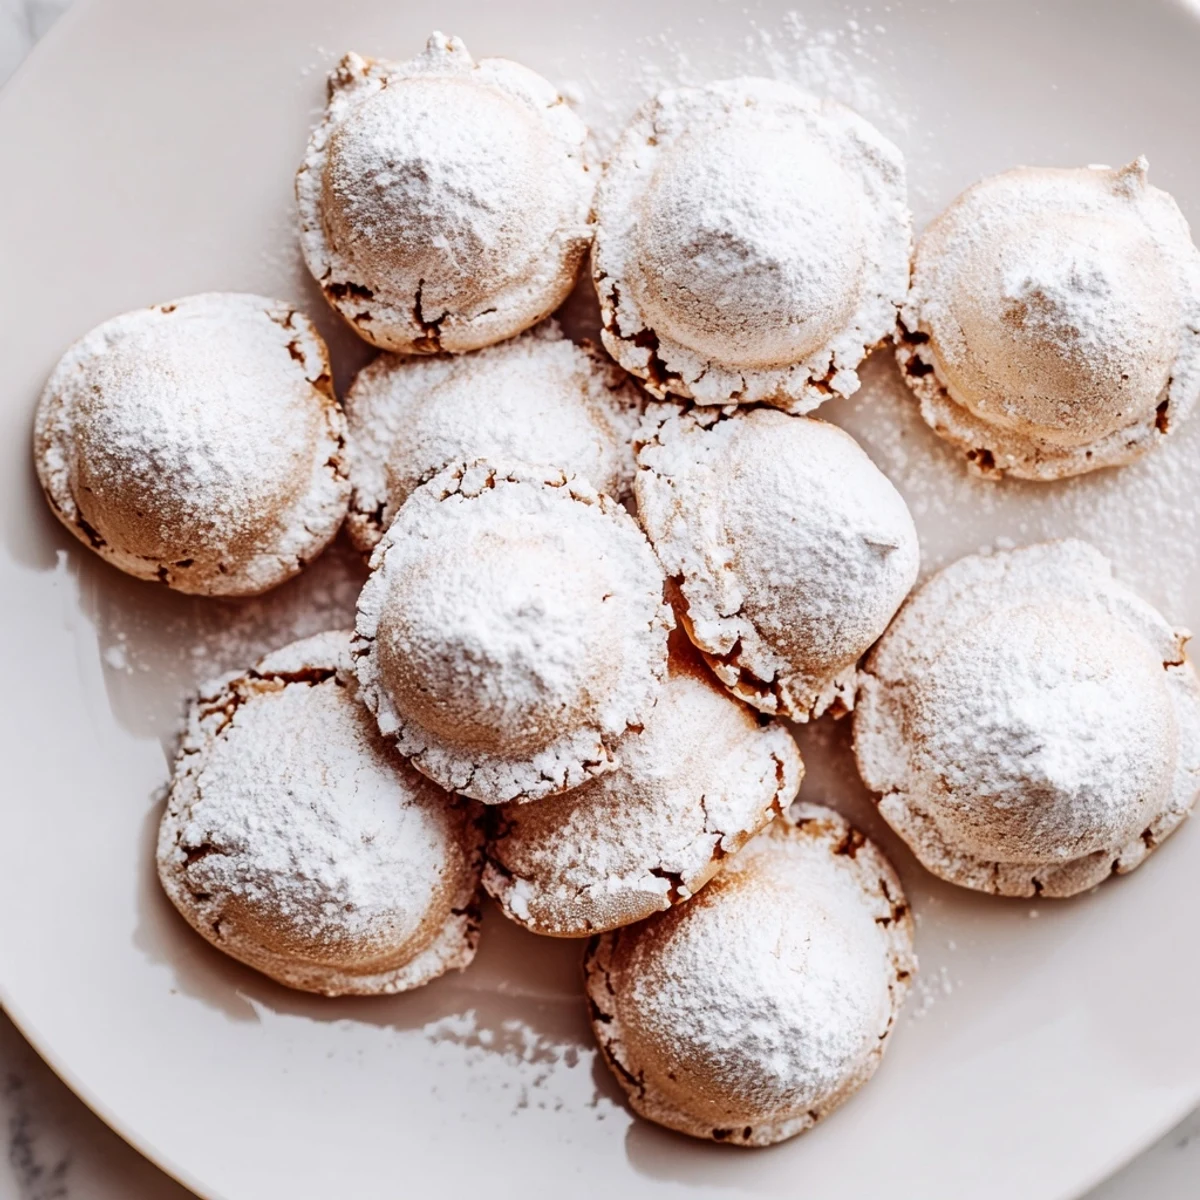
- Once they're completely cool, dust each meringue generously with powdered sugar so they look like they've been dusted by an actual winter storm. Serve right away if you want the maximum crispiness, or store them in an airtight container where they'll stay perfect for several days.
 Pin It
 These little meringues became a tradition in our house without me really planning it—now whenever it's cold and grey outside, someone asks if I'm making snow. My partner calls them the winter version of a hug, which feels right because there's something nurturing about a dessert that tastes like air and sweetness.
Why Brown Sugar Makes All the Difference
The moment I swapped brown sugar in for regular white sugar, I understood why these deserve their own name. White sugar meringues taste clean and sweet, almost plain, but brown sugar brings this subtle caramel depth, almost like butterscotch hiding just at the edges of your taste buds. It's not overwhelming—it's just enough to make people pause and wonder what they're tasting, and that's the whole charm of this dessert.
The Science of Low and Slow
Meringues are essentially cooked egg whites—but the magic happens when you dry them out at a very low temperature over a long time instead of baking them hot and fast. This gentle heat turns them from wet foam into these structurally sound little puffs that stay crisp because all the moisture has evaporated without them ever browning. I learned this after one impatient attempt at 350°F that resulted in cookies, not clouds, and never made that mistake again.
Serving and Storage Secrets
These are at their absolute best eaten the same day you make them, when the outside is crisp and the inside has just a whisper of chewiness. But they're also resilient little things—an airtight container in a cool, dry spot will keep them perfect for up to a week, though the outside does soften slightly as they sit. For parties, I like to make them the morning of, dust them with powdered sugar right before serving, and watch people's faces light up when they realize how simple they are.
- Pair them with fresh raspberries or strawberries for tartness that cuts the sweetness beautifully.
- Drizzle melted dark chocolate over the top for something richer and more indulgent.
- Add a tiny pinch of cinnamon or vanilla to the meringue before baking if you want a hint of warmth and spice.
 Pin It
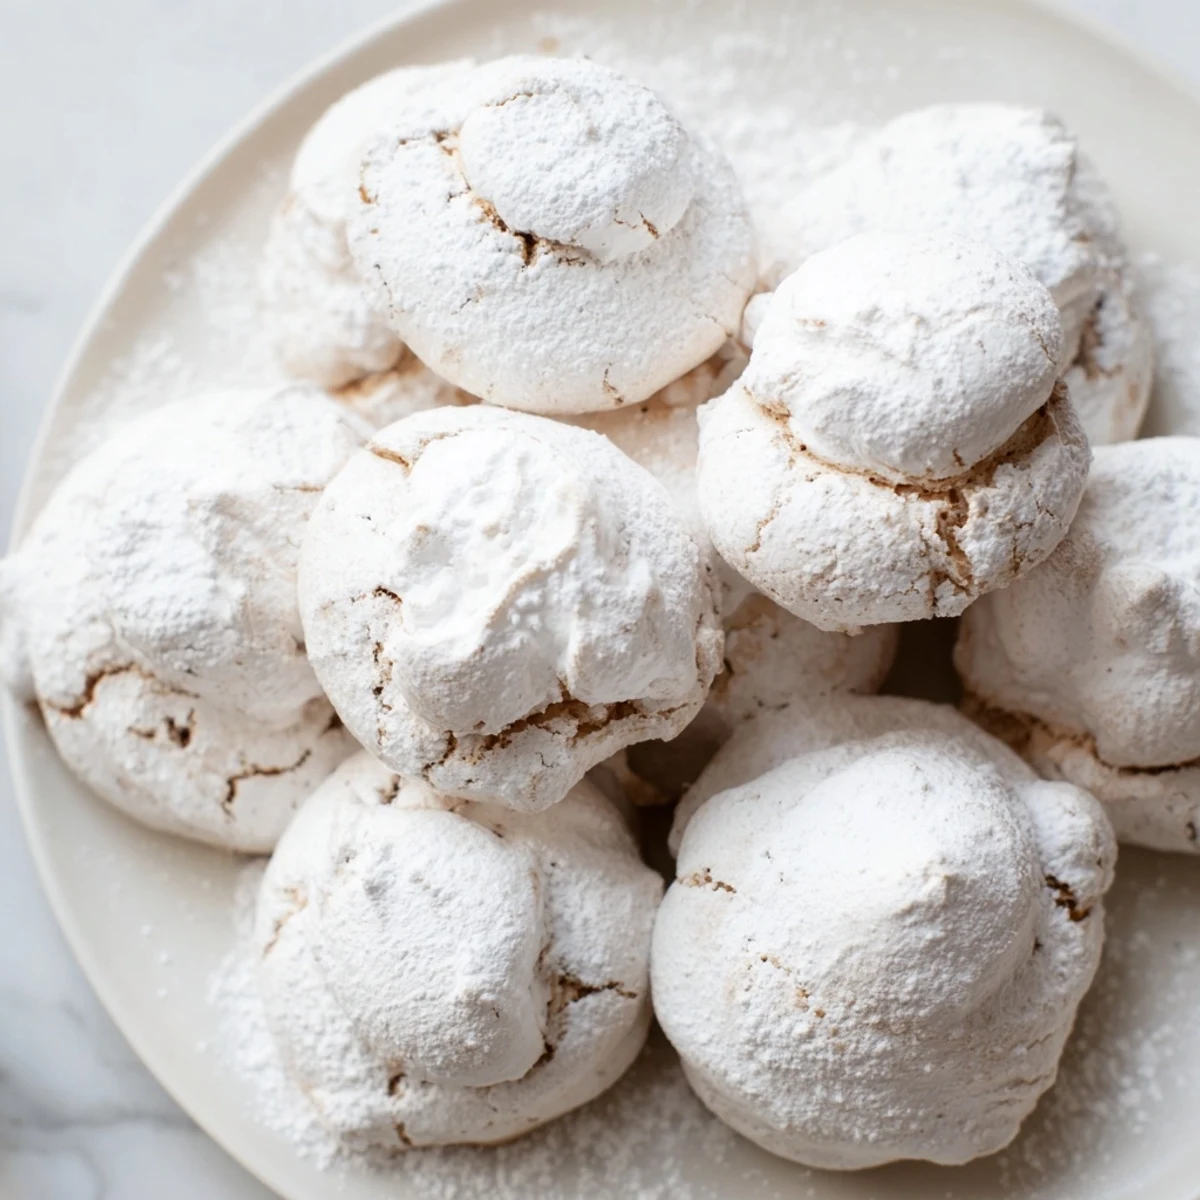
 There's something about a dessert this simple and this pretty that makes you feel like a better baker than you actually are. I hope these snowy mounds bring as much quiet joy to your kitchen as they've brought to mine.
Recipe Questions & Answers
- → What gives the meringue its glossy texture?
-
The brown sugar combined with well-beaten egg whites creates stiff, glossy peaks that form the base of the soft meringue.
- → Can this dessert be made ahead of time?
-
Yes, once cooled and dusted with powdered sugar, the meringues can be stored in an airtight container for several days.
- → How do you achieve the snow-like appearance?
-
Shaping the meringue into mounds and dusting them evenly with powdered sugar gives a soft, snowy effect.
- → Are there any suggested flavor variations?
-
A pinch of cinnamon or vanilla extract added to the meringue before baking can enhance the depth of flavor.
- → What equipment is needed for making the meringue?
-
An electric mixer or stand mixer is essential to whip the egg whites to stiff peaks required for this dessert.
