 Pin It
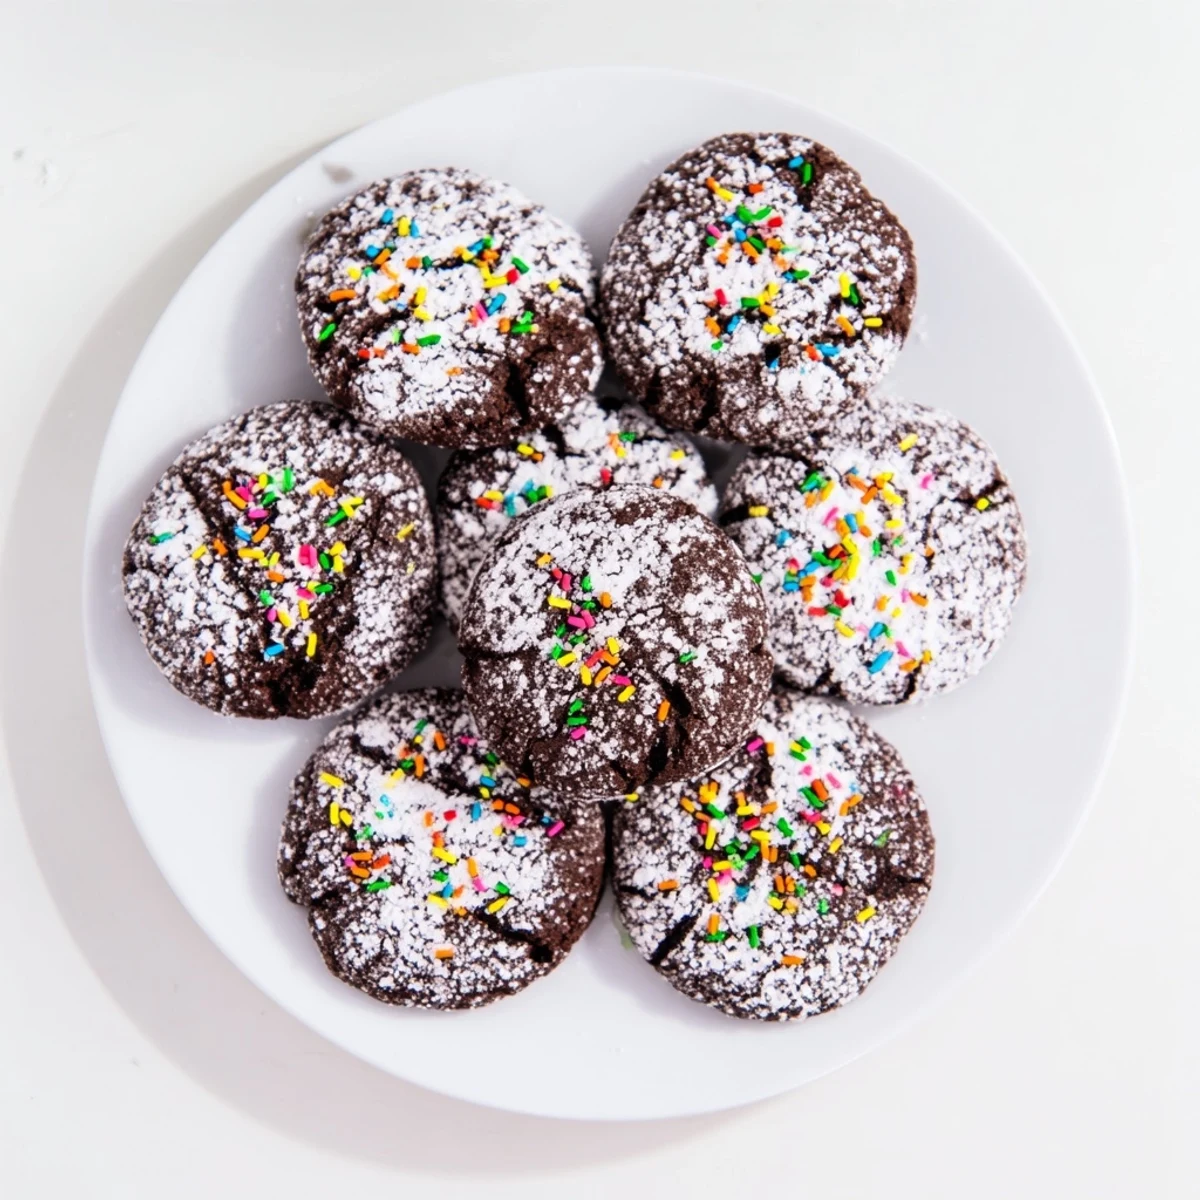
 These decadent winter cocoa cookies feature a deep chocolate flavor from unsweetened cocoa powder, creating a rich and satisfying treat. The dough comes together quickly with softened butter and vanilla, while the finished cookies receive a snowy dusting of powdered sugar for that festive market appearance.
Bake until edges are set but centers remain slightly soft for the perfect texture—crisp outside, tender inside. Add festive sprinkles or sanding sugar for extra holiday cheer, or swap vanilla extract for peppermint to create a refreshing winter variation.
These cookies store beautifully for up to a week, making them ideal for holiday gifting, cookie exchanges, or serving alongside hot cocoa on cold winter evenings. The 30-minute total time means you can have fresh, warm treats ready whenever guests arrive.
The first time I made these chocolate sugar cookies was during a sudden snowstorm that kept us inside for an entire weekend. Something about the deep cocoa color against all that white outside felt perfect, and my kitchen ended up smelling like a bakery crossed with a chocolate shop. My roommate kept wandering in every twenty minutes asking if they were done yet.
Last December I brought a batch to a neighborhood cookie exchange and they vanished before anyone even touched the gingerbread. Three different people asked for the recipe, which is basically the highest compliment you can get at a holiday gathering. Now they are my go to when I need something impressive but actually foolproof.
Ingredients
- 2 cups all purpose flour: The foundation that gives these cookies their satisfying bite and structure
- 1/3 cup unsweetened cocoa powder: Do not use Dutch processed here as it changes how the cookies spread and rise
- 1 teaspoon baking powder: Helps create those tiny cracks on the surface that look so professional
- 1/2 teaspoon baking soda: Works with the cocoa to deepen the chocolate flavor
- 1/2 teaspoon fine sea salt: Crucial for making the chocolate taste more intense
- 3/4 cup unsalted butter: Room temperature is non negotiable for proper creaming with the sugar
- 1 cup granulated sugar: Creates the crisp edges while keeping centers tender
- 1 large egg: Use room temperature eggs for better incorporation into the dough
- 2 teaspoons pure vanilla extract: Real vanilla makes a noticeable difference in the final flavor
- 1/2 cup powdered sugar: The snow dusted finish that makes these look winter perfect
- 1/4 cup festive sprinkles: Completely optional but adds such joy to the presentation
Instructions
- Preheat and prep your space:
- Set your oven to 350°F and line two baking sheets with parchment paper before you start mixing anything
- Whisk the dry ingredients:
- Combine flour cocoa powder baking powder baking soda and salt in a medium bowl until everything looks evenly distributed
- Cream butter and sugar:
- Beat softened butter and granulated sugar for about two minutes until the mixture looks pale and fluffy
- Add the egg and vanilla:
- Pour in the egg and vanilla extract then beat until everything is completely smooth and well combined
- Combine wet and dry:
- Gradually mix in the dry ingredients just until you no longer see streaks of flour do not overmix
- Shape the cookies:
- Roll tablespoon portions of dough into balls and place them two inches apart on your prepared baking sheets
- Flatten gently:
- Press each dough ball down slightly with the bottom of a glass to help them bake evenly
- Bake to perfection:
- Bake for 9 to 11 minutes until edges look set but centers still appear slightly soft
- Cool completely:
- Let the cookies rest on the baking sheets for five minutes before moving them to a wire rack
- Add the finishing touches:
- Dust cooled cookies generously with powdered sugar and add sprinkles if you are feeling festive
 Pin It
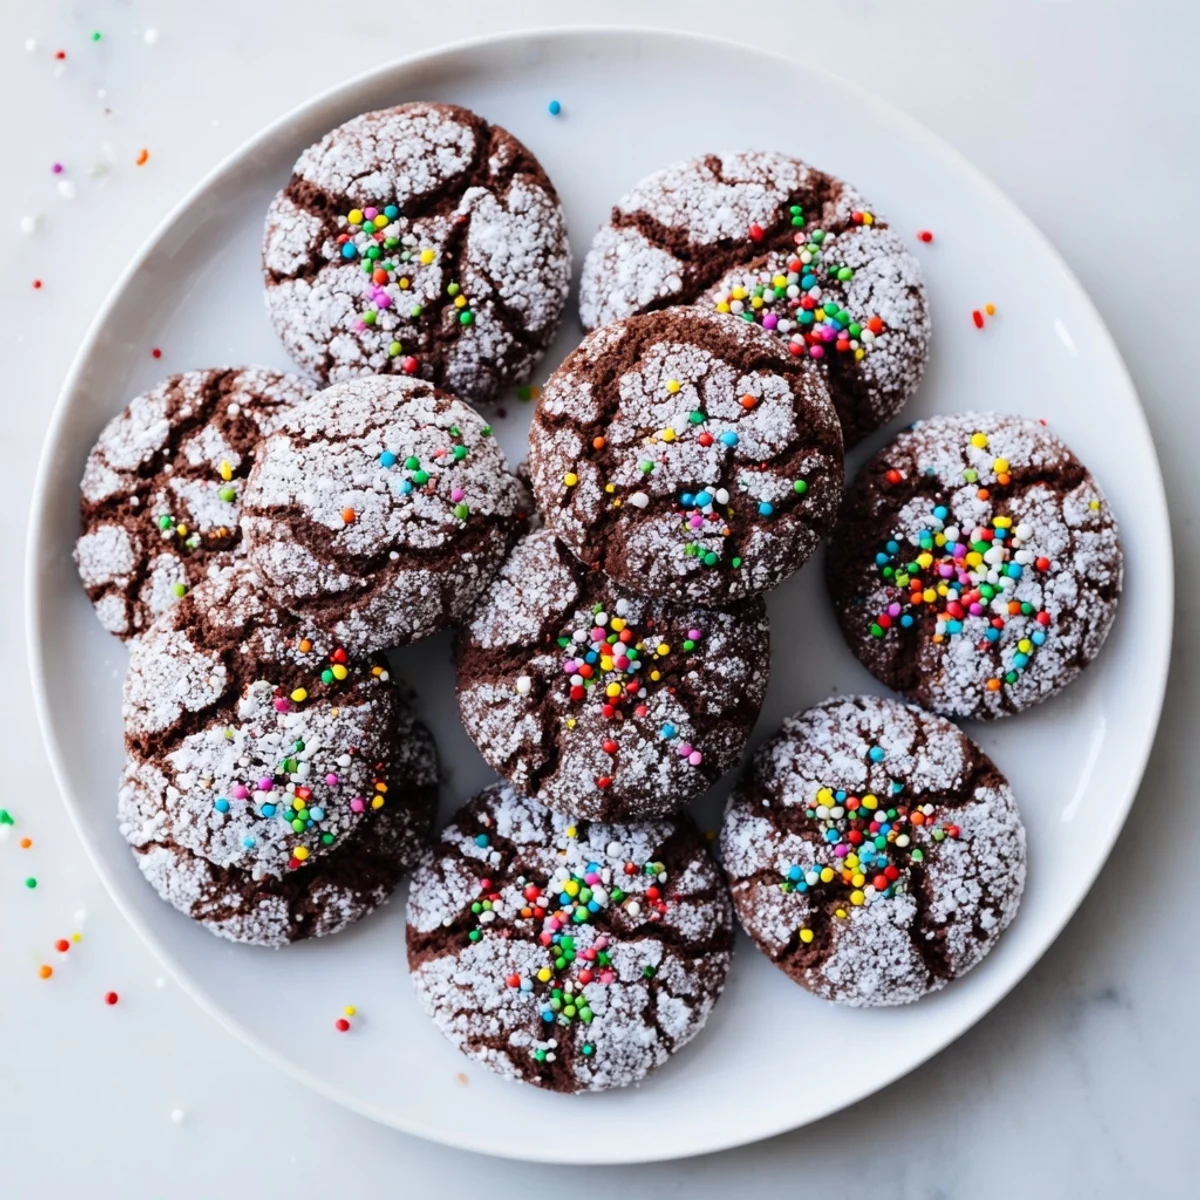
 My niece helped me decorate a batch last year and decided every cookie needed a mountain of sprinkles. They looked ridiculous but honestly those were the ones everyone reached for first because they made people smile before they even took a bite.
Making Them Your Own
Peppermint extract instead of vanilla transforms these into a holiday cookie that tastes like a chocolate candy cane. I have also stirred mini chocolate chips into the dough for extra chocolate intensity though you might need to reduce the baking time slightly.
Storage Secrets
These stay surprisingly soft for days if stored in an airtight container with a slice of white bread. The bread keeps the cookies from drying out without affecting their flavor at all.
Serving Ideas
My favorite way to serve these is alongside steaming mugs of hot cocoa while watching winter storms through the window. They are also sturdy enough to pack in tins for holiday gifts without crumbling during shipping.
- Crush leftover cookies over vanilla ice cream for an instant chocolate crunch
- Sandwich two cookies with peppermint buttercream for an extra special treat
- Pair with coffee for an afternoon pick me up that feels indulgent
 Pin It
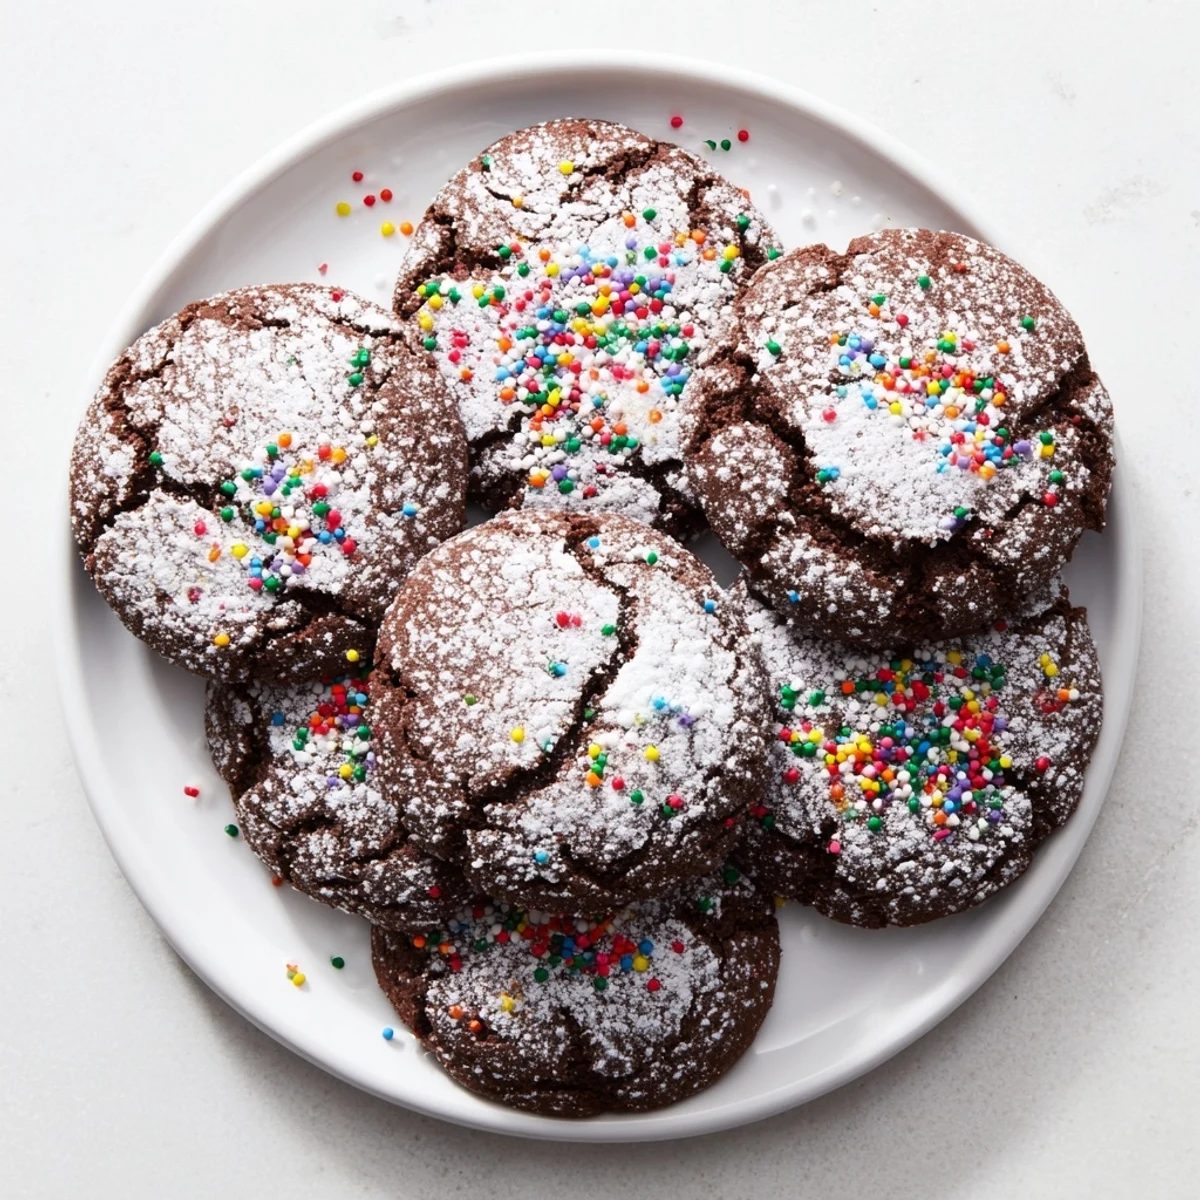
 There is something about a kitchen filled with warm chocolate cookies that makes even the coldest winter day feel cozy and inviting.
Recipe Questions & Answers
- → What makes these cocoa cookies special for winter?
-
The deep chocolate flavor from cocoa powder creates a rich, warming treat perfect for cold weather. The powdered sugar dusting gives them a magical snowy appearance that evokes winter wonderland vibes. They're specifically designed to complement hot cocoa and cozy gatherings during the holiday season.
- → Can I make the dough ahead of time?
-
Yes, you can prepare the dough and refrigerate it for up to 24 hours before baking. Let it sit at room temperature for 15-20 minutes to soften slightly before scooping and baking. The flavors may even develop more depth during this rest period.
- → How do I know when the cookies are done baking?
-
The cookies are ready when the edges look set and slightly firm, but the centers still appear soft. They will continue cooking on the hot baking sheet during the 5-minute cooling period. Avoid overbaking to maintain the tender, chewy texture.
- → Can I freeze these cocoa cookies?
-
Freeze baked cookies in an airtight container for up to 3 months. Place parchment paper between layers to prevent sticking. Thaw at room temperature for 1-2 hours before serving. You can also freeze unbaked dough balls and bake them fresh, adding 1-2 minutes to the baking time.
- → What's the best way to achieve the perfect texture?
-
Use room temperature ingredients, especially softened butter, to ensure proper creaming with sugar. Mix the dry ingredients just until incorporated—overmixing can make cookies tough. Flatten dough balls slightly with a glass bottom for even baking, and don't overbake to keep centers tender.
- → Can I make these gluten-free or dairy-free?
-
Yes, substitute all-purpose flour with a 1-to-1 gluten-free flour blend. Replace butter with dairy-free butter or margarine. Use dairy-free chocolate chips if adding them. Check all ingredient labels to ensure no cross-contamination if allergens are a concern.
