 Pin It
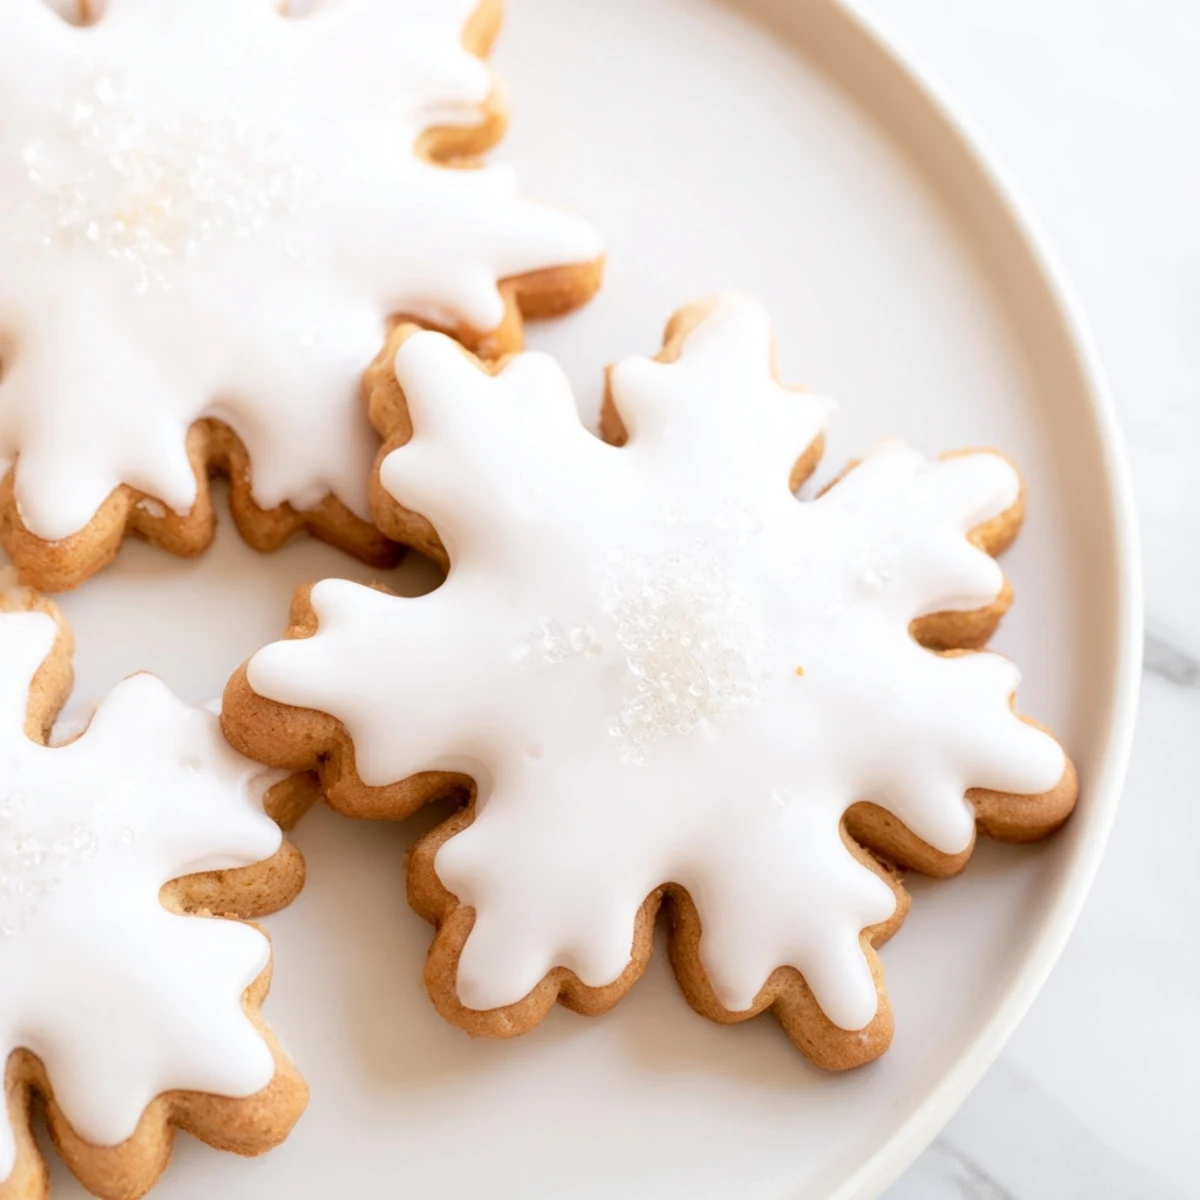
 These tender brown sugar cookies blend rich warmth with a buttery texture, enhanced by a smooth, delicate snow sugar icing. Simple mixing and chilling steps prepare the soft dough before cutting out shapes and baking until lightly golden. Once cooled, the cookies are adorned with a creamy glaze and optional sparkling sugar or edible glitter for a festive touch. Perfect for cozy winter occasions, these treats combine classic flavors with a subtle, snowy sweetness.
I was bundling up to head to the farmer's market on a crisp December morning when my neighbor mentioned she'd tasted these brown sugar snow cookies at a holiday party and couldn't stop thinking about them. Something about the way she described that buttery warmth against the cool, delicate icing made me want to try them myself. That afternoon, my kitchen smelled like toasted brown sugar and vanilla, and I understood exactly what she meant.
My daughter came home from school asking to help make something festive, and these cookies turned out to be the perfect project—simple enough that she could handle the rolling and cutting, but special enough that her friends actually asked for the recipe the next day. Watching her dust them with sparkling sugar like she was decorating for royalty made me realize these weren't just cookies; they were an easy moment of kitchen magic together.
Ingredients
- All-purpose flour: Two and a quarter cups gives structure without making them dense or cakey.
- Baking powder: Just half a teaspoon lifts them slightly for that tender crumb.
- Salt: A half teaspoon balances the sweetness and deepens the brown sugar flavor.
- Unsalted butter: Three-quarters cup softened is crucial—cold butter fights you during creaming, and salted butter throws off the balance with the brown sugar.
- Packed light brown sugar: One cup is the star; pack it down when measuring so you get the moisture and molasses notes.
- Egg: One large egg binds everything and adds richness without making them greasy.
- Vanilla extract: One teaspoon pure vanilla is non-negotiable—it rounds out the brown sugar warmth.
- Powdered sugar: One and a half cups creates that silky, spreadable icing.
- Milk: Two to three tablespoons adjusts the icing consistency; start with less and add slowly.
- Sparkling sugar or edible glitter: Optional but worth it—they catch the light like fresh snow.
Instructions
- Whisk your dry ingredients:
- In a medium bowl, combine flour, baking powder, and salt, then set aside. This prevents lumps and ensures even distribution.
- Cream butter and brown sugar:
- Beat them together until the mixture looks pale and fluffy, about two to three minutes. You're aerating the dough, which creates that tender crumb.
- Add egg and vanilla:
- Beat them in until fully combined, scraping down the bowl as needed.
- Bring it together gently:
- On low speed, add your dry ingredients a little at a time until a soft dough forms. Overmixing makes tough cookies.
- Chill the dough:
- Divide it in half, shape into discs, wrap in plastic, and refrigerate for twenty to thirty minutes. This prevents spreading during baking.
- Roll and cut:
- On a lightly floured surface, roll one disc to one-quarter inch thickness. Cut into shapes and space them one inch apart on parchment-lined baking sheets.
- Bake until just golden:
- At 350°F, bake for ten to twelve minutes—the edges should be turning golden while the centers still look slightly underbaked. They continue cooking on the hot pan.
- Cool with patience:
- Leave them on the tray for five minutes to set, then transfer to a wire rack. This prevents them from becoming crispy.
- Make the icing:
- Whisk powdered sugar, milk, and vanilla until silky and spreadable, adding milk a tablespoon at a time. The consistency should be thick enough to hold its shape but thin enough to spread smoothly.
- Decorate before it sets:
- Spread or pipe icing onto cooled cookies and sprinkle with sparkling sugar while the icing is still wet so it adheres beautifully.
 Pin It
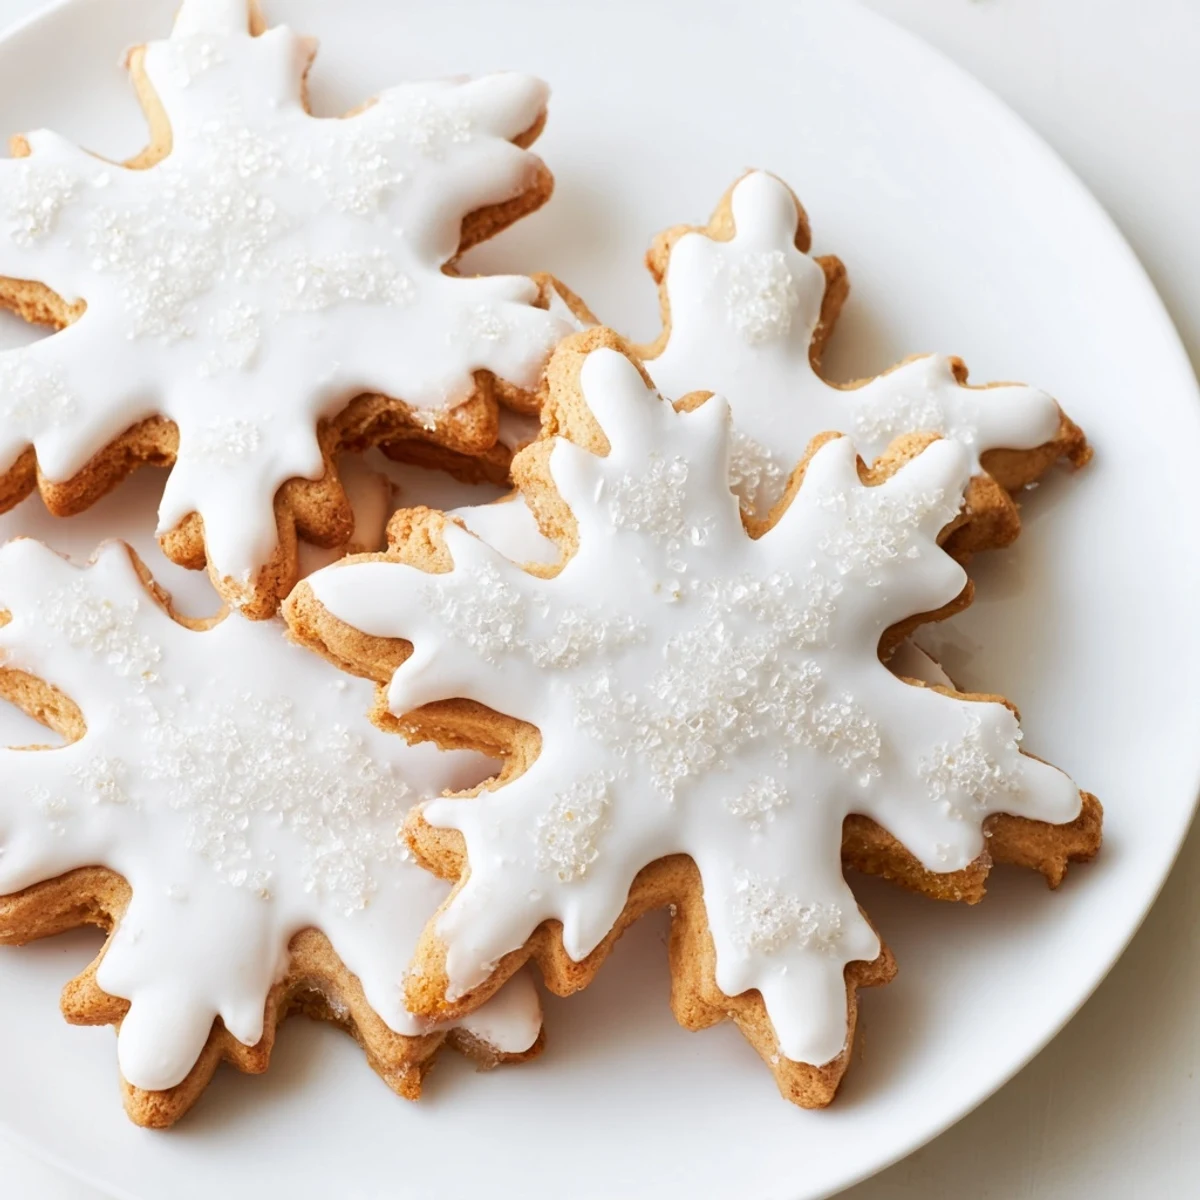
 The moment someone bit into one and got that perfect combination of soft, buttery cookie with the delicate crunch of icing and sparkling sugar, I saw why my neighbor had been thinking about them all season. Food that brings that kind of simple, genuine delight is worth keeping in your regular rotation.
Flavor Variations That Work
Once you master the base, the fun begins—a half teaspoon of ground cinnamon stirred into the dough adds warm spice that plays beautifully with brown sugar. I've also tried a light orange zest and a pinch of nutmeg, and both shifted the whole feeling from winter-classic to something slightly unexpected and personal. The brown sugar is forgiving enough that these additions enhance rather than overwhelm.
Cookie Cutter Shapes and Presentation
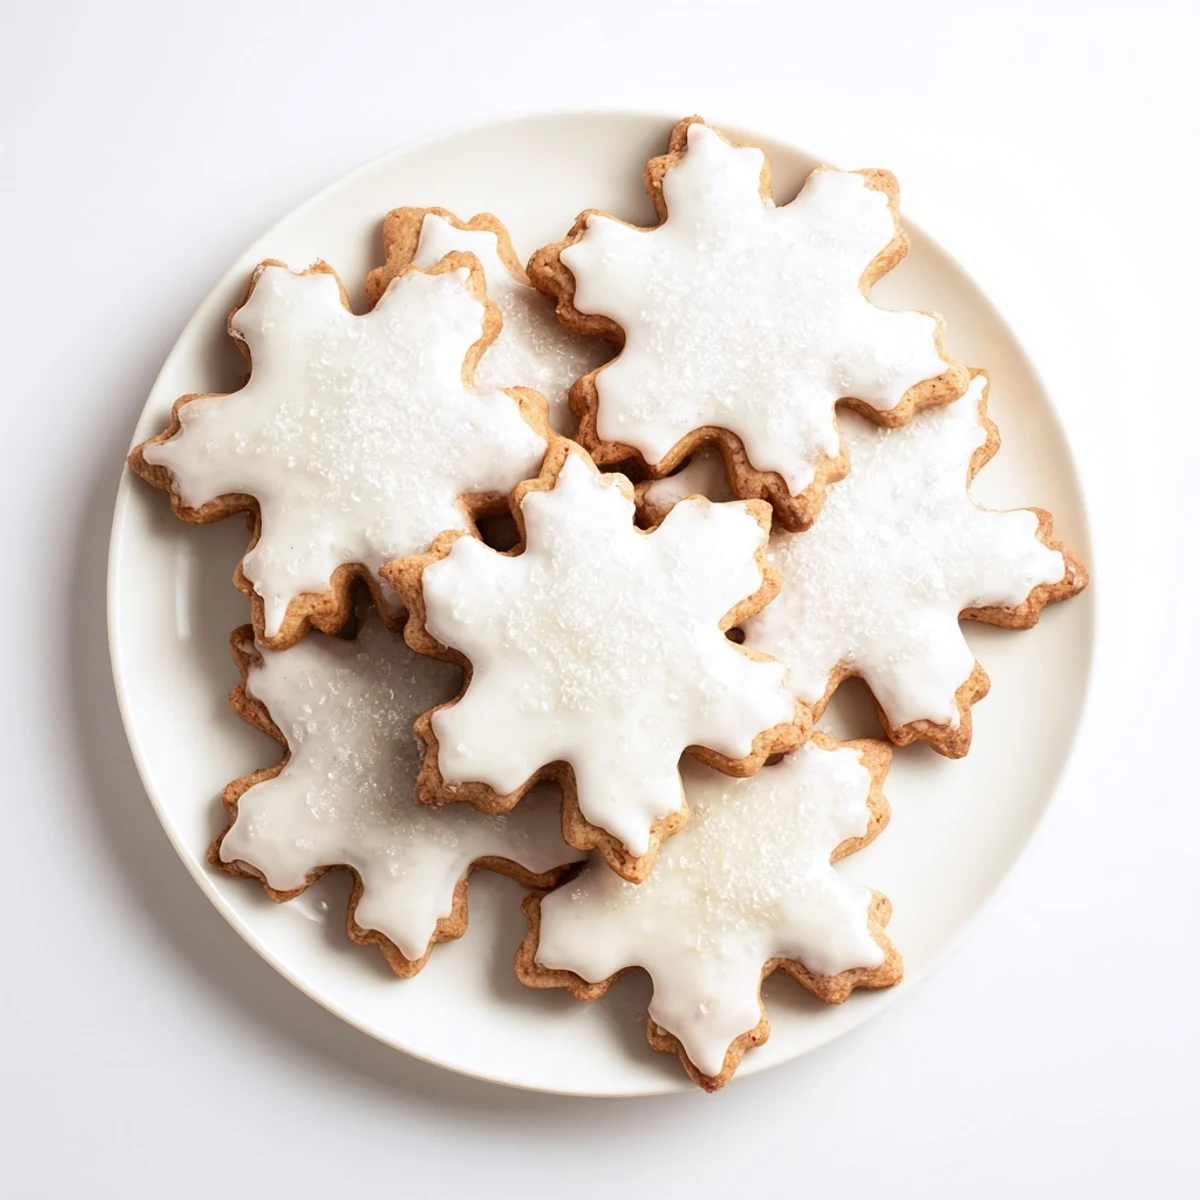
Snowflakes, stars, and mittens feel obvious but they work for a reason—they catch light differently depending on the shape, which makes the icing sparkle more dramatically. Small shapes bake faster and stay tenderer than large ones, so if you're cutting big pieces, add a minute or two to the bake time and watch carefully. I love mixing three or four different shapes on the same platter because it feels more thoughtful than uniformity.
Storage and Make-Ahead Wisdom
These keep beautifully in an airtight container for up to a week, though they taste best within the first three days when the contrast between soft cookie and crisp icing is sharpest. You can make and chill the dough discs up to three days ahead, so baking them fresh on the day you need them takes just minutes. Here's what I've learned from a few batches:
- Don't stack undecorated cookies directly on top of each other or they'll stick slightly.
- Decorate them the same day you plan to serve or gift them so the icing sets properly.
- If they soften slightly after a few days, a few minutes in a 300°F oven will crisp them back up.
 Pin It
 These brown sugar snow cookies are the kind of recipe that becomes part of your winter tradition without planning to—simple enough that you make them without thinking, good enough that people ask for them every year. There's something deeply satisfying about that.
Recipe Questions & Answers
- → What gives these cookies their tender texture?
-
The combination of softened butter and brown sugar creamed together creates a moist and tender crumb in the cookies.
- → How does chilling the dough before baking help?
-
Chilling firms the dough, making it easier to roll and cut shapes while preventing spreading during baking.
- → What is snow sugar icing made of?
-
Snow sugar icing is a smooth blend of powdered sugar, milk, and vanilla extract, providing a sweet, delicate finish.
- → Can I decorate cookies for added festive appeal?
-
Yes, sprinkling sparkling sugar or edible glitter on the icing adds a festive sparkle and texture.
- → Are there suggestions to enhance flavor?
-
Adding ground cinnamon to the dough adds a warm spice note, complementing the brown sugar.
