 Pin It
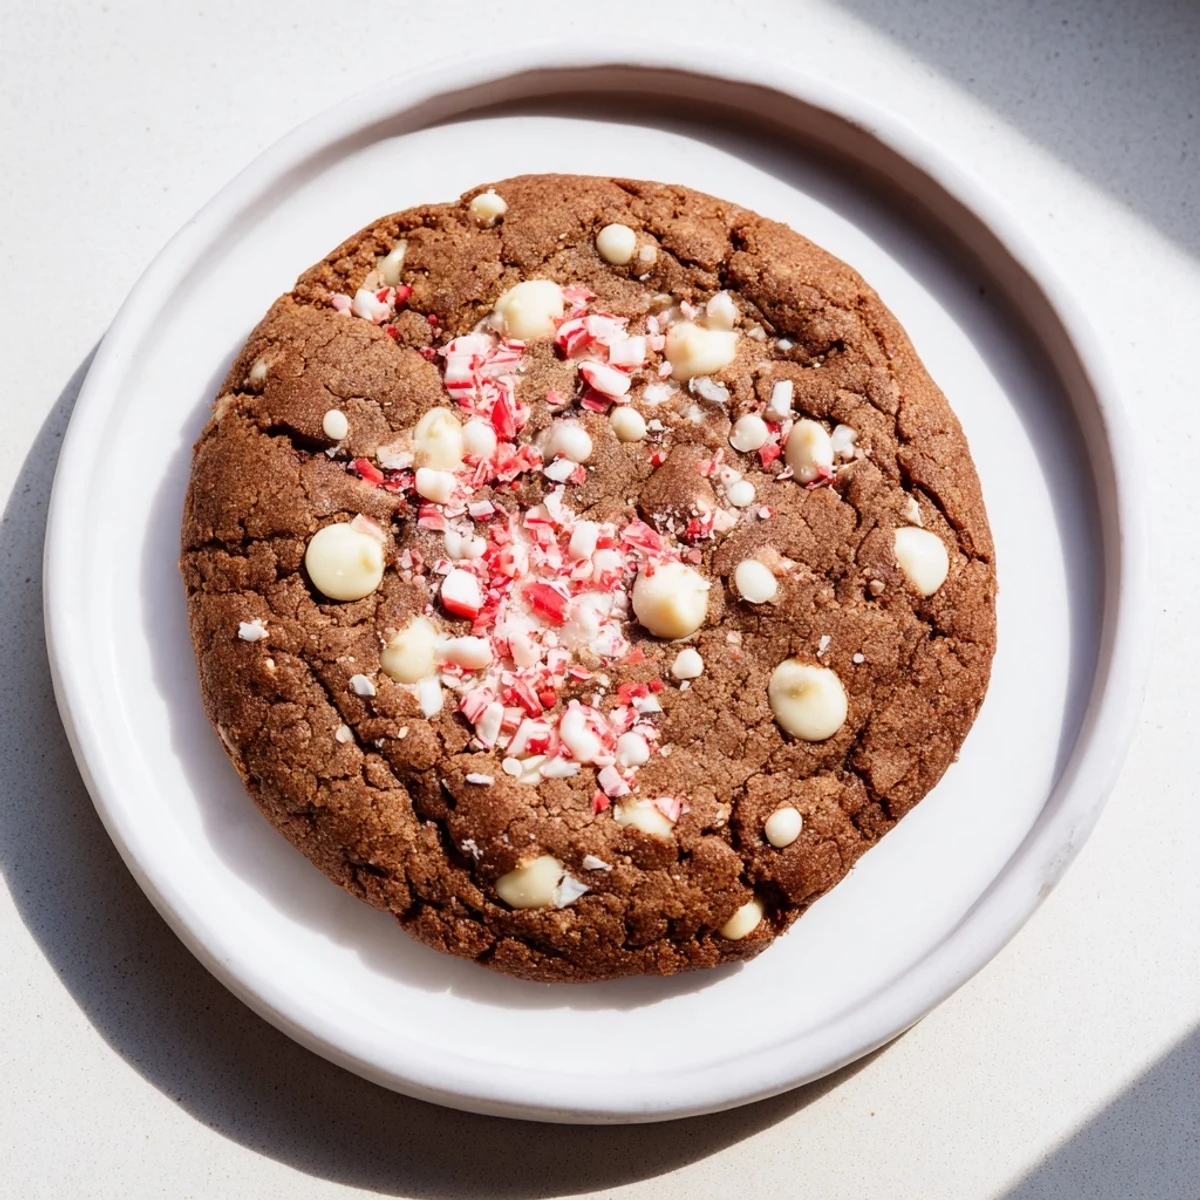
 These soft and chewy vegan cookies combine a refreshing peppermint flavor with creamy white chocolate chips, creating a delightful treat ideal for winter afternoons and holiday gatherings. Made with simple dry and wet ingredients, including vegan butter, cane sugar, and peppermint extract, they come together quickly and bake to a perfect golden edge. Optional crushed peppermint candies add festive crunch and seasonal flair. Easily adaptable to gluten-free flour blends, these cookies store well and pair beautifully with hot cocoa or vegan eggnog for a comforting snack.
I started making these cookies on a gray December afternoon when the power had flickered twice and I needed something bright to fill the kitchen. The peppermint oil I grabbed from the cupboard was stronger than I remembered, and suddenly the whole house smelled like a snow globe come to life. My partner wandered in asking if I'd opened a candy shop, and I knew I was onto something good.
The first batch I brought to a holiday potluck disappeared in under ten minutes. Someone asked if I'd used a secret family recipe, and I had to laugh because I'd only figured out the proportions that morning. One friend with a dairy allergy hugged me and said it was the first festive cookie she'd had in years that didn't make her feel left out.
Ingredients
- All-purpose flour: This forms the structure, and I've learned that spooning it into the measuring cup instead of scooping prevents dense, heavy cookies.
- Baking soda and baking powder: The combination gives you lift and spread, creating that perfect chewy-edged texture without puffing them into cakes.
- Salt: Just a pinch balances the sweetness and makes the peppermint flavors pop instead of fading into the background.
- Vegan butter, softened: Let it sit on the counter for about thirty minutes so it creams easily, because cold butter will never whip up light and fluffy no matter how long you beat it.
- Organic cane sugar and brown sugar: The mix gives you both crisp edges and a soft center, and the molasses in the brown sugar adds a subtle warmth.
- Unsweetened non-dairy milk: I use oat milk because it's creamy and neutral, but almond or soy work just as well.
- Pure vanilla extract: This deepens the sweetness and makes the whole cookie taste more rounded and real.
- Peppermint extract: Start with half a teaspoon and taste the dough, because some brands are wildly stronger than others and you can always add more.
- Vegan white chocolate chips: These melt into little pockets of sweetness, and I've found that the Enjoy Life brand works beautifully.
- Crushed peppermint candies: I put mine in a zip-top bag and whack them with a rolling pin, which is surprisingly therapeutic after a long day.
Instructions
- Prep Your Oven and Pans:
- Set your oven to 350°F and line two baking sheets with parchment paper. This keeps the bottoms from browning too fast and makes cleanup almost nonexistent.
- Whisk the Dry Mix:
- Combine flour, baking soda, baking powder, and salt in a medium bowl. I like to whisk for a good ten seconds to make sure everything is evenly distributed.
- Cream the Sugars and Butter:
- Beat the vegan butter with both sugars until the mixture lightens in color and feels almost fluffy against the spoon. This takes about three minutes with a hand mixer and is where the cookies get their tender crumb.
- Add the Wet Ingredients:
- Pour in the non-dairy milk, vanilla, and peppermint extract, then mix until smooth. The batter will look a little loose, but that's exactly right.
- Combine Wet and Dry:
- Gradually stir the flour mixture into the wet ingredients, stopping as soon as you don't see any dry streaks. Overmixing here leads to tough cookies, so a light hand wins.
- Fold in the Fun Stuff:
- Gently stir in the white chocolate chips and half the crushed peppermint. Save the rest of the peppermint for topping so every bite has a little crunch.
- Shape the Dough:
- Scoop tablespoon-sized balls onto your prepared sheets, leaving about two inches between each one. They spread just enough to kiss at the edges if you crowd them.
- Flatten and Top:
- Press each dough ball gently with your palm to flatten it slightly, then sprinkle the remaining peppermint over the tops. This ensures the candy sticks and doesn't roll off later.
- Bake Until Golden:
- Slide the sheets into the oven and bake for ten to twelve minutes, until the edges just start to turn golden. The centers will look a little underdone, but they firm up as they cool.
- Cool in Stages:
- Let the cookies rest on the baking sheet for five minutes to set, then transfer them to a wire rack. If you move them too soon, they'll crumble, and if you wait too long, they'll stick.
 Pin It
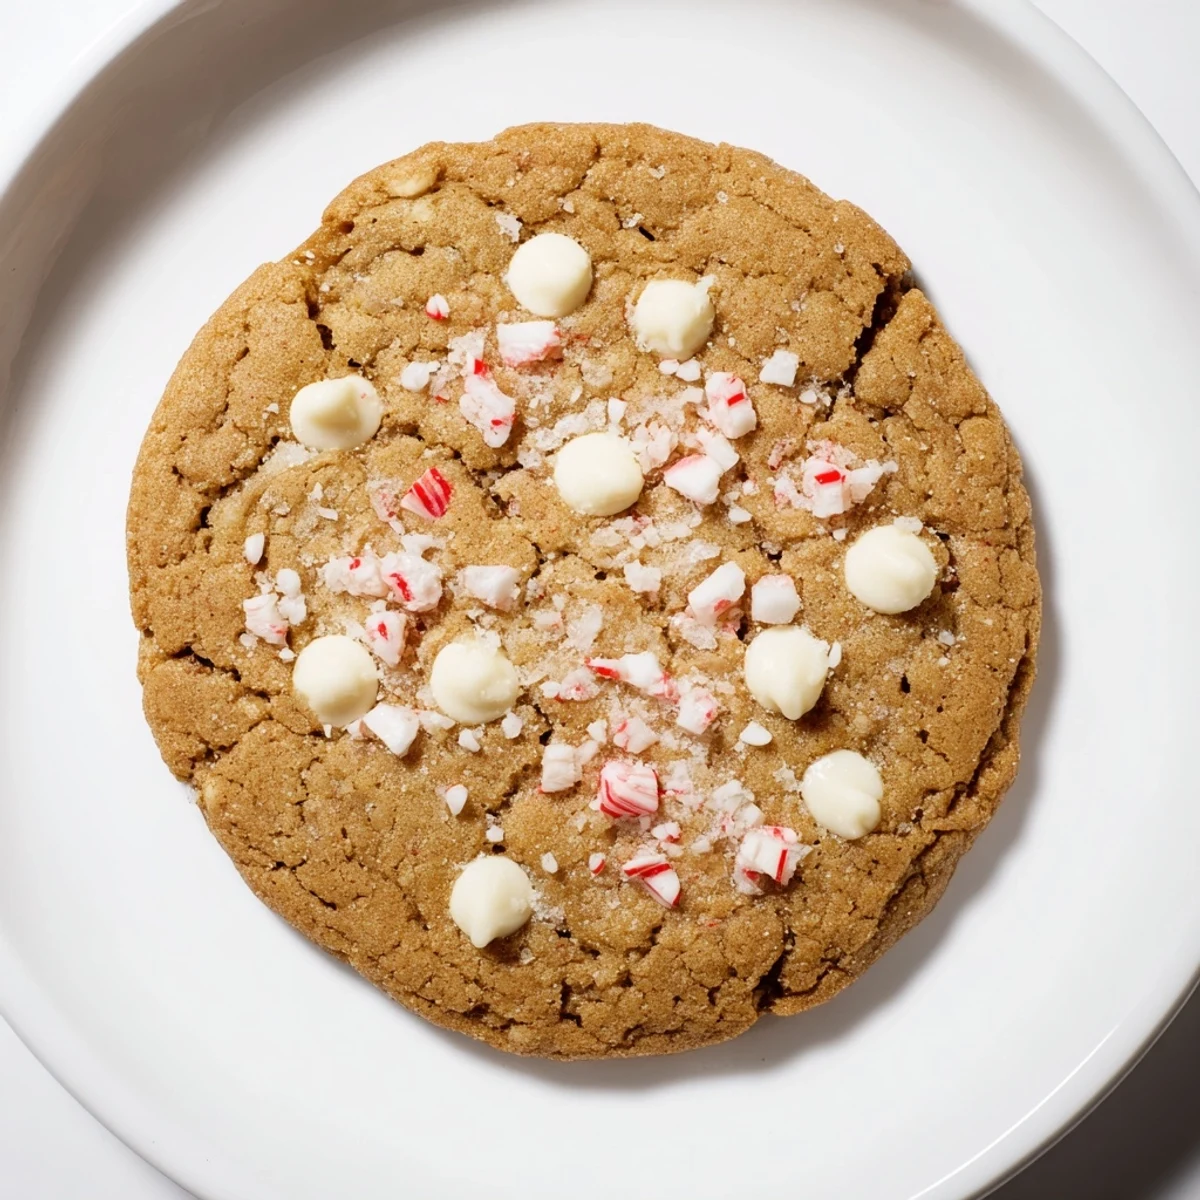
 I remember boxing up a dozen of these for my neighbor after she mentioned her daughter couldn't have dairy. She texted me later that night saying her kid had eaten four in one sitting and asked if I sold them. I didn't, but I did make another batch the next weekend just to see her smile again.
Storage and Make-Ahead Tips
These cookies keep beautifully in an airtight container at room temperature for up to five days, and they actually taste better on day two when the flavors have settled. If you want to freeze the dough, scoop it into balls, freeze them on a tray, then transfer to a freezer bag and bake straight from frozen, adding an extra minute or two to the baking time. I've also frozen baked cookies for up to a month, and they thaw perfectly on the counter in about twenty minutes.
Flavor Variations to Try
If peppermint isn't your thing, swap it out for almond extract and fold in dried cranberries for a completely different vibe. You can also skip the white chocolate and add dark chocolate chunks with a pinch of espresso powder for a mocha-mint version that's a little more grown-up. One time I ran out of peppermint candies and used crushed freeze-dried strawberries instead, and it was unexpectedly wonderful.
Serving Suggestions and Pairings
I love serving these alongside mugs of hot cocoa topped with coconut whipped cream, or with a glass of cold oat milk for dunking. They also make a thoughtful homemade gift when wrapped in parchment and tied with twine, especially if you tuck a little note about how they're vegan inside. Here are a few last-minute thoughts that have helped me along the way.
- If you want a crispier edge, bake them for the full twelve minutes and let them cool completely on the rack.
- For a gluten-free version, swap in a one-to-one gluten-free flour blend and let the dough rest for ten minutes before scooping.
- Always check your vegan butter and chocolate chip labels, because some brands sneak in dairy or palm oil you might want to avoid.
 Pin It
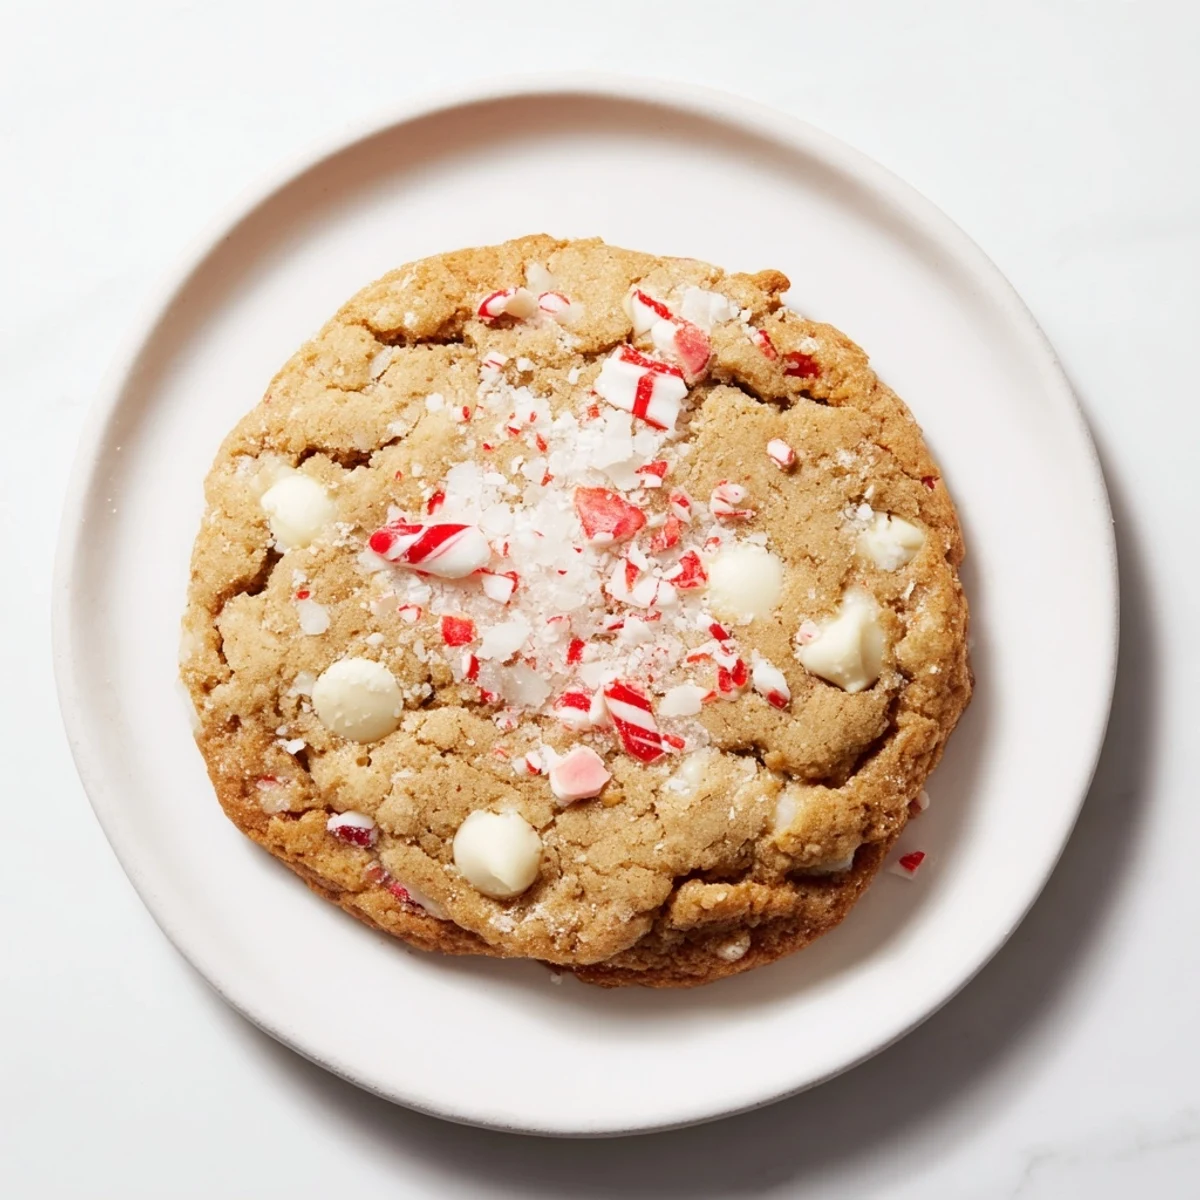
 These cookies have become my go-to whenever I need to bring something that feels festive without being fussy. I hope they fill your kitchen with the same kind of warmth and sweetness they've brought to mine.
Recipe Questions & Answers
- → Can I use a gluten-free flour blend?
-
Yes, substituting with a 1:1 gluten-free flour blend works well and maintains the soft texture.
- → How should I store these cookies?
-
Store in an airtight container at room temperature for up to five days to keep them fresh.
- → Are there any nut allergens in these cookies?
-
They are nut-free, but check white chocolate chip labels as some brands may contain traces.
- → Can I add other mix-ins besides peppermint candies?
-
Yes, mini vegan chocolate chips can add extra richness and complement the peppermint flavor.
- → What’s the best way to flatten the dough before baking?
-
Gently pressing each dough ball with fingers or a spatula ensures even baking and a tender bite.
