 Pin It
 These soft vanilla cookies combine sunflower seed butter, almond flour and a granular erythritol sweetener for a low-carb, nut-sensitive treat. Dough comes together in minutes; portion with a scoop, flatten with a fork and bake 10–12 minutes. Yield about 16 cookies. Chill dough for firmer texture, or swap to sunflower seed flour for fully nut-free results; cool on a rack before storing.
A mellow afternoon once inspired me to experiment with sunflower seed butter, and the result surprised everyone who wandered into my kitchen that day. There’s something quietly comforting about the vanilla aroma drifting from the oven while these cookies bake, subtle but impossible to ignore. I won’t pretend I knew they’d be this good—I just wanted a nut-free option that didn’t taste like compromise. Now, I bake extra and never expect leftovers.
One Sunday, my partner walked by as I was flattening the dough and asked why the fork marks looked like a tic-tac-toe board. We ended up playing a quick game right there on the parchment before sliding the tray into the oven—loser had to do the dishes. Every batch since feels just as playful and easygoing.
Ingredients
- Almond flour: Skip the grain—almond flour brings tenderness and structure, but sieve it to avoid clumps.
- Granulated erythritol or monk fruit sweetener: I sampled both and found monk fruit less cooling; whichever you choose, taste for sweetness before baking.
- Baking soda: Just half a teaspoon gives these cookies a delicate lift—don’t skip it, or you’ll miss the lightness.
- Salt: That tiny pinch pulls the flavors into focus; don’t be tempted to leave it out.
- Sunflower seed butter (unsweetened, stirred well): Stir thoroughly before measuring, as the oils separate during storage and affect texture.
- Large egg: One egg is the key binder—room temperature eggs mix more easily and help keep the dough smooth.
- Unsalted butter, melted and cooled: Not too hot, not too cold—cool butter blends without scrambling the egg.
- Vanilla extract: A full tablespoon might seem bold, but it balances the earthy sweetness of sunflower seeds beautifully.
Instructions
- Warm up the oven:
- Set your oven to 350 F (175 C) and line a baking sheet with parchment—it’s a simple safeguard against sticking and over-browning.
- Mix the dry ingredients:
- Whisk almond flour, sweetener, baking soda, and salt together until no lumps remain, letting the sweet aroma fill the bowl.
- Stir the wet ingredients:
- Combine sunflower seed butter, egg, cooled melted butter, and vanilla; use a spatula and watch for a silky, unified batter.
- Bring it all together:
- Add the dry mix to the wet, stirring gently; you’ll see a thick dough come together that smells wonderfully nutty—even though it’s nut-free.
- Shape the cookies:
- Scoop out tablespoon-sized portions onto your tray, spacing each a couple of inches apart for even baking.
- Make your mark:
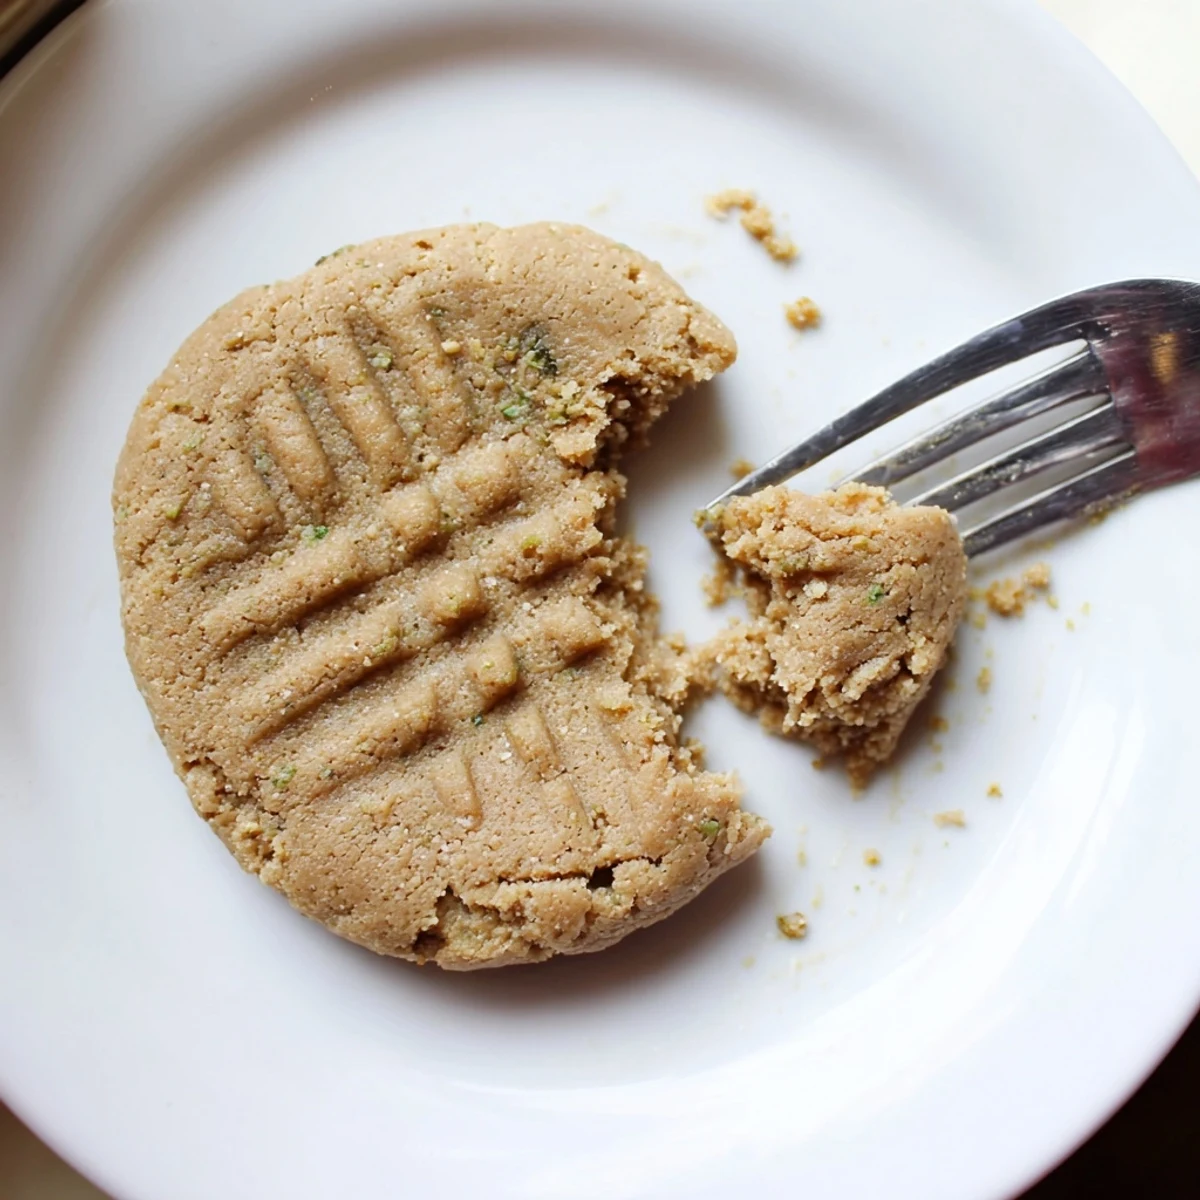
- Press the tops gently with a fork—crisscross them if you’re feeling classic—letting a little pattern catch the light.
- Bake to perfection:
- Slide the tray in for 10–12 minutes, watching for edges to go golden and the kitchen to fill with cozy vanilla warmth.
- Cool with patience:
- After baking, let the cookies sit for five minutes before transferring to a wire rack, resisting the urge to taste until they’re set.
 Pin It
 The first time I shared these at our weekly game night, someone caught on to their green-tinted centers and started guessing secret ingredients. The surprise on my friends' faces when I revealed the sunflower butter and lack of sugar was even sweeter than the cookies themselves.
Getting the Texture Just Right
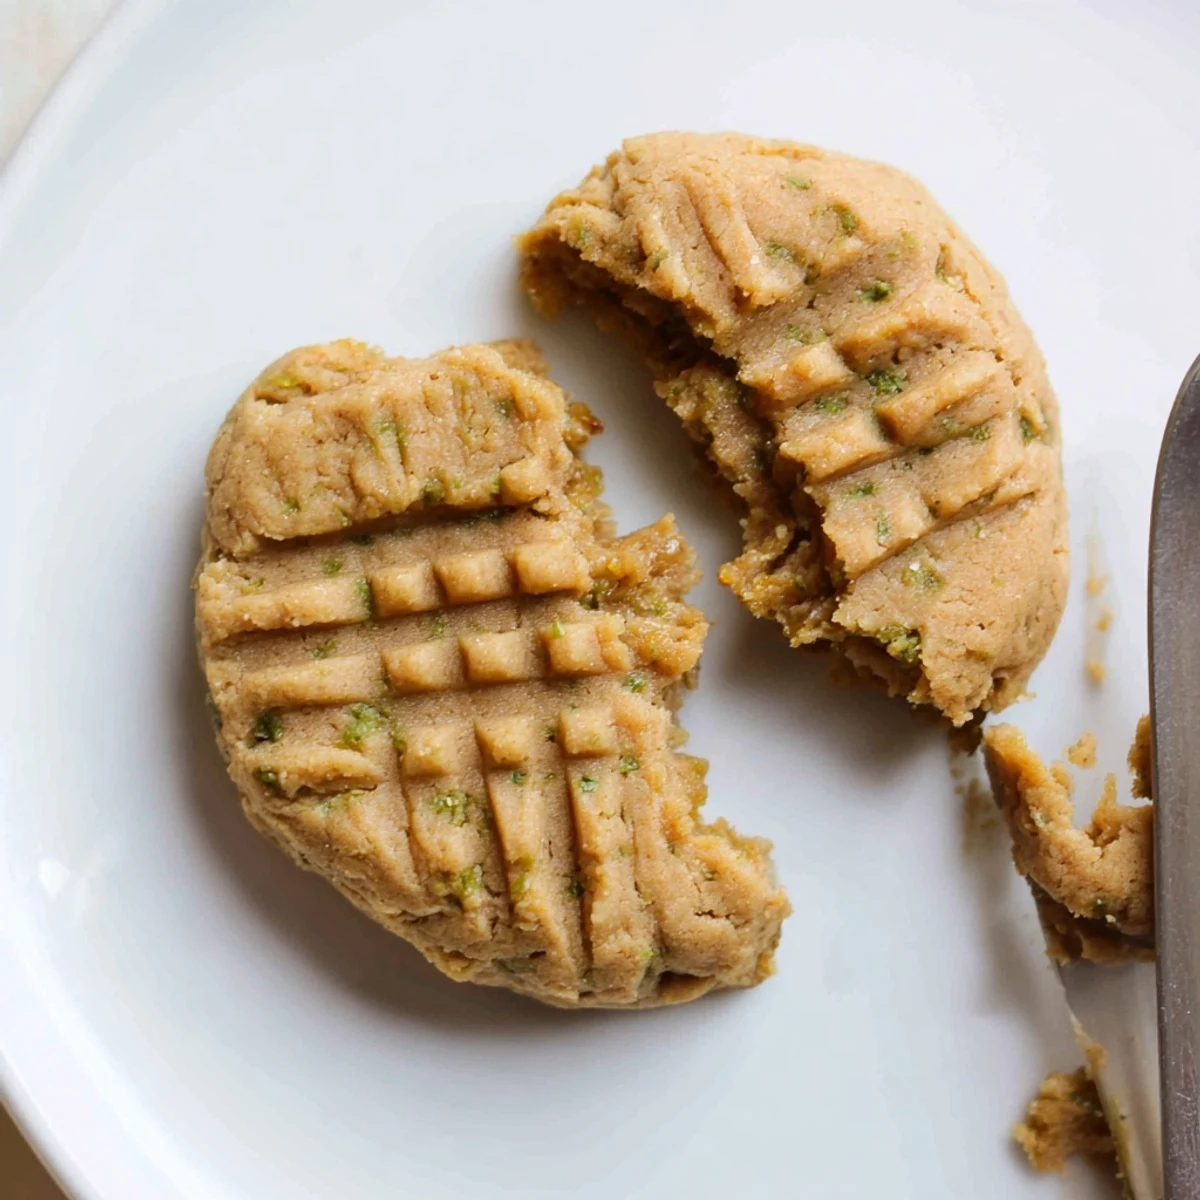
Chilling the dough makes a noticeable difference if you want thicker, chewier cookies, especially on a warm day when the butter starts to melt back into the dough. A quick fifteen minutes in the fridge buys you better shape and a lovely, tender center.
Sunflower Seed Butter Tips
Sunflower seed butter isn’t always the same brand to brand—some are runny and others more dense. Stir it thoroughly before each time you bake, since a little extra oil can make cookies spread unexpectedly but is easy to manage once you know.
Storing and Sharing
These hold up surprisingly well and taste even better the next day as the vanilla grows more pronounced. If you’re planning to freeze, I suggest layering with parchment between each cookie and thawing them at room temperature for the best texture.
- Don’t skip the parchment on your baking sheet for easy removal.
- Let cookies cool fully before storing.
- Share a batch with someone who swears off dessert—watch how quickly they change their mind.
 Pin It
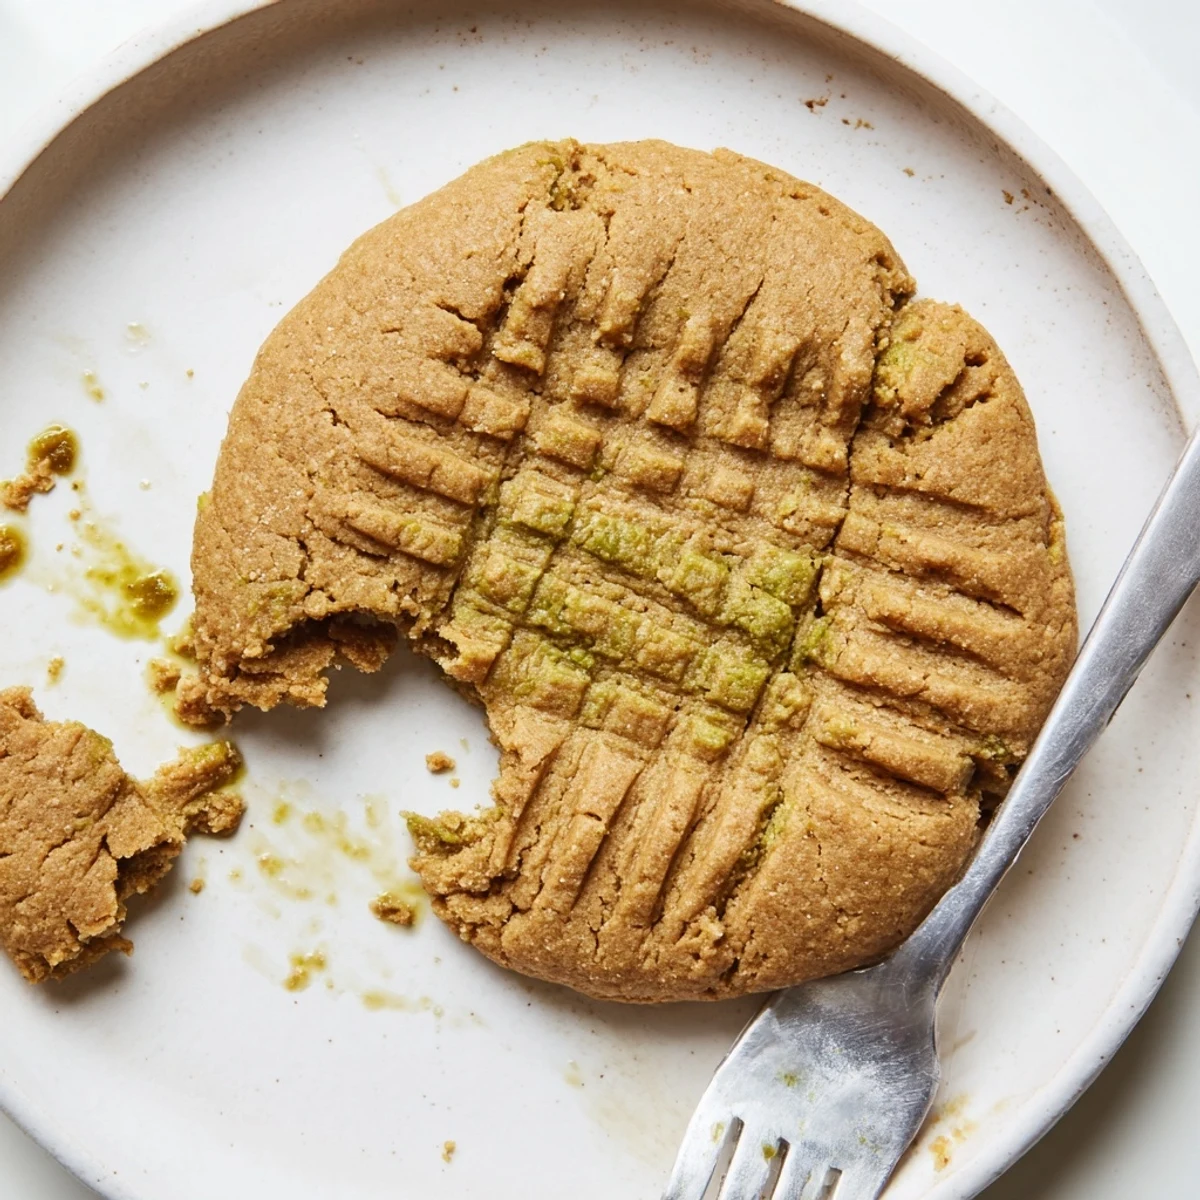
 However you tweak them, these cookies have a way of disappearing fast—so double the batch if you want to sneak any for yourself. Happy baking, and enjoy discovering your own little kitchen surprises along the way.
Recipe Questions & Answers
- → Can I make these fully nut-free?
-
Yes. Swap the almond flour for sunflower seed flour in a 1:1 ratio to avoid tree nuts. The texture will be similar, though dough may brown differently; chilling helps firm it before baking.
- → Why do my cookies sometimes turn green?
-
A green tint can appear when sunflower seed butter reacts with baking soda; it's harmless. To minimize it, use a fresh, well-stirred sunflower butter and avoid excess baking soda if not needed for rise.
- → How can I achieve a firmer cookie texture?
-
Refrigerate the dough for 15–30 minutes before scooping to reduce spread. Bake until edges are lightly golden and allow cookies to cool on the sheet for 5 minutes before transferring to a rack.
- → Which sweetener works best?
-
Granulated erythritol or monk fruit sweetener both work well for a clean, granular structure. Choose a blend designed for baking to avoid cooling aftertastes and maintain texture.
- → Can I make the cookies ahead and freeze them?
-
Yes. Freeze baked cookies in an airtight container for longer storage, or freeze portioned dough on a tray then transfer to a bag; bake from frozen adding a minute or two if needed.
- → Any tips for even shapes and quick portioning?
-
Use a tablespoon or a cookie scoop for uniform portions. Flatten gently with the back of a fork to create a consistent thickness and pattern, which helps even baking.
