 Pin It
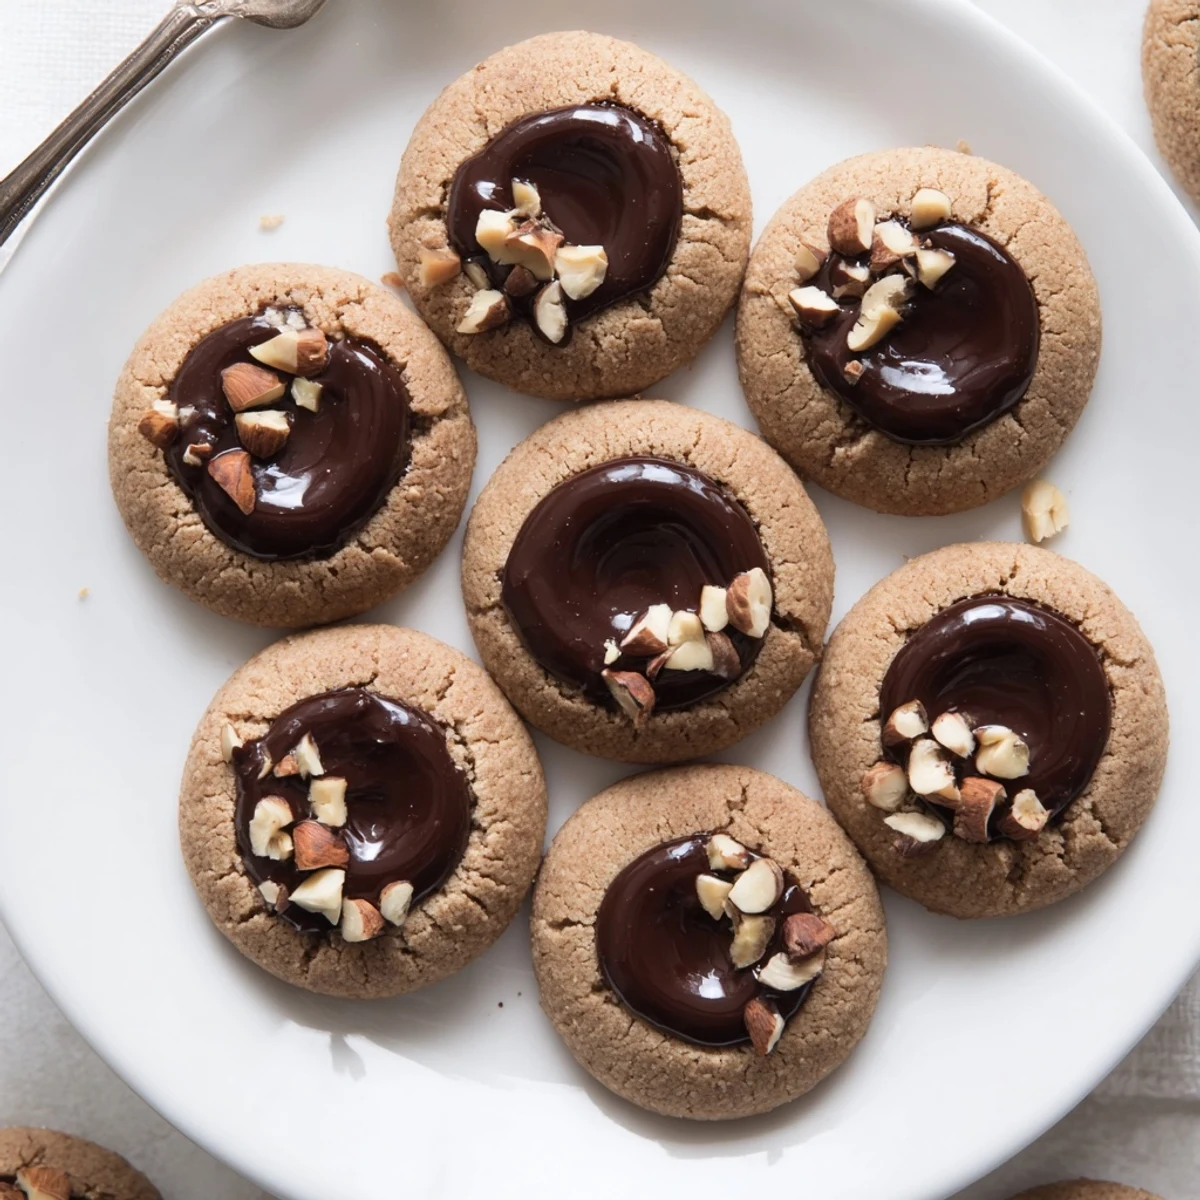
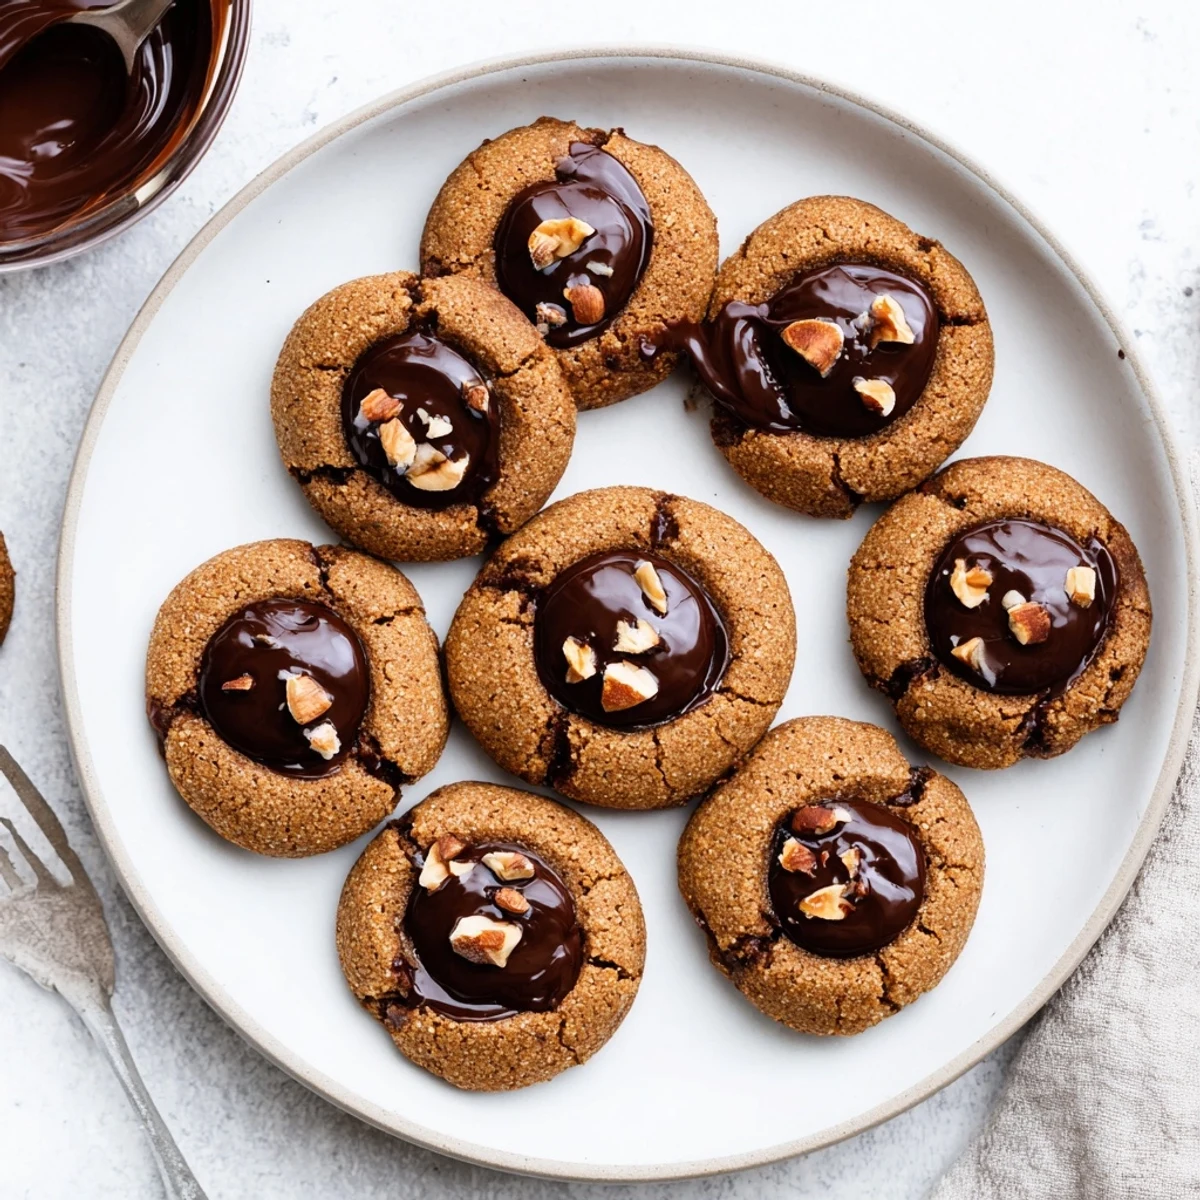
 These decadent thumbprint cookies combine finely ground hazelnut flour with sugar-free dark chocolate for a truly indulgent low-carb dessert experience. The nutty, fudgy texture creates a satisfying treat that perfectly fits your ketogenic lifestyle without compromising on flavor.
The smell of roasted hazelnuts always takes me back to my grandmother's kitchen, where she'd toast them in an iron skillet until golden. I never thought I'd capture that same magic in a keto-friendly treat until one rainy afternoon when I just needed something chocolatey and comforting. These cookies became my go-to whenever friends come over who are watching their carbs but still want something indulgent.
Last Christmas, I made these for my sister who had just started keto and was feeling pretty deprived of holiday treats. Watching her face light up when she took that first bite, all skeptical and then completely won over, made these cookies a permanent fixture in my baking rotation.
Ingredients
- 1 1/2 cups finely ground hazelnut flour: This is the star of the show, giving you that distinct nutty flavor and tender crumb that almond flour alone can't achieve
- 1/2 cup almond flour: Helps stabilize the dough structure while keeping everything light and gluten-free
- 1/4 cup unsweetened cocoa powder: Deepens the chocolate flavor without adding any sweetness
- 1/2 cup powdered erythritol or preferred keto sweetener: Powdered blends dissolve better into the dough for no gritty texture
- 1/4 teaspoon salt: Balances the sweetness and makes the chocolate notes pop
- 1/2 teaspoon baking powder: Gives just enough lift for that perfect cookie texture
- 1 large egg: Binds everything together and adds structure
- 1/3 cup unsalted butter, melted and cooled: Creates richness and helps achieve that fudgy texture
- 1 teaspoon vanilla extract: Rounds out all the flavors and adds warmth
- 1/2 cup sugar-free dark chocolate chips: The crowning glory in each thumbprint center
- 2 tablespoons heavy cream: Makes the chocolate filling silky and smooth
- 1 tablespoon unsalted butter: Gives the chocolate filling that glossy, professional finish
- 1/4 cup chopped toasted hazelnuts: Optional but adds lovely crunch and visual appeal
Instructions
- Get your oven ready:
- Preheat to 350°F (175°C) and line a baking sheet with parchment paper so nothing sticks and cleanup is effortless
- Whisk the dry ingredients:
- In a large bowl, combine hazelnut flour, almond flour, cocoa powder, erythritol, salt, and baking powder until everything is evenly distributed
- Prepare the wet mixture:
- In a separate bowl, whisk the egg, melted butter, and vanilla extract until completely smooth and incorporated
- Bring the dough together:
- Pour the wet ingredients into the dry mixture and stir until a soft, pliable dough forms that holds its shape when squeezed
- Shape your cookies:
- Scoop tablespoon portions and roll them into balls, placing them about 2 inches apart on your prepared baking sheet
- Make those thumbprints:
- Press your thumb or the back of a teaspoon gently into the center of each ball to create a deep well for the chocolate
- Bake to perfection:
- Bake for 12–15 minutes until cookies are set but still slightly soft, then remove and press the centers down again if they've puffed up
- Cool them completely:
- Let the cookies sit on the baking sheet until fully cooled so the chocolate filling won't melt right out
- Make the chocolate ganache:
- Melt chocolate chips, heavy cream, and butter together in the microwave in 30-second intervals, stirring each time until silky smooth
- Fill and finish:
- Spoon about 1 teaspoon of chocolate into each cookie center, then sprinkle with toasted hazelnuts if you're feeling fancy
 Pin It
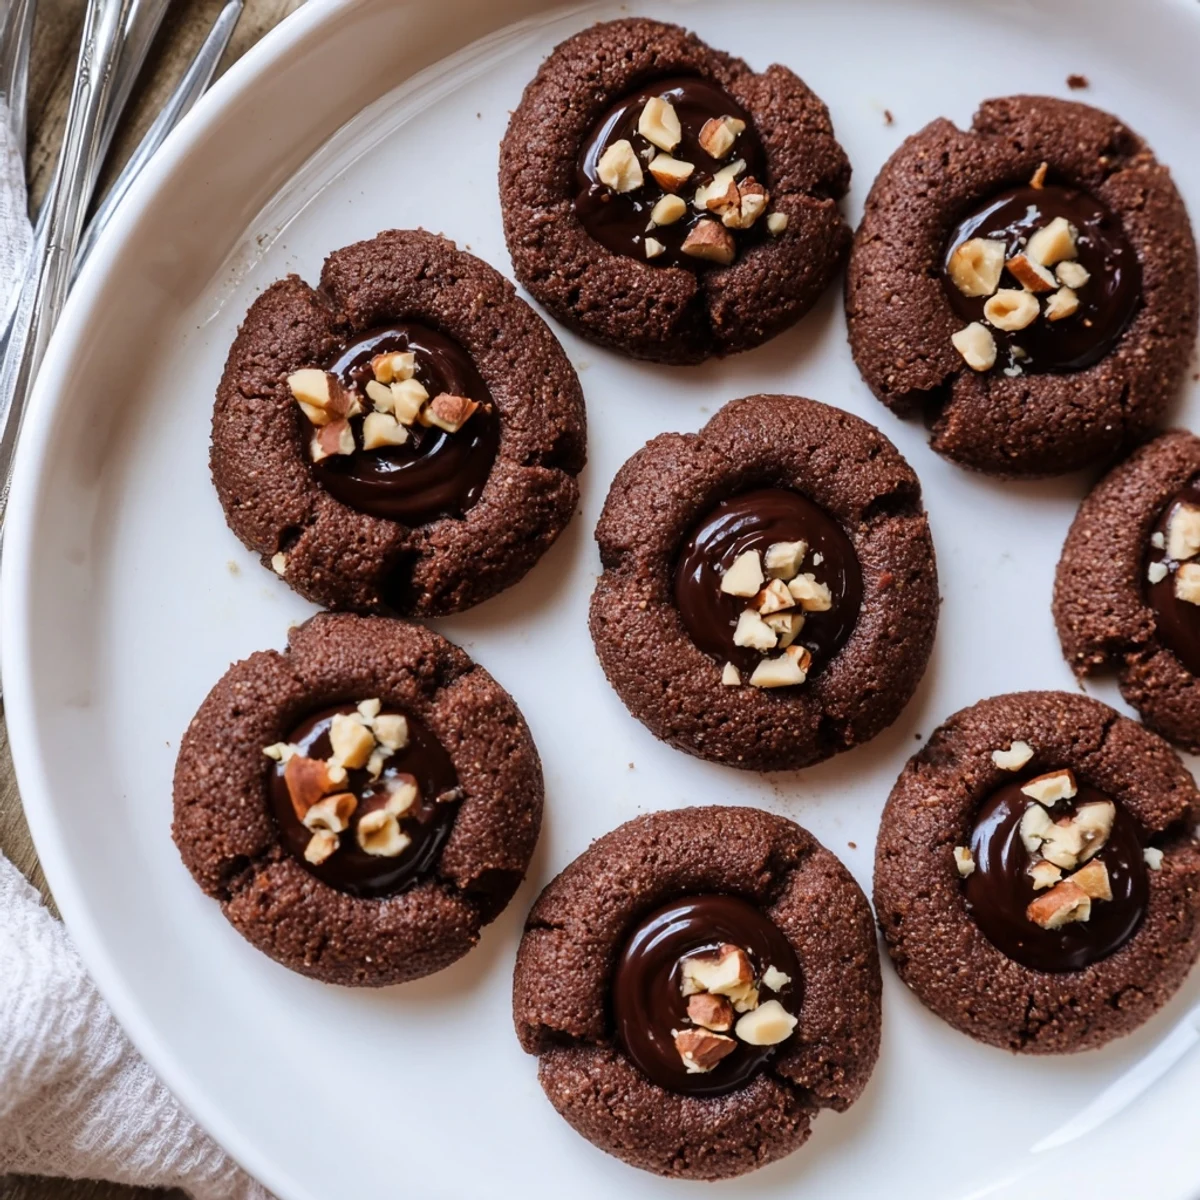
 These have become my absolute favorite keto dessert to share because nobody believes they're sugar-free until I tell them. The way the hazelnut and chocolate flavors melt together feels like something from a fancy bakery window.
Making Them Ahead
I've learned through trial and error that the dough balls freeze beautifully for up to a month. Just shape them, freeze on a sheet pan until firm, then transfer to a freezer bag and bake straight from frozen when cravings strike.
Customizing Your Flavor
Sometimes I swap the hazelnut flour for almond flour entirely when I'm out, though the flavor becomes more subtle. A pinch of cinnamon in the dough adds unexpected warmth that pairs beautifully with the chocolate filling.
Storage Secrets
These cookies actually improve after a day as the flavors meld together and the texture becomes even more fudgy. Store them in an airtight container at room temperature for up to 4 days, though they rarely last that long in my house.
- Refrigerate them if you prefer the chocolate filling more firm and fudgelike
- Place parchment paper between layers if you need to stack them
- Bring to room temperature before serving for the best texture and flavor
 Pin It
 There's something deeply satisfying about making a treat that feels indulgent while still honoring your health goals. Happy keto baking!
Recipe Questions & Answers
- → Are these cookies truly keto-friendly?
-
Yes, each cookie contains only 1 net carb thanks to hazelnut flour, almond flour, and powdered erythritol. The sugar-free dark chocolate filling keeps carbohydrates minimal while delivering rich chocolate flavor.
- → Can I substitute the hazelnut flour?
-
Almond flour works as a substitute, though the distinctive nutty hazelnut flavor will be less pronounced. The texture may also be slightly different since hazelnut flour creates a more tender cookie.
- → How should I store these cookies?
-
Keep in an airtight container at room temperature for up to 4 days. For longer freshness, refrigerate for up to a week. The chocolate filling may soften slightly at room temperature.
- → What chocolate chips work best for the filling?
-
Sugar-free dark chocolate chips with at least 70% cocoa content provide the best flavor and lowest carb count. Brands like Lily's or ChocZero work exceptionally well in keto baking.
- → Can I make these ahead of time?
-
The cookie dough can be prepared and refrigerated for up to 2 days before baking. Alternatively, bake the cookies without filling and store them, then add the chocolate filling before serving.
- → Why do the indentations need reinforcement after baking?
-
The cookies puff slightly during baking, which can make the thumbprint indentations shallower. Pressing down gently while they're still warm ensures a deep well for holding the chocolate filling.
