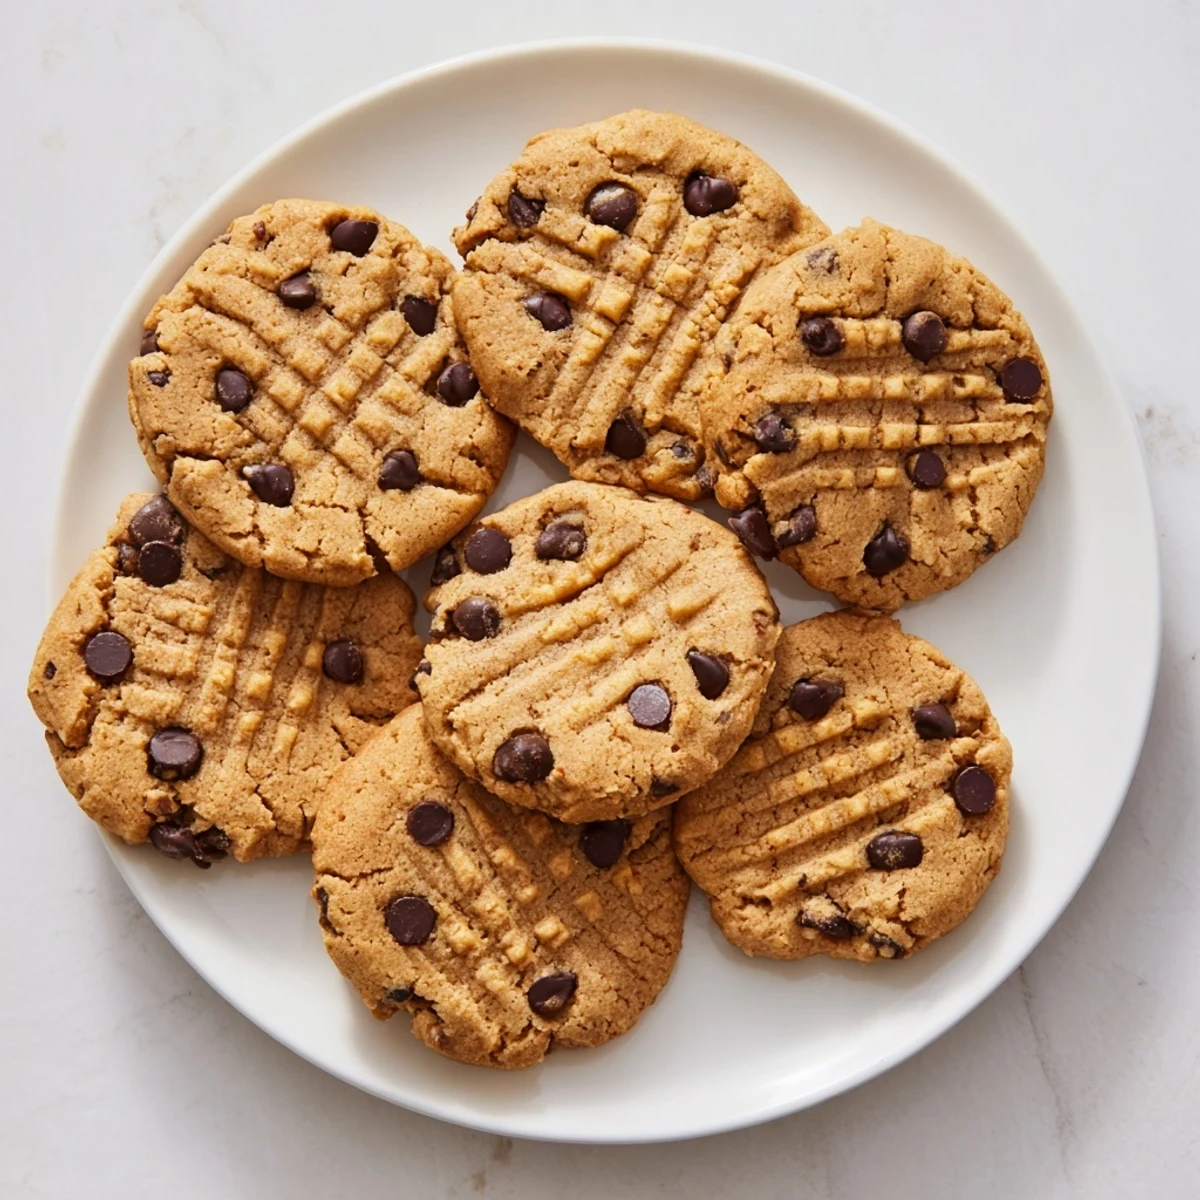
 Pin It
 These chewy, gluten-free peanut butter chocolate chip cookies come together in just 20 minutes with simple pantry ingredients. The combination of creamy peanut butter and brown sugar creates a rich, tender base, while semisweet chocolate chips add pockets of melted chocolate throughout each bite. Perfect for those following a gluten-free diet or anyone craving a classic American cookie with a modern twist.
The smell of peanut butter cookies baking always pulls me back to my grandmother's tiny kitchen, where she'd let me press the fork marks into each dough ball while explaining that patience was the secret ingredient. When I started baking gluten-free, I worried that classic chewy texture would be lost, but these cookies proved me wonderfully wrong. They've become my go-to whenever someone mentions they can't eat gluten, watching their face light up with that first bite.
Last summer, my newly diagnosed celiac neighbor mentioned she missed bakery cookies more than anything else. I brought over a warm batch of these still slightly soft from the oven, and she actually teared up taking that first bite. Now whenever I smell peanut butter and vanilla together, I think of how something so simple can make someone feel included again.
Ingredients
- Light brown sugar: The molasses in brown sugar creates moisture and that irresistible chewy center, plus it adds depth that white sugar alone can't achieve.
- Baking soda: Just enough to help the cookies spread and rise slightly without making them cakey or puffy.
- Fine sea salt: Salt is the secret weapon that makes chocolate and peanut butter taste more like themselves, don't skip it.
- Creamy peanut butter: Use a brand with just peanuts and salt for the best flavor, and always double-check that gluten-free certification.
- Large egg: Room temperature eggs incorporate better and help create that perfect cookie texture we're after.
- Pure vanilla extract: Real vanilla makes everything taste more expensive and rounded out.
- Semisweet chocolate chips: The slight bitterness balances the sweet peanut butter beautifully.
Instructions
- Get your oven ready:
- Preheat to 350°F and line two baking sheets with parchment paper, this saves you from scrubbing later.
- Mix the dry ingredients:
- Whisk together the brown sugar, baking soda, and salt in a medium bowl until no clumps remain.
- Make the peanut butter base:
- In a large bowl, mix the peanut butter, egg, and vanilla until completely smooth and glossy.
- Combine everything:
- Add the dry ingredients to the peanut butter mixture and stir until no dry streaks show.
- Add the chocolate:
- Fold in the chocolate chips gently so you don't break them up too much.
- Scoop and space:
- Drop tablespoon-sized dough balls onto the prepared sheets, leaving about two inches between each for spreading.
- Make those classic marks:
- Gently press each dough ball with a fork in a crisscross pattern, dipping the fork in sugar if it sticks.
- Bake to perfection:
- Bake for 9 to 11 minutes until the edges are set but centers still look slightly underdone.
- The hardest part:
- Let them cool on the baking sheet for 5 minutes before moving them to a wire rack.
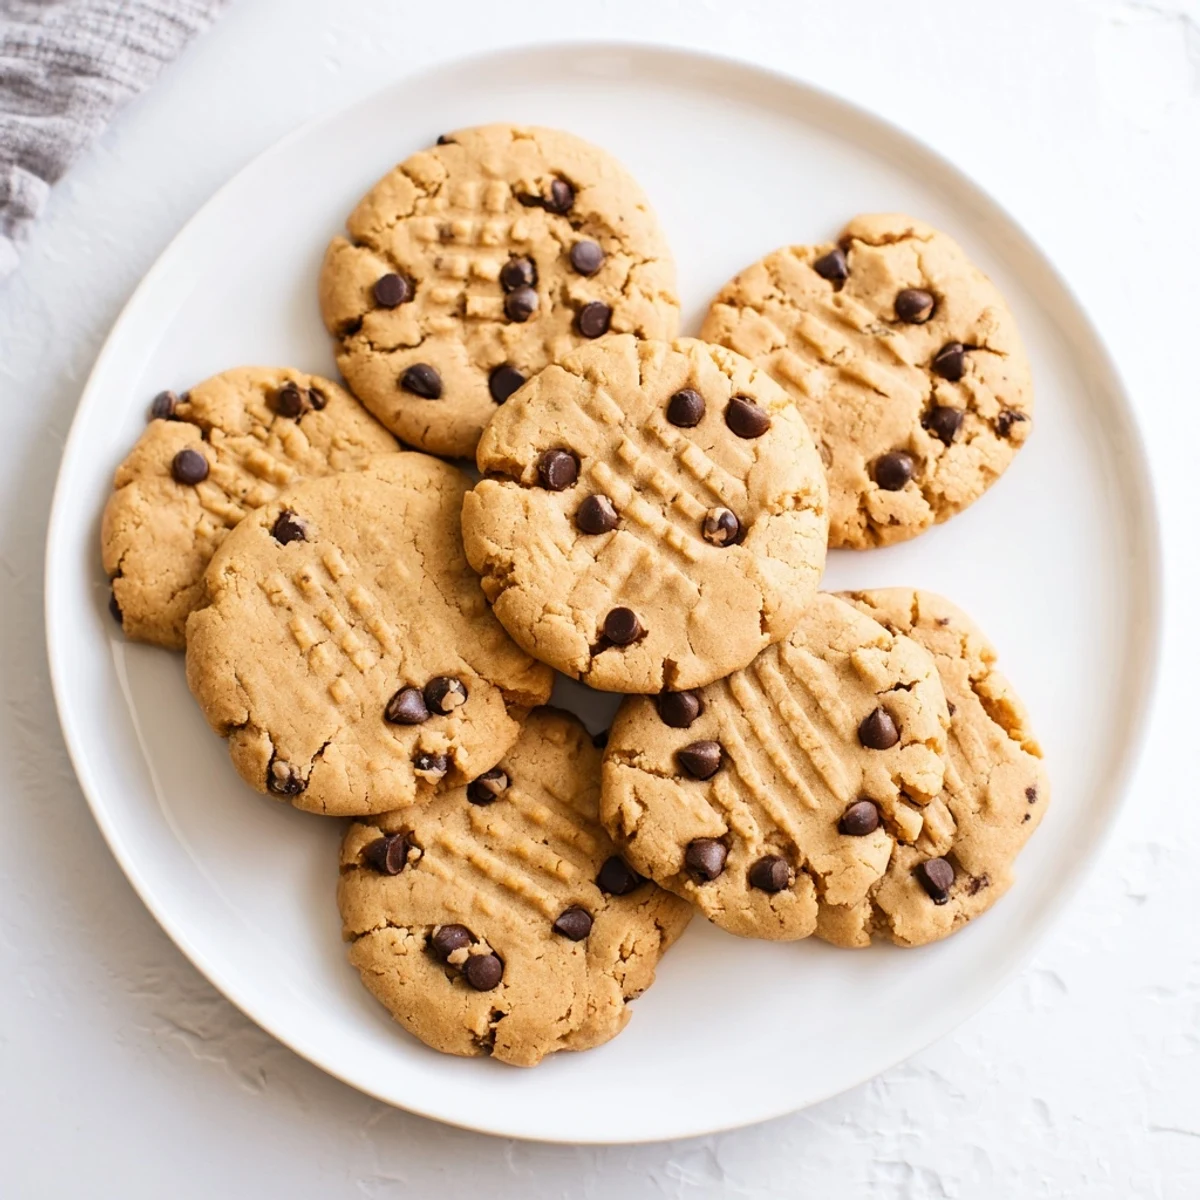 Pin It
 My daughter asked if we could leave out the chocolate chips once, and while they were still good, they lacked that magic contrast that makes these cookies special. Now we call the chocolate version the happy accident cookies because sometimes you don't know what you're missing until it's there.
Making Them Ahead
The dough freezes beautifully for up to three months, so I always double the batch and scoop the extra onto a parchment-lined baking sheet. Once frozen solid, transfer the dough balls to a freezer bag and bake straight from frozen, adding just one minute to the time. This means fresh cookies whenever the mood strikes, which in my house is pretty often.
Getting That Perfect Texture
The key is pulling them out when the centers still look slightly soft and underbaked. They'll firm up as they cool, creating that ideal chewy center with crisp edges. I've learned that different brands of peanut butter behave differently, so your first batch might need slight timing adjustments. Keep notes and you'll nail your perfect version.
Serving Ideas
These cookies are phenomenal warmed for 10 seconds in the microwave with a glass of cold milk. I've also sandwiched vanilla ice cream between two for an impromptu ice cream sandwich that had my family requesting them for weeks. They're sturdy enough to pack in lunchboxes but special enough for holiday cookie plates.
- Dip half in melted dark chocolate for an extra fancy touch
- Add a pinch of cinnamon to the dry mixture for warmth
- Press an extra chip into the top of each dough ball before baking
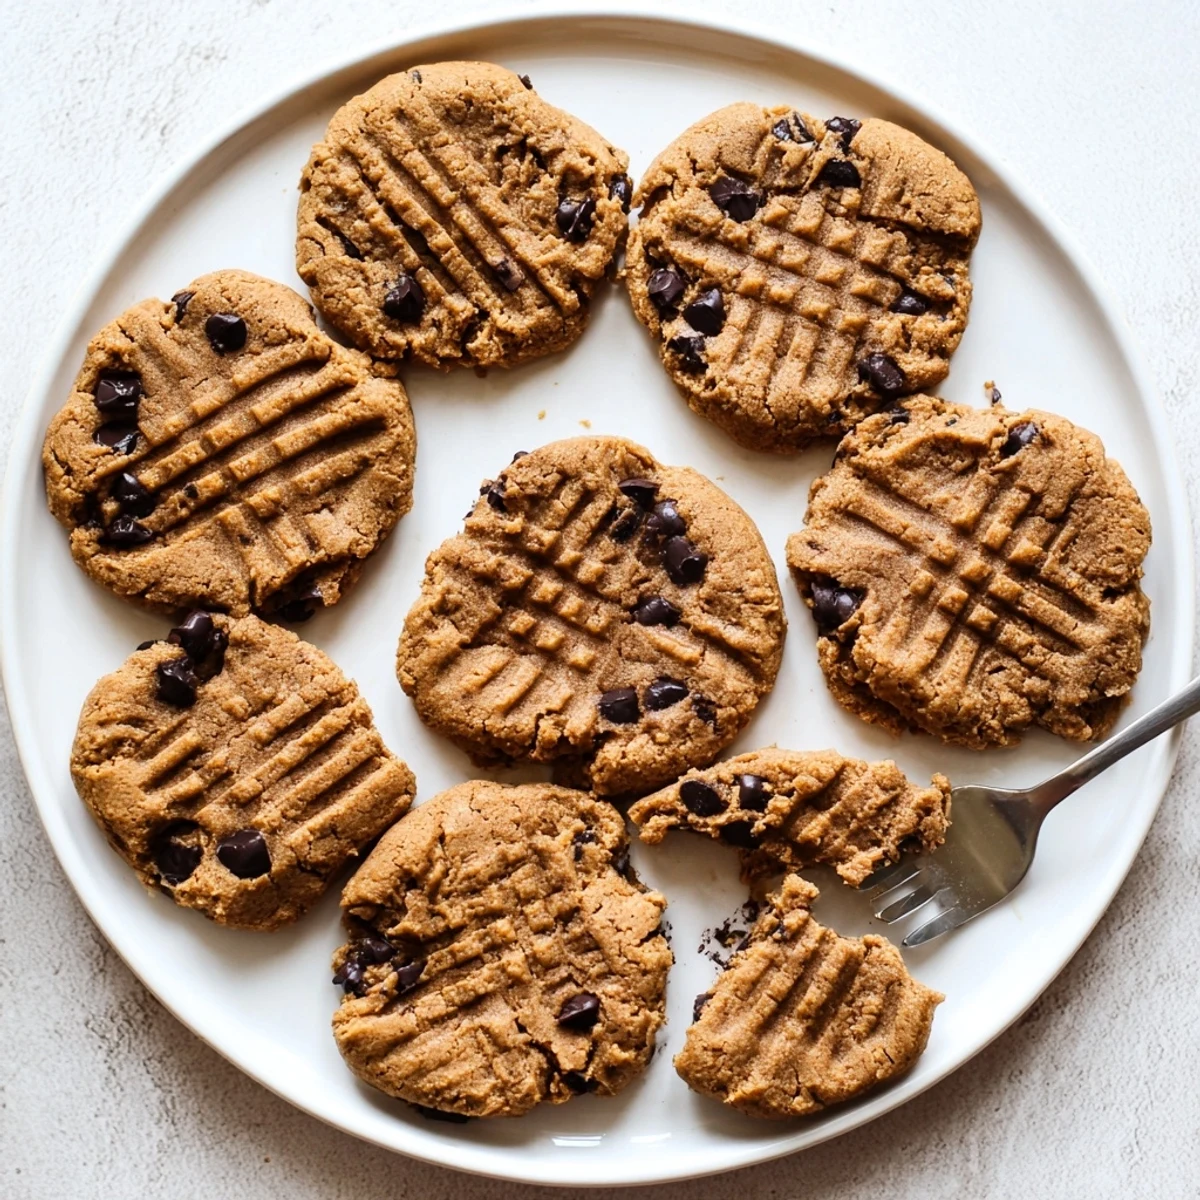 Pin It
 There's something deeply satisfying about watching someone take that first bite and immediately ask for the recipe. These cookies have a way of making dietary restrictions feel like anything but a limitation.
Recipe Questions & Answers
- → Can I use natural peanut butter?
-
Natural peanut butter may work, but results can vary due to oil separation. Creamy conventional peanut butter provides the most consistent texture and structure for these cookies.
- → How should I store these cookies?
-
Store in an airtight container at room temperature for up to 5 days. They can also be frozen for up to 3 months. Thaw at room temperature before serving.
- → What makes these cookies gluten-free?
-
These cookies contain no wheat flour or gluten-containing ingredients. Always verify that your peanut butter and chocolate chips are certified gluten-free, as cross-contamination can occur during manufacturing.
- → Why do I need to flatten the dough with a fork?
-
Peanut butter cookies don't spread much during baking. Flattening with a fork creates the classic crisscross pattern and ensures even baking, resulting in perfectly textured cookies.
- → Can I make these dairy-free?
-
Yes, simply use dairy-free chocolate chips. The cookie base is naturally dairy-free, making it easy to accommodate dairy allergies while maintaining the rich, chewy texture.
