 Pin It
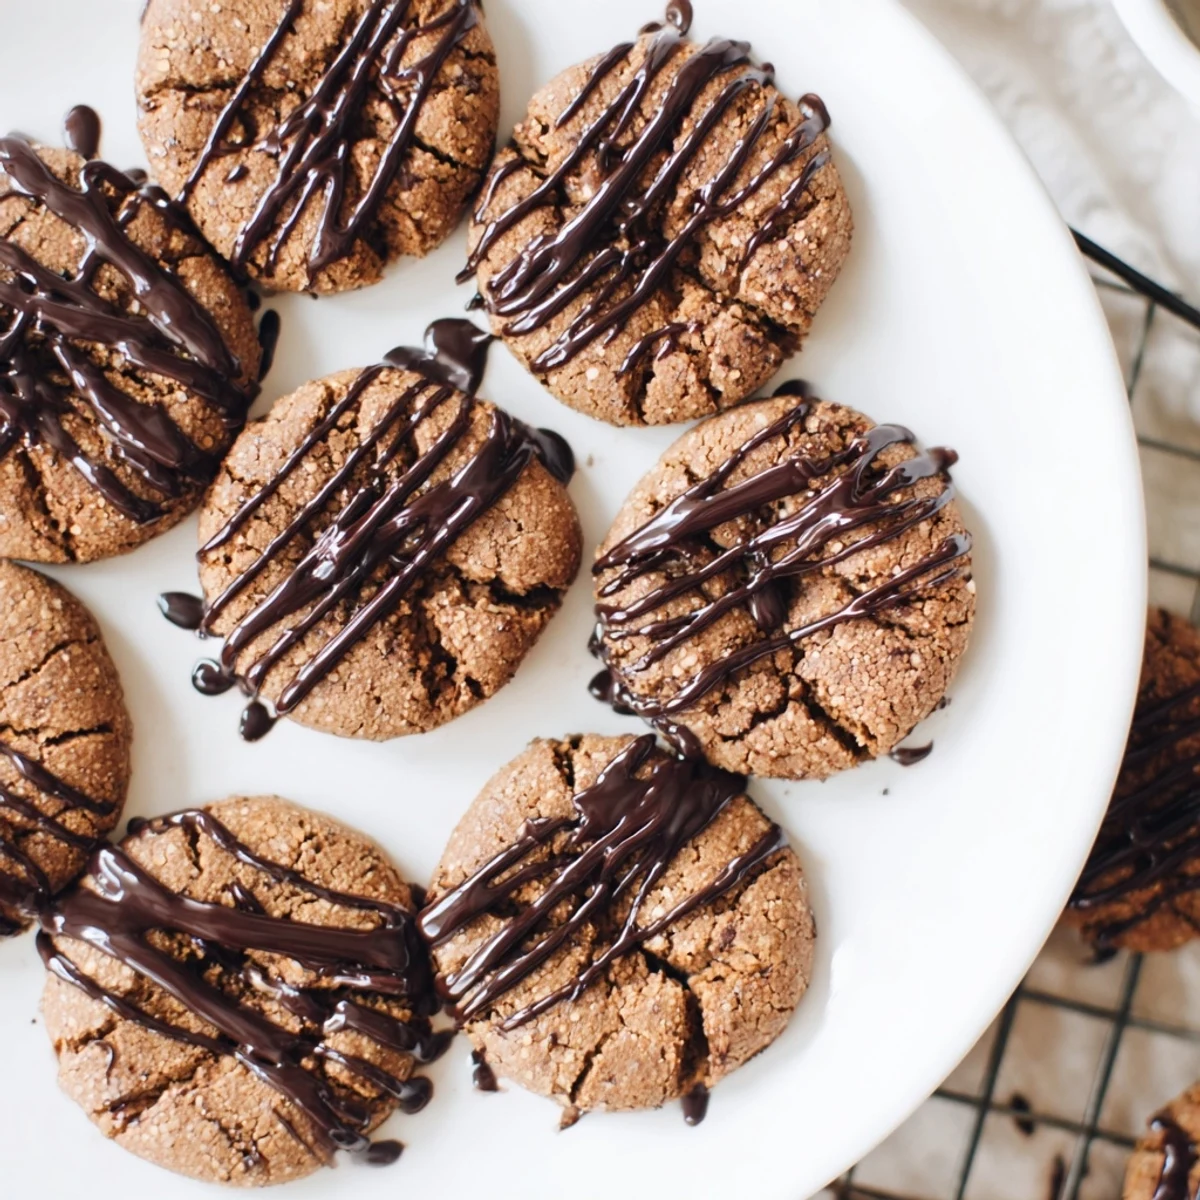
 These delicate gluten-free cookies combine the bold richness of instant espresso with tender, chewy texture from a blend of gluten-free flour and almond flour. Each cookie is baked until edges set while centers remain soft, then crowned with an elegant dark chocolate and coconut oil drizzle that creates a beautiful finish.
The preparation comes together in just 20 minutes of active time, with a quick 12-minute bake yielding 24 portion-controlled treats. Perfect for coffee enthusiasts seeking a sophisticated sweet indulgence that accommodates gluten-free dietary needs while delivering on both flavor and presentation.
The first time I made these espresso cookies was during a rainy weekend when my oven seemed like the only warm place in the house. I had been experimenting with gluten-free baking for months, and something about the combination of coffee and chocolate felt comforting and sophisticated at the same time. When that chocolate drizzle hardened across the dark cookies, I knew I had stumbled onto something special. These have since become my go-to when I need to impress without spending hours in the kitchen.
I brought a batch to my book club last month and watched three people who swear they hate gluten-free baked goods go back for seconds. There is something deeply satisfying about serving something that feels indulgent and refined while knowing it accommodates dietary needs without sacrificing flavor. The way the chocolate breaks when you bite into these cookies creates this perfect contrast with the soft center.
Ingredients
- Gluten-free all-purpose flour blend: The xanthan gum already in the blend gives these cookies their structure without any gritty aftertaste
- Almond flour: Adds natural moisture and a subtle nuttiness that complements the espresso beautifully
- Instant espresso powder: Do not substitute with regular coffee or you will lose that concentrated coffee flavor
- Unsweetened cocoa powder: Deepens the chocolate notes without making these overly sweet
- Dark chocolate: Use a quality gluten-free brand since the drizzle is the finishing touch that makes these feel elegant
Instructions
- Prep your space and heat:
- Preheat that oven to 350°F and line two baking sheets with parchment paper so nothing sticks later
- Whisk the dry foundation:
- In a medium bowl combine your gluten-free flour blend, almond flour, baking soda, salt, cocoa powder, and espresso powder until everything is evenly distributed
- Build the buttery base:
- Beat softened butter with both sugars until the mixture turns light and fluffy, which usually takes about 2 to 3 minutes of serious mixing
- Add life and warmth:
- Crack in the egg and pour in the vanilla, beating until the mixture looks smooth and glossy
- Bring it all together:
- Gradually mix in those dry ingredients until a soft dough forms, being careful not to overwork the gluten-free flour
- Space and bake:
- Scoop tablespoon portions onto prepared sheets, leaving 2 inches between each cookie, and bake for 10 to 12 minutes until edges are set but centers still look slightly soft
- The patience test:
- Let them cool on the baking sheet for 5 minutes before moving them to a wire rack to finish cooling completely
- The grand finale:
- Melt dark chocolate with coconut oil in 20-second bursts, stirring until smooth, then drizzle over cooled cookies and let that glossy chocolate set before serving
 Pin It
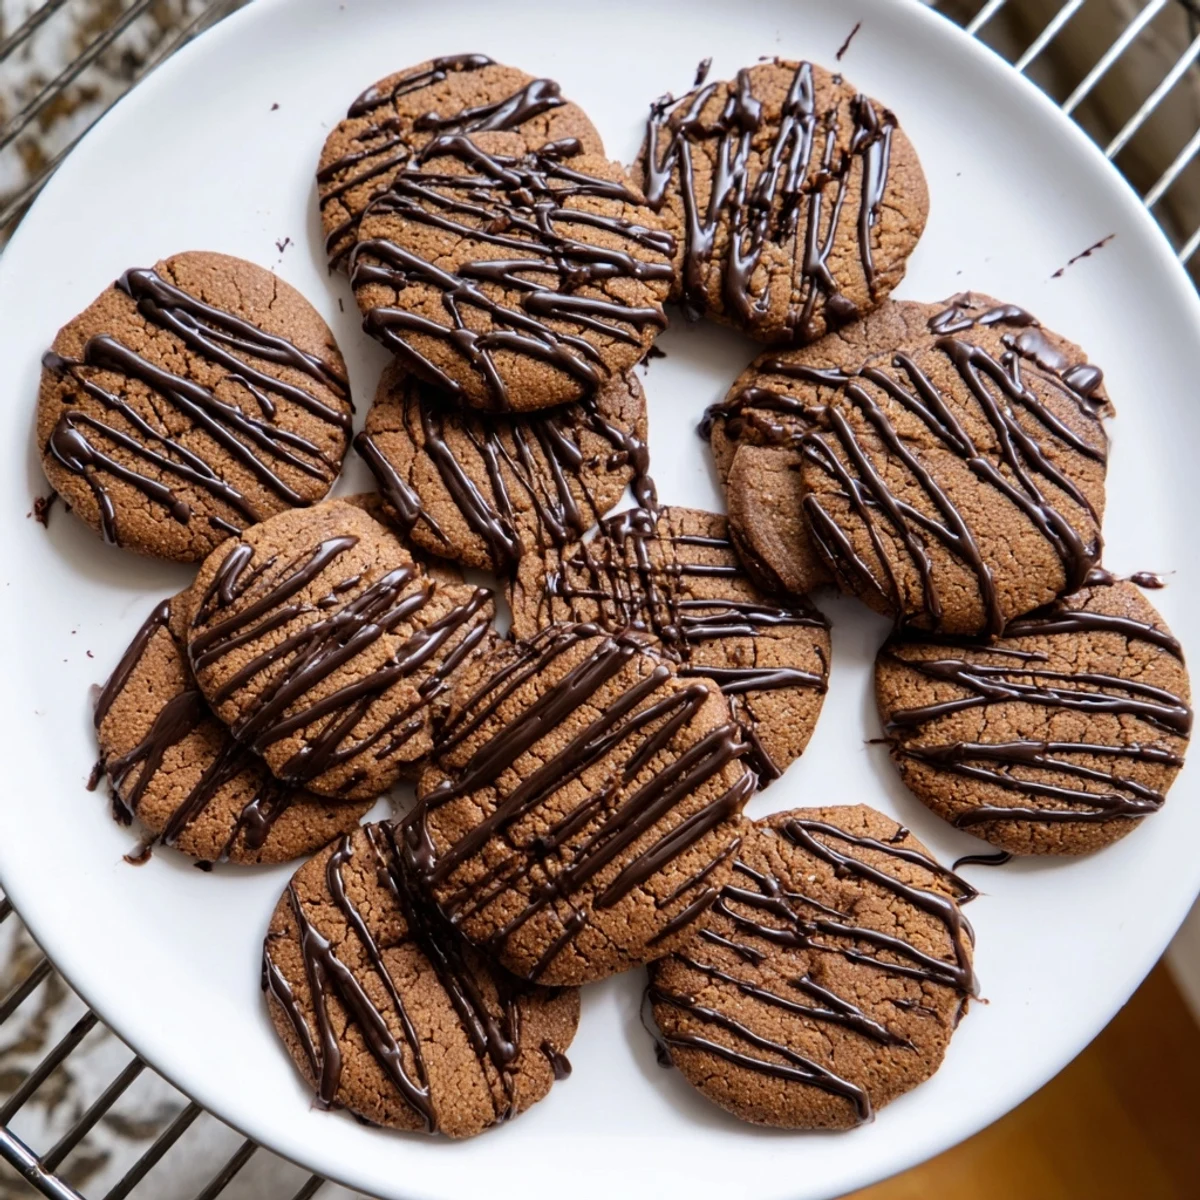
 These cookies have become a regular request from my sister who cannot eat gluten and often feels left out at family gatherings. Seeing her face light up when she can eat dessert with everyone else reminds me why I started adapting recipes in the first place.
Making These Nut-Free
Simply replace the almond flour with an equal amount of your gluten-free flour blend. The texture changes slightly but the flavor remains outstanding and anyone with nut allergies can still enjoy these.
Perfecting the Chocolate Drizzle
Melting chocolate in short bursts prevents seizing, and that tiny bit of coconut oil creates a drizzle that stays glossy instead of dulling as it sets. Practice a few test lines on parchment before committing to your cookies.
Storage and Serving Suggestions
These keep beautifully in an airtight container for up to five days, though they rarely last that long in my house. Pair with a strong espresso or let them soften slightly alongside your afternoon coffee.
- Press flaky sea salt into the chocolate before it sets for a sophisticated finish
- Warm slightly for 10 seconds in the microwave to revive that just-baked texture
- Package these in a pretty box with parchment layers for an impressive homemade gift
 Pin It
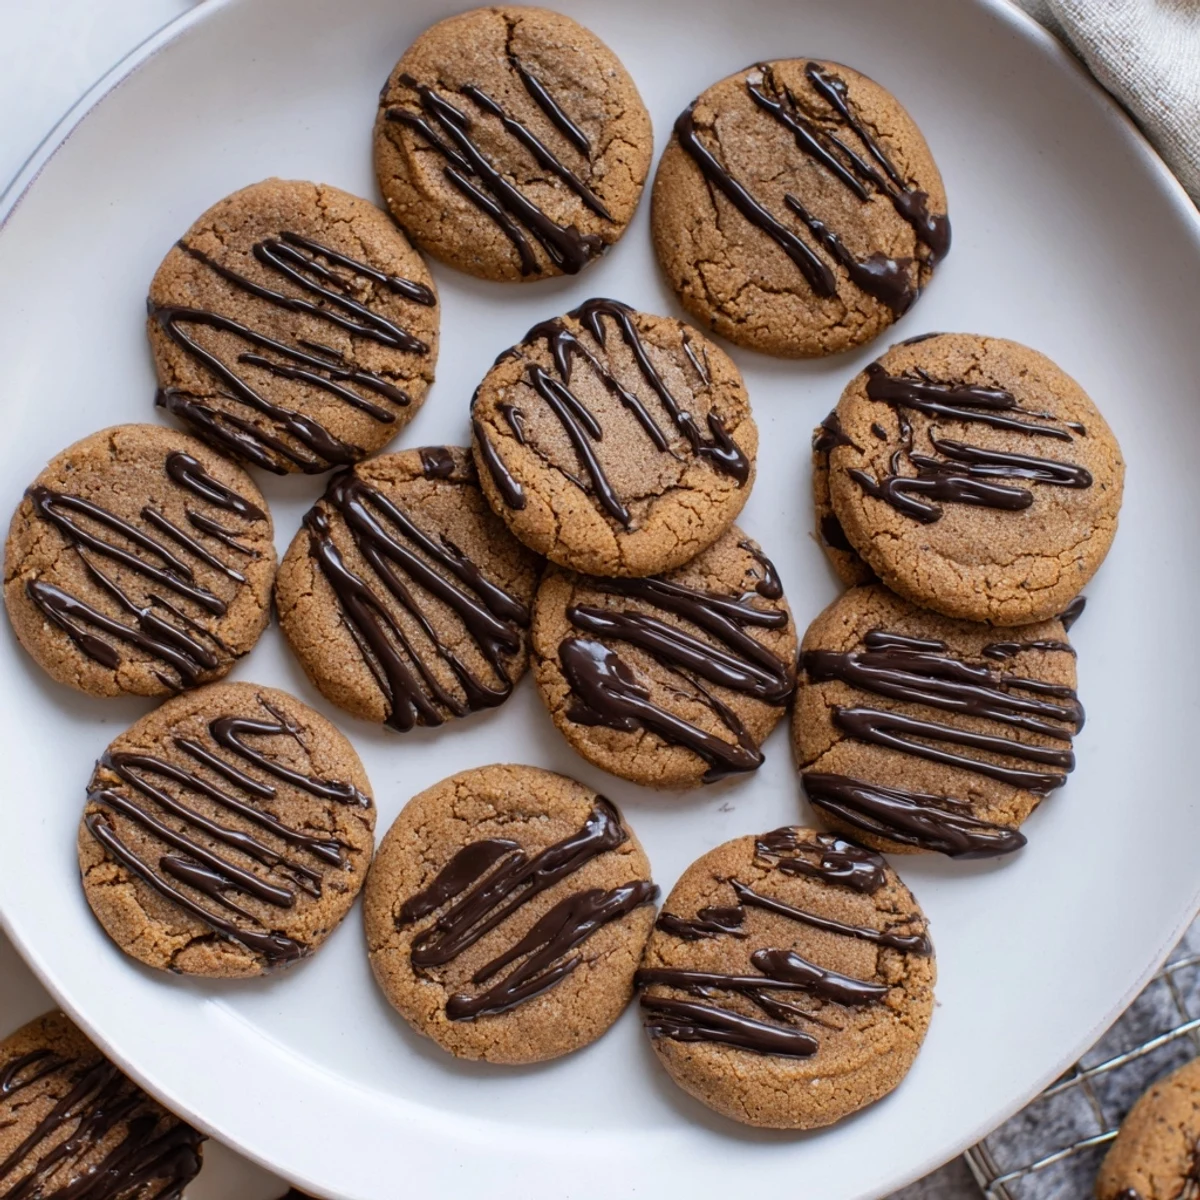
 Hope these become your new favorite way to end a meal, or perhaps start your morning with a little something sweet.
Recipe Questions & Answers
- → Can I make these without almond flour?
-
Yes. Substitute the almond flour with an equal amount of your gluten-free all-purpose flour blend for a nut-free version. The texture remains tender, though slightly less rich.
- → How should I store these espresso cookies?
-
Keep in an airtight container at room temperature for up to 5 days. Place parchment paper between layers to prevent the chocolate drizzle from sticking to other cookies.
- → Can I freeze the dough or baked cookies?
-
Both freeze well. Scoop raw dough onto a baking sheet, freeze until solid, then transfer to a freezer bag for up to 3 months. Bake from frozen, adding 1-2 minutes. Baked cookies freeze for up to 2 months.
- → What's the purpose of coconut oil in the drizzle?
-
The coconut oil helps the melted chocolate achieve a smooth, pourable consistency and creates a glossy finish that sets firmly at room temperature. Neutral oil works as a substitute.
- → How do I know when the cookies are done?
-
The edges should appear set and slightly firm, while the centers look slightly underbaked and soft. They continue cooking on the hot baking sheet during the 5-minute cooling period.
- → Can I use instant coffee instead of espresso powder?
-
Espresso powder provides deeper, more concentrated flavor. If using instant coffee granules, increase to 1½ tablespoons and grind into a fine powder before mixing.
