 Pin It
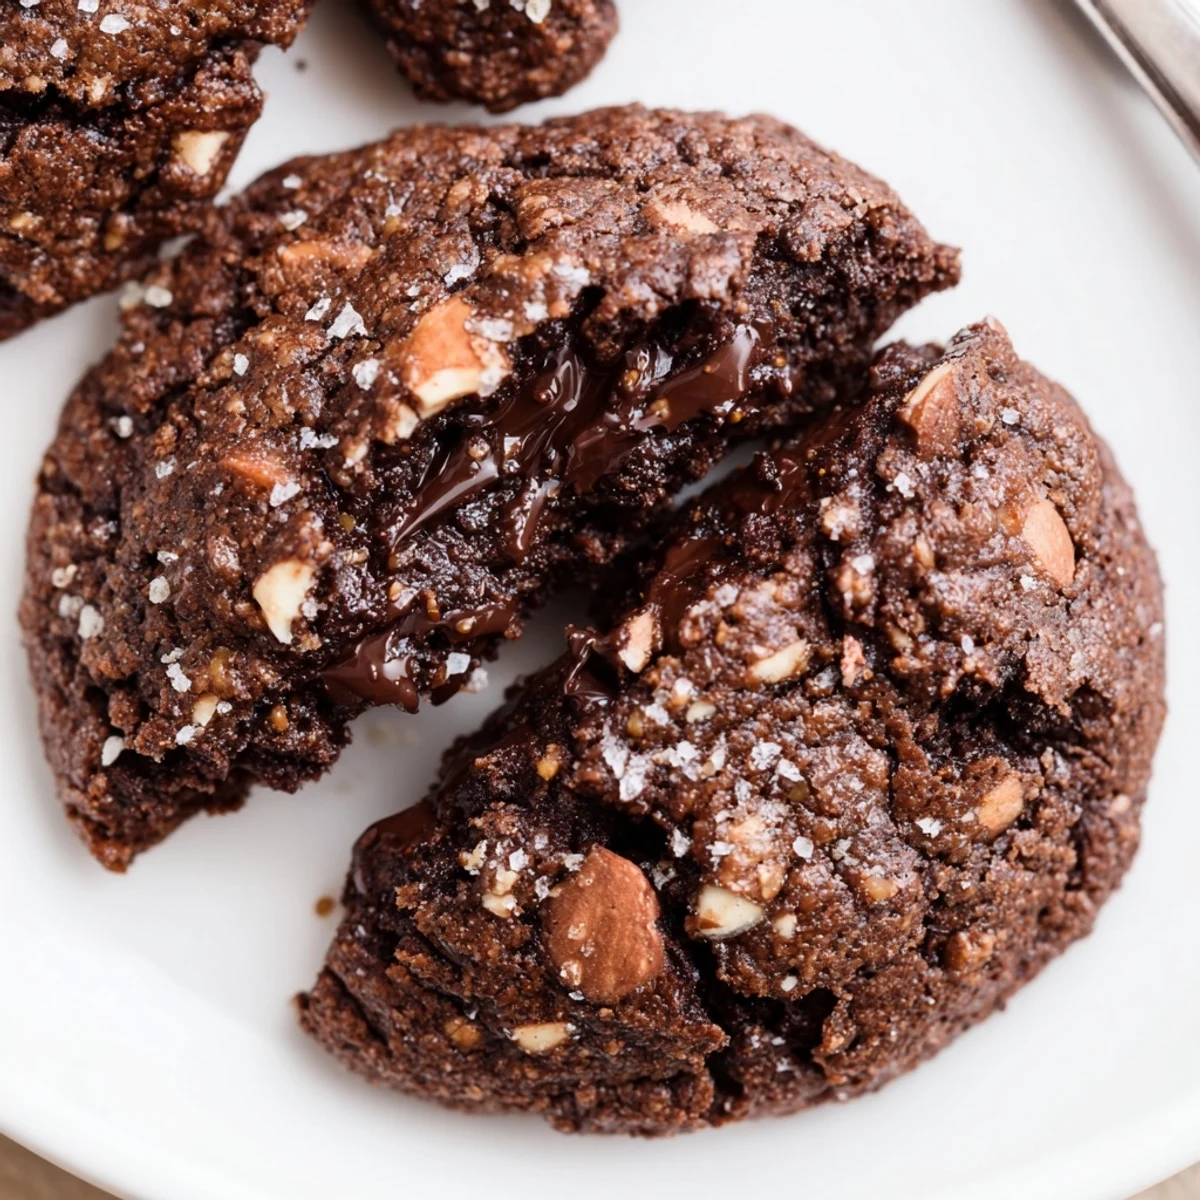
 These rich, chewy gluten-free cookies combine almond flour, cocoa and dissolved espresso for intense coffee-chocolate depth. Butter and a mix of brown and granulated sugar give a tender, slightly caramelized chew, while dark chocolate chips and chopped roasted almonds add molten pockets and crunch. Bake at 350°F for 10–12 minutes and cool briefly on the sheets before transferring to a rack. Makes 18 cookies; prep about 20 minutes.
My apartment smelled like a coffee shop that Saturday morning. I had this idea to combine my two obsessions, espresso and chocolate cookies, into one gluten-free experiment. The first batch came out too flat, but that third try with the almond flour ratio? My roommate walked in, took one bite, and asked if I was secretly a pastry chef. These have been our go-to comfort cookie ever since.
Last winter during finals week, my study group practically lived on these. Someone would bring the coffee, I would bring a fresh batch, and somehow organic chemistry became manageable. The combination of sugar, caffeine, and chocolate became our survival kit. Now whenever I make them, I think of tired laughs and highlighted textbooks spread across the kitchen table.
Ingredients
- Almond flour: This creates that tender crumb and naturally gluten-free base. I have learned that finely ground works best here.
- Unsweetened cocoa powder: Do not skip or substitute. This provides the deep chocolate backbone that balances the coffee.
- Instant espresso powder: Dissolving it in hot water first really wakes up the flavor. Trust me on this step.
- Dark chocolate chips: The bitterness plays beautifully with the sweet dough. Semi-sweet works too but dark is special.
- Chopped roasted almonds: They add this perfect crunch that contrasts with the fudgy centers. Toast them yourself for extra depth.
Instructions
- Prep your kitchen:
- Preheat that oven to 350°F and line two baking sheets with parchment. This prevents sticking and makes cleanup a breeze.
- Whisk the dry team:
- Combine the almond flour, cocoa powder, baking soda, and salt in a medium bowl. Set this aside while you work on the wet ingredients.
- Crema the butter and sugars:
- Beat the butter with both sugars for about 2-3 minutes until it looks light and fluffy. This air is what gives you that perfect texture.
- Add the espresso mixture:
- Mix in the egg, vanilla, and that dissolved espresso until everything is smooth and incorporated.
- Combine everything:
- Gradually stir in the dry ingredients just until combined. Do not overmix or these cookies will turn tough.
- Fold in the goodies:
- Gently add those chocolate chips and chopped almonds. Distribute them evenly so every bite has something special.
- Scoop and space:
- Drop tablespoons of dough onto your prepared sheets, leaving about 2 inches between each. They will spread but need room to breathe.
- Bake to perfection:
- Bake for 10-12 minutes until the edges are set but centers still look slightly underbaked. This is the secret to that fudgy texture.
- Patience pays off:
- Let them cool on the baking sheets for 5 minutes before moving them to a rack. They need this time to set up properly.
 Pin It
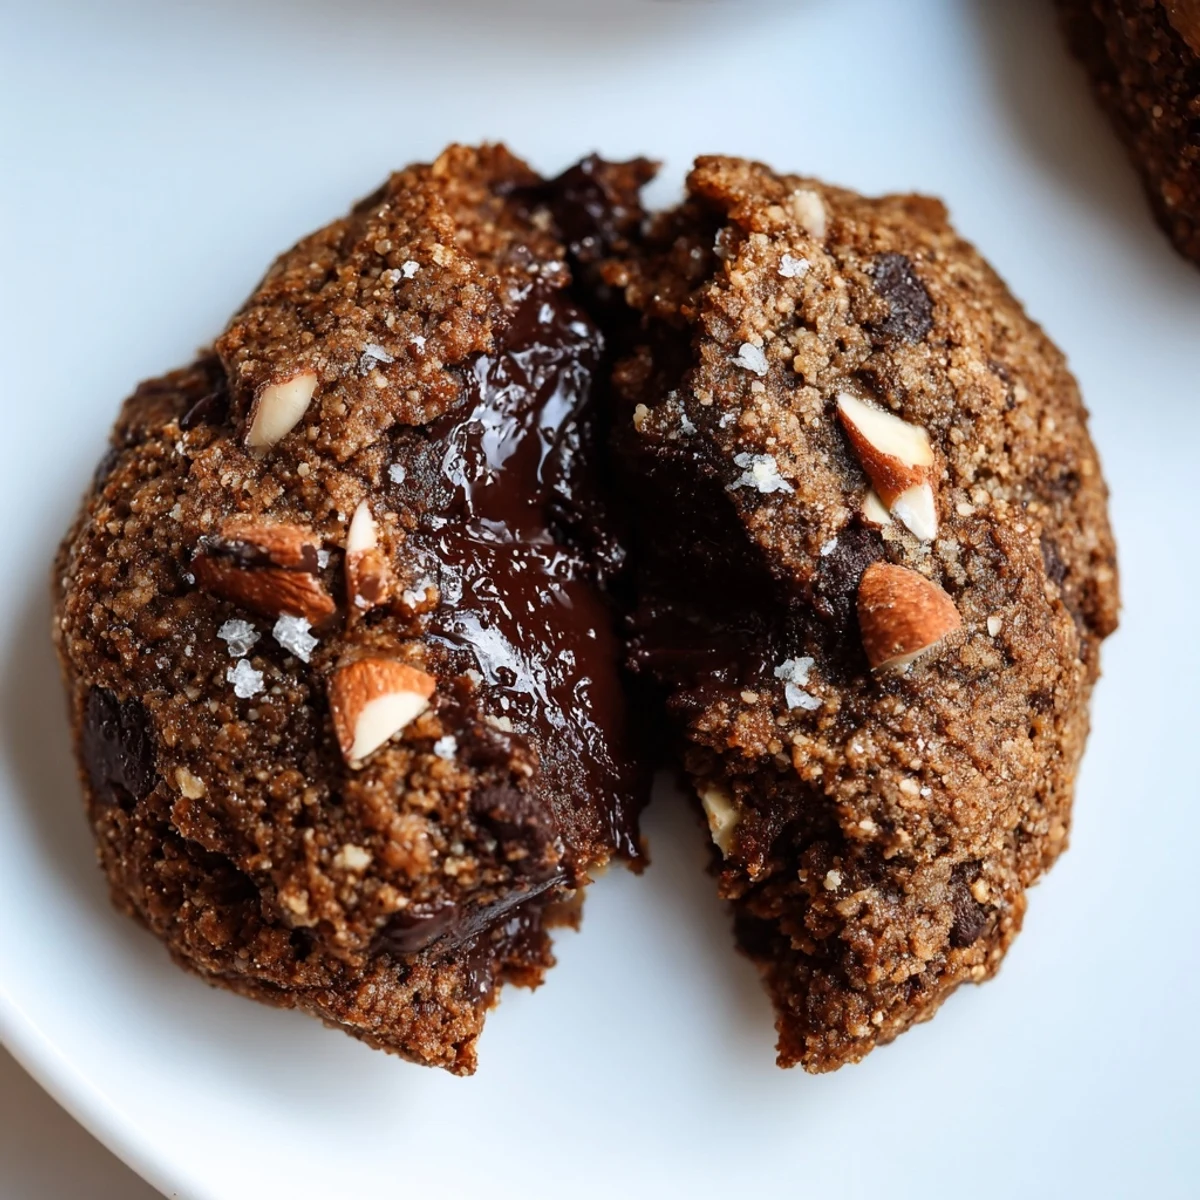
 These cookies have become my default gift for pretty much everyone. I took a batch to my new neighbor when she moved in, and we ended up sitting on her floor eating them warm from the oven while she unpacked boxes. Sometimes food is just the easiest way to say welcome to the neighborhood.
Making Them Your Own
I love playing around with the nut component. Hazelnuts turn these into something reminiscent of Nutella, while pecans add this buttery sweetness that pairs surprisingly well with the espresso. Once I used chopped hazelnuts and added a pinch of cinnamon, and honestly, that variation might be my favorite. Do not be afraid to experiment.
The Dairy-Free Switch
Coconut oil works beautifully as a butter substitute here. The cookies spread a bit more and have a subtle coconut undertone that actually complements the coffee flavor. Just make sure your coconut oil is softened but not melted when you cream it with the sugars. Cold oil will seize up and create a strange texture.
Storage Secrets
These cookies stay remarkably soft stored in an airtight container at room temperature for up to five days. After that, I recommend freezing them. Wrap individually and freeze for up to three months. They thaw in about 15 minutes and taste freshly baked. I actually started making double batches just to keep a stash in the freezer.
- Place a piece of bread in the container with the cookies to keep them extra soft
- Warm frozen cookies in the microwave for 10 seconds for that fresh-baked experience
- The dough balls can be frozen raw and baked directly from frozen, just add 2 minutes to the baking time
 Pin It
 Hope these bring as much cozy comfort to your kitchen as they have to mine. Happy baking.
Recipe Questions & Answers
- → How can I boost the espresso flavor?
-
Add an extra ½ tablespoon of instant espresso dissolved in hot water, or fold in a teaspoon of espresso powder with the dry ingredients for a deeper, more aromatic coffee note.
- → What gives these cookies their chewy texture?
-
The combination of almond flour with both brown and granulated sugar, plus a short bake time (10–12 minutes), creates a tender, chewy center while the edges set for contrast.
- → Can I make this dairy-free?
-
Yes. Swap the butter for chilled coconut oil or a solid vegan butter substitute; keep the same measurements and chill the dough briefly if it seems too soft before baking.
- → Will other nuts work in place of almonds?
-
Absolutely. Chopped hazelnuts, pecans or walnuts provide different textures and flavors—toast them lightly for extra depth before folding into the dough.
- → How should I store them to keep freshness?
-
Store cooled cookies in an airtight container at room temperature for up to 4 days. For longer storage, freeze in a single layer on a tray, then transfer to a freezer bag for up to 3 months.
- → How do I ensure even baking with almond flour?
-
Measure almond flour by weight when possible and avoid overmixing once the dry ingredients are added. Space dough balls about 2 inches apart to allow even spread and airflow.
