 Pin It
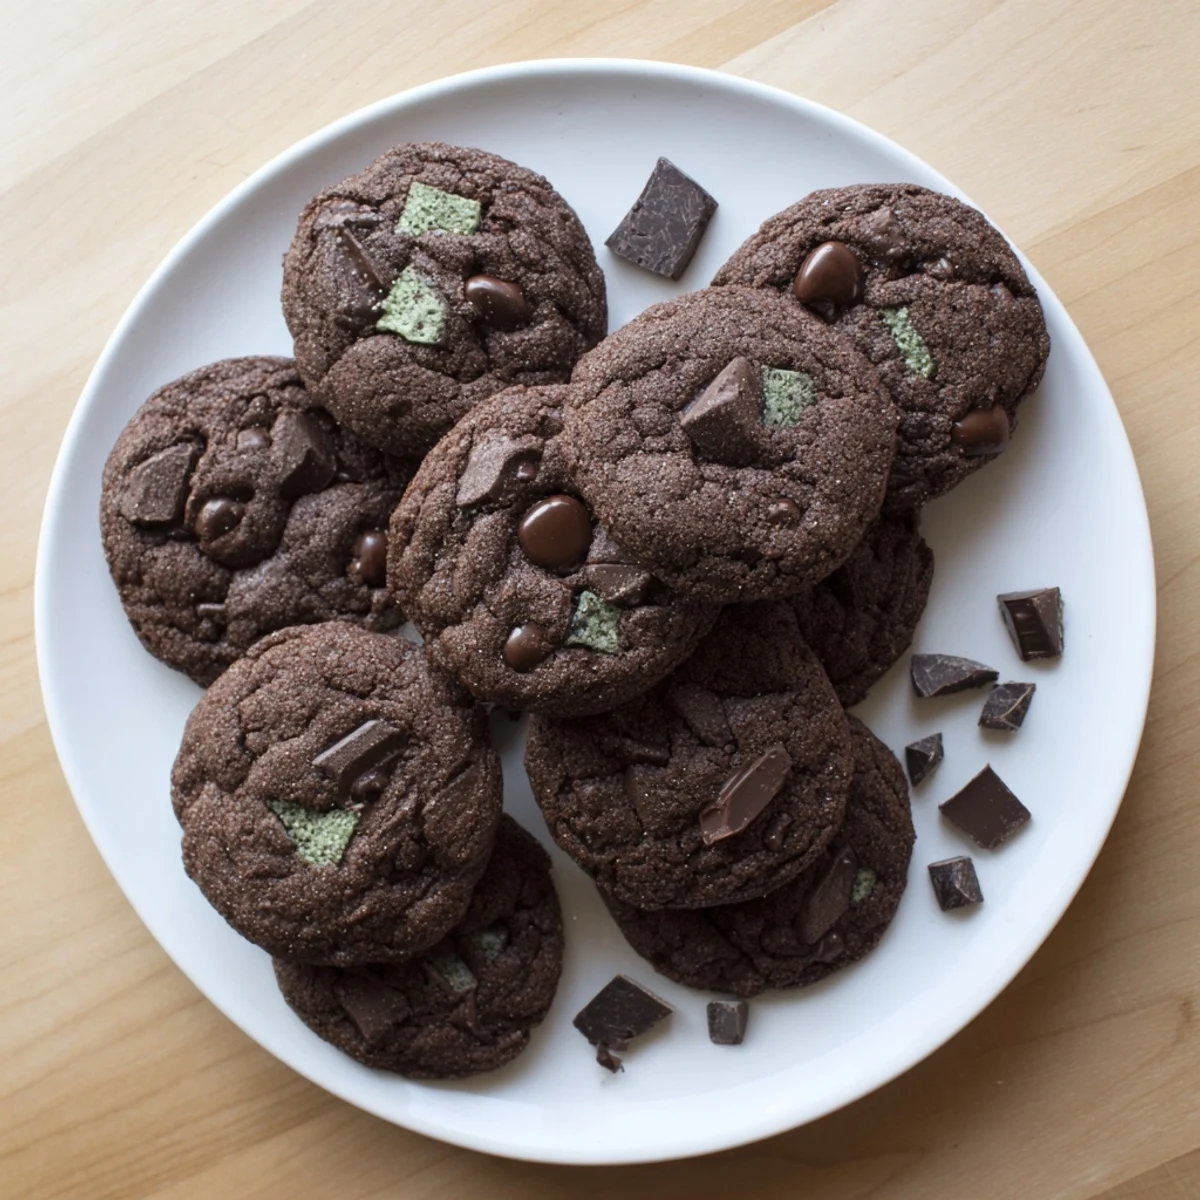
 These delightful cookies combine rich chocolate flavor with cooling mint in a soft, chewy texture that everyone will love. The gluten-free flour blend creates a tender crumb while the double chocolate chips provide satisfying bursts of sweetness throughout each bite.
Ready in just 25 minutes from start to finish, these treats come together with simple pantry ingredients and basic mixing techniques. The dough scoops easily onto baking sheets and bakes quickly, yielding two dozen perfectly portioned cookies that stay fresh for days when stored properly.
My kitchen smelled like a chocolate factory had collided with a candy cane factory the first time I made these cookies. I'd been experimenting with gluten-free baking for months, mostly producing sad, crumbly disappointments that my family politely nibbled before reaching for the real stuff. But when I pulled these from the oven, my usually skeptical teenage sister stole two before they'd even cooled down. That's when I knew this wasn't just another gluten-free compromise.
Last winter, I brought a batch to my book club meeting where nobody knew I'd been baking gluten-free. Everyone kept going back for seconds, and my friend Sarah actually asked for the recipe before I even mentioned they were gluten-free. Watching people genuinely enjoy these without any qualifiers or sympathetic nods felt like such a win. Now they're my go-to whenever I need to bring something that works for everyone but still feels indulgent.
Ingredients
- Gluten-free all-purpose flour blend: Make sure it contains xanthan gum or your cookies will spread too thin and taste gritty
- Unsweetened cocoa powder: Dutch-processed gives the deepest chocolate flavor without any weird chalkiness
- Baking soda: This helps create those perfect cracks on top while keeping centers soft
- Salt: Essential for balancing the intense chocolate and mint flavors
- Unsalted butter: Soften it properly to room temperature or your dough won't cream evenly
- Brown sugar: Packed tight brings moisture and that gorgeous chewy texture
- Granulated sugar: Creates crisp edges while brown sugar keeps centers tender
- Large eggs: Bring them to room temperature first so they incorporate smoothly
- Pure vanilla extract: Don't skip this even with the mint, it adds depth
- Peppermint extract: Start with half a teaspoon because this stuff is potent
- Semisweet chocolate chips: Check the label carefully because not all brands are gluten-free
- Mint chocolate chips or chopped mint chocolate: These create those delicious pockets of minty surprise throughout
Instructions
- Preheat your oven:
- Get it to 350°F (175°C) and line two baking sheets with parchment paper so nothing sticks
- Whisk the dry team:
- Combine the gluten-free flour, cocoa powder, baking soda, and salt in a medium bowl until they're one uniform chocolatey mixture
- Cream the butter and sugars:
- Beat the softened butter with both sugars until the mixture looks fluffy and pale, about 2-3 minutes of serious mixing
- Add the wet ingredients:
- Crack in those eggs and pour in both extracts, beating until everything's glossy and well combined
- Bring it all together:
- Gradually mix in the dry ingredients just until the flour disappears, then fold in both kinds of chocolate chips
- Scoop and space:
- Drop tablespoon-sized portions onto your prepared sheets, leaving about 2 inches between each cookie because they'll spread
- Bake to perfection:
- Slide them in for 9-11 minutes until edges are firm but centers still look slightly underbaked
- The patience step:
- Let them cool on the baking sheet for 5 minutes before moving them to a wire rack, or they'll fall apart
 Pin It
 My dad, who can spot a gluten-free baked good from a mile away and usually turns up his nose, actually ate three of these straight from the cooling rack. He stopped mid-cookie and asked what was different about them because they tasted like real cookies, not like some sad compromise. That moment of watching someone forget they're eating something dietary-restriction-friendly made all the recipe testing worth it.
Getting The Right Texture
The secret to these cookies not being hockey pucks is pulling them from the oven while centers still look slightly underdone. They continue cooking on the hot baking sheet during those crucial 5 minutes of cooling time. I learned this the hard way after making an entire batch that could have doubled as doorstops.
Make Them Your Way
While I'm partial to the mint-semisweet combo, I've made these with white chocolate chips instead of mint chocolate for a more subtle flavor. You could also swap the mint extract for orange extract during the holidays, though peppermint really is the classic pairing that makes these special.
Storage And Sharing
These cookies stay soft for days if stored properly, though they rarely last that long in my house. I've found that placing a slice of bread in the container keeps them especially chewy, just like my grandmother taught me for her regular cookies.
- Freeze unbaked dough balls for fresh cookies anytime
- Gift them in mason jars with handwritten labels
- They ship surprisingly well for care packages
 Pin It
 There's something deeply satisfying about creating a cookie that everyone can enjoy together, regardless of dietary restrictions. These have become my unofficial welcome-to-the-neighborhood gift and the recipe friends request most often.
Recipe Questions & Answers
- → Can I use regular flour instead of gluten-free?
-
Yes, substitute an equal amount of all-purpose wheat flour for the gluten-free blend. The texture will remain similar, though the cookies will no longer be gluten-free.
- → What type of gluten-free flour works best?
-
Use a gluten-free all-purpose flour blend that contains xanthan gum for the best texture. Brands like Cup4Cup or Bob's Red Mill 1-to-1 blend work excellently in this recipe.
- → How can I tell when the cookies are done baking?
-
The edges should appear set and slightly firm while the centers remain soft. They will continue cooking on the hot baking sheet, so removing them while centers look slightly underbaked ensures perfect chewiness.
- → Can I freeze the dough or baked cookies?
-
Both freeze beautifully! Scoop dough balls onto a baking sheet, freeze until solid, then transfer to a freezer bag for up to 3 months. Bake from frozen, adding 1-2 minutes to the time. Baked cookies freeze well for up to 2 months.
- → What can I use instead of peppermint extract?
-
Try almond extract for a nutty twist, or increase the vanilla to 1 ½ teaspoons for a classic chocolate cookie. Mint essential oil or crushed mint candies work too, though extracts provide the most consistent flavor.
- → Why did my cookies spread too much?
-
This typically happens if the butter was too soft or the dough wasn't chilled. Refrigerate the scooped dough for 15-20 minutes before baking to help them hold their shape and achieve thicker, chewier results.
