 Pin It
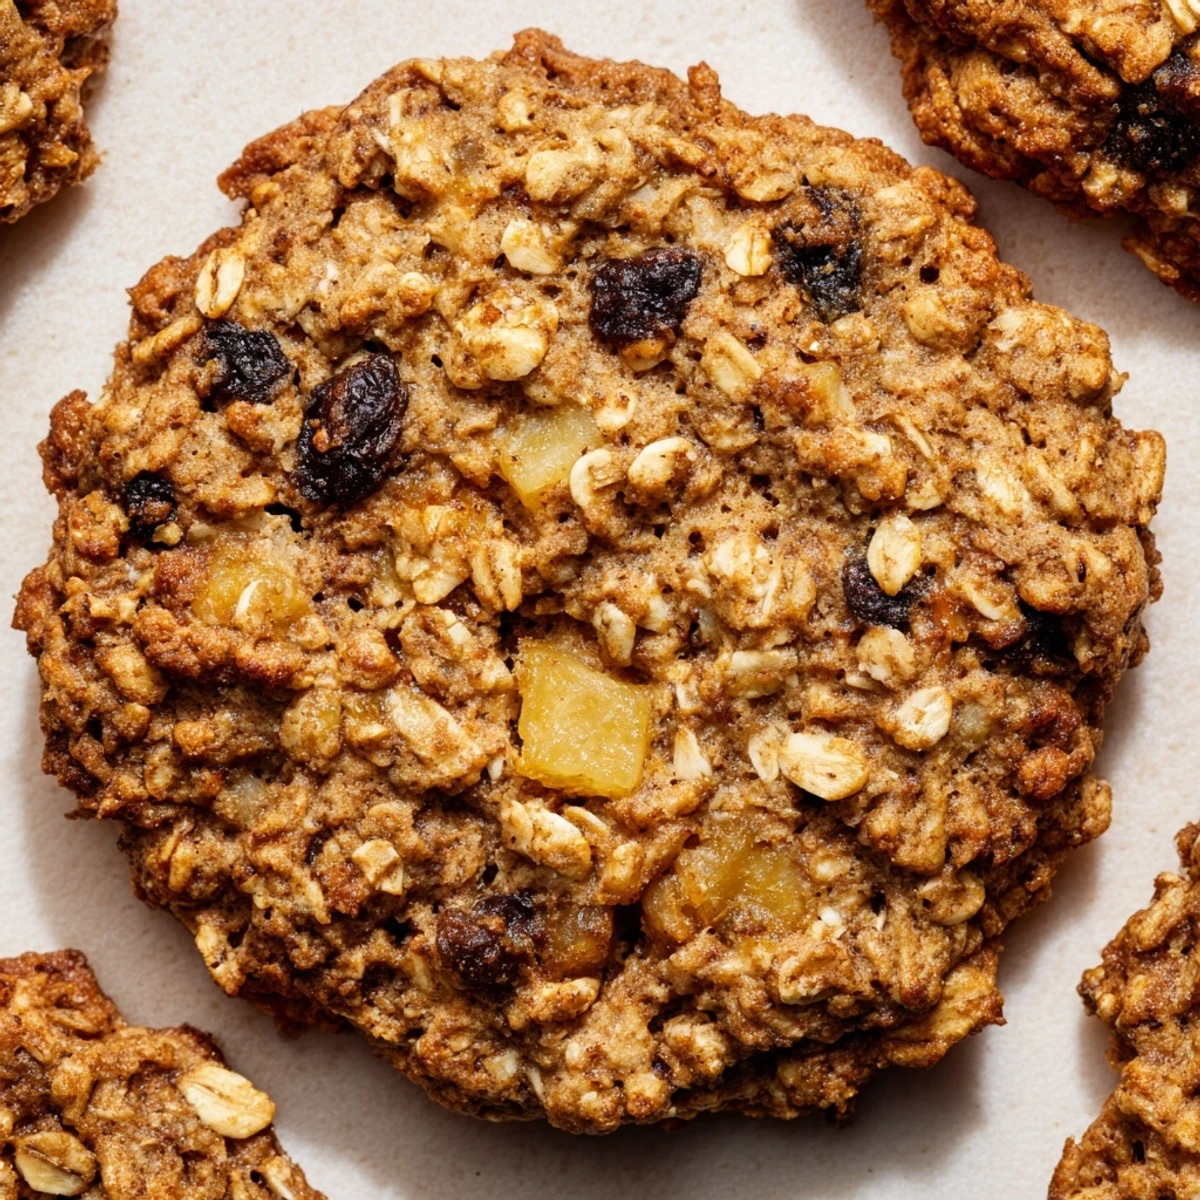
 These chewy oatmeal cookies combine the sweetness of ripe pears with plump raisins and aromatic cinnamon for a comforting homemade treat. The dough comes together quickly with basic pantry ingredients, and each batch yields two dozen perfectly golden cookies.
The key to success is using firm, ripe pears that add moisture without making the dough too wet. Creaming butter with both granulated and brown sugar creates a tender texture, while old-fashioned rolled oats provide satisfying chewiness.
Bake at 350°F for 12-14 minutes until edges turn golden brown, then let them cool on the sheets for five minutes to set. These keep well for days and pair perfectly with a cup of tea or coffee.
My apartment smelled like autumn decided to move in early the day I first experimented with adding fresh pear to oatmeal cookie dough. I had a basket of pears ripening faster than I could eat them, and something whispered that their gentle sweetness would play nicely with the warm hug of cinnamon and the chew of oats. The first batch disappeared during a movie night with friends, and someone actually asked if I'd been holding out on some family secret recipe.
Last winter I made three dozen of these for my niece's school bake sale, and they sold out before any of the chocolate chip cookies even moved. I love watching peoples faces when they take that first bite, that moment of surprise that something with fruit and oats can taste this indulgent.
Ingredients
- All-purpose flour: Provides structure without making the cookies tough, and 1 and 1/2 cups is the sweet spot for this dough
- Baking soda: Essential for the lift and spread that gives these their classic chewy texture
- Salt: Just half a teaspoon wakes up all the flavors and balances the sweetness
- Ground cinnamon: One and a half teaspoons gives that warm spiced backbone that makes these taste like comfort
- Old-fashioned rolled oats: Use proper rolled oats, not instant or steel cut, for that perfect hearty chew
- Unsalted butter: Softened to room temperature so it creams properly with the sugars
- Granulated sugar: Helps create crisp edges while keeping centers soft
- Packed light brown sugar: The molasses in brown sugar adds moisture and that lovely caramel undertone
- Large eggs: Bind everything together and contribute to the chewy texture we love
- Pure vanilla extract: Never skip the vanilla, it rounds out all the flavors beautifully
- Ripe pear: Peeled and diced into small pieces so it distributes evenly throughout each cookie
- Raisins: Plump little pockets of concentrated sweetness that complement the fresh pear perfectly
Instructions
- Preheat your oven:
- Get your oven to 350°F and line two baking sheets with parchment paper so nothing sticks
- Whisk the dry ingredients:
- In a medium bowl, combine the flour, baking soda, salt, cinnamon, and oats until everything is evenly distributed
- Cream the butter and sugars:
- Beat the softened butter with both sugars until the mixture looks pale and fluffy, about 2 to 3 minutes
- Add the eggs and vanilla:
- Beat in the eggs one at a time, then mix in the vanilla until everything is smooth and combined
- Combine the mixtures:
- Gradually add the dry ingredients to the wet mixture, mixing only until you no longer see streaks of flour
- Fold in the pear and raisins:
- Gently incorporate the diced pear and raisins by hand so you do not break down the fruit pieces
- Scoop the dough:
- Drop tablespoon sized mounds onto the prepared baking sheets, leaving about 2 inches of space between each one
- Bake to perfection:
- Bake for 12 to 14 minutes until the edges are golden brown and the centers look set but still slightly soft
- Cool completely:
- Let the cookies rest on the baking sheets for 5 minutes, then move them to a wire rack to cool completely
 Pin It
 These cookies became my go-to housewarming gift after I brought them to a neighbors apartment warming and she texted me three days later asking if I had more. There is something about them that feels like home, no matter whose kitchen you are standing in.
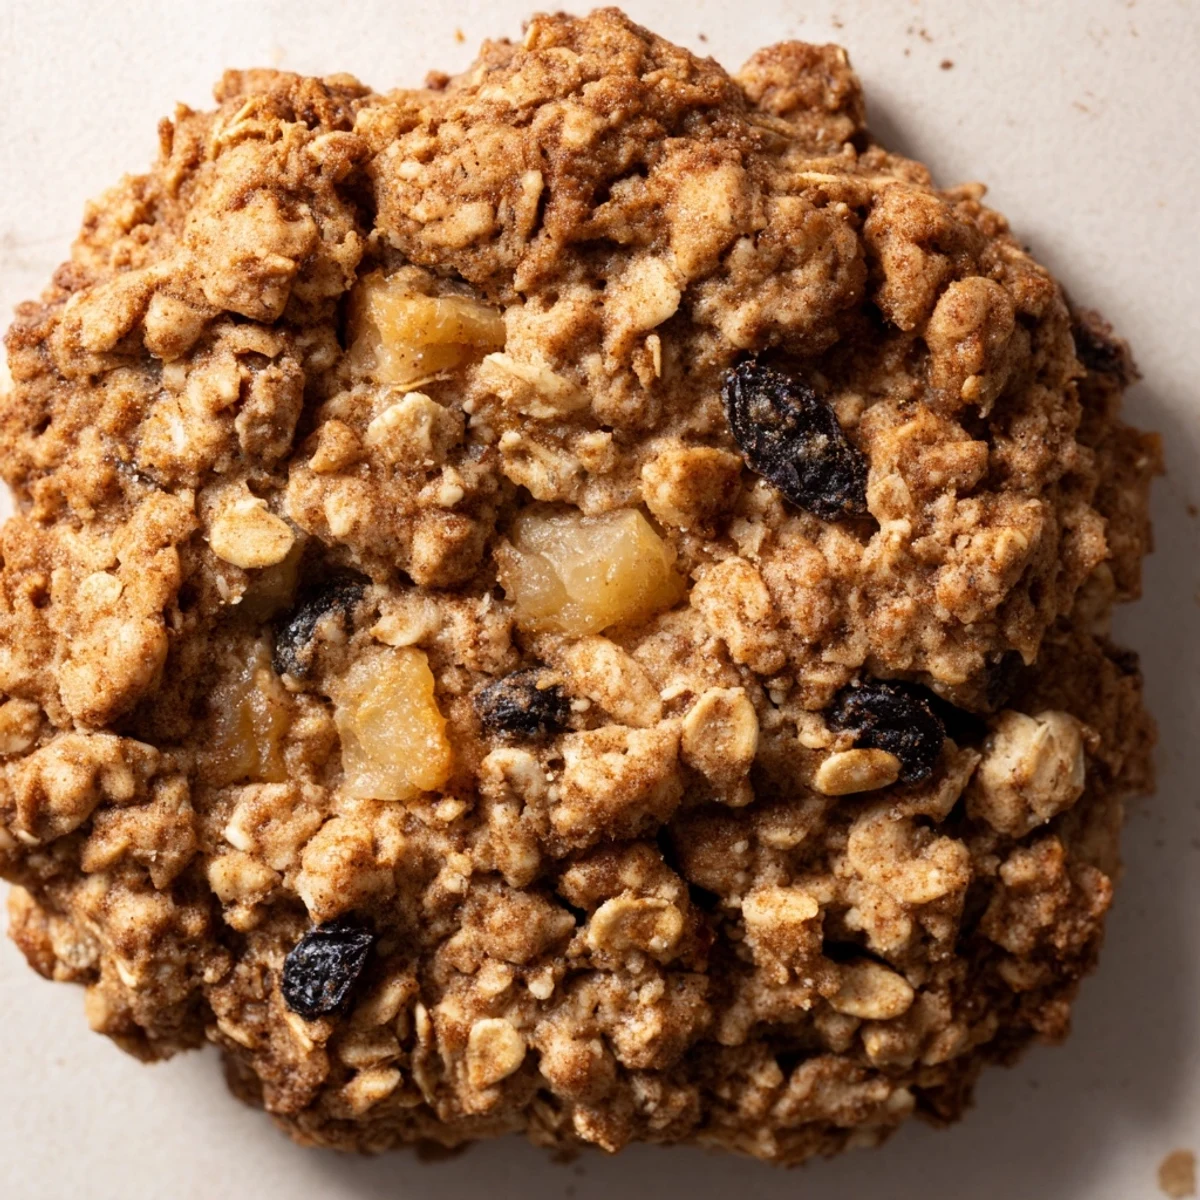
Getting The Right Pear Texture
I have learned through several batches of disappointment that the pears must be firm to the touch but yield slightly to gentle pressure. If they are too soft, they release too much moisture during baking and you end up with cakey cookies instead of chewy ones.
Making Them Ahead
The dough actually freezes beautifully if you want to bake cookies fresh later. I scoop individual portions onto a parchment lined baking sheet, freeze until solid, then transfer them to a freezer bag for up to three months.
Customizing Your Mix-Ins
While pear and cinnamon is a magical combination, do not be afraid to play around with what you have on hand.
- Swap half the raisins for dried cranberries during the holidays
- Add chopped walnuts or pecans for some welcome crunch
- Try a quarter teaspoon of nutmeg alongside the cinnamon for deeper warmth
 Pin It
 These cookies have a way of turning ordinary Tuesday afternoons into something worth celebrating. Hope they become a favorite in your kitchen too.
Recipe Questions & Answers
- → Can I use quick oats instead of old-fashioned rolled oats?
-
Old-fashioned rolled oats provide better texture and chewiness. Quick oats will work in a pinch, but the cookies may have a softer, less substantial texture.
- → Should I peel the pear before dicing it?
-
Yes, peeling the pear is recommended. The skin can become tough and chewy during baking, while the peeled flesh incorporates smoothly into the dough.
- → How should I store these cookies?
-
Store in an airtight container at room temperature for up to 5 days. Place parchment paper between layers to prevent sticking. They can also be frozen for up to 3 months.
- → Can I substitute the raisins with other dried fruit?
-
Absolutely. Dried cranberries, chopped dried cherries, or chopped dates work wonderfully. You can also add chopped walnuts or pecans for extra crunch.
- → Why did my cookies spread too much?
-
This can happen if the butter was too soft or if the dough wasn't chilled. Try refrigerating the dough for 30 minutes before baking, and ensure your butter is softened but not melted.
- → Can I make the dough ahead of time?
-
Yes, the dough can be refrigerated for up to 24 hours before baking. Actually, chilling the dough enhances the flavors and helps the cookies hold their shape better.
